
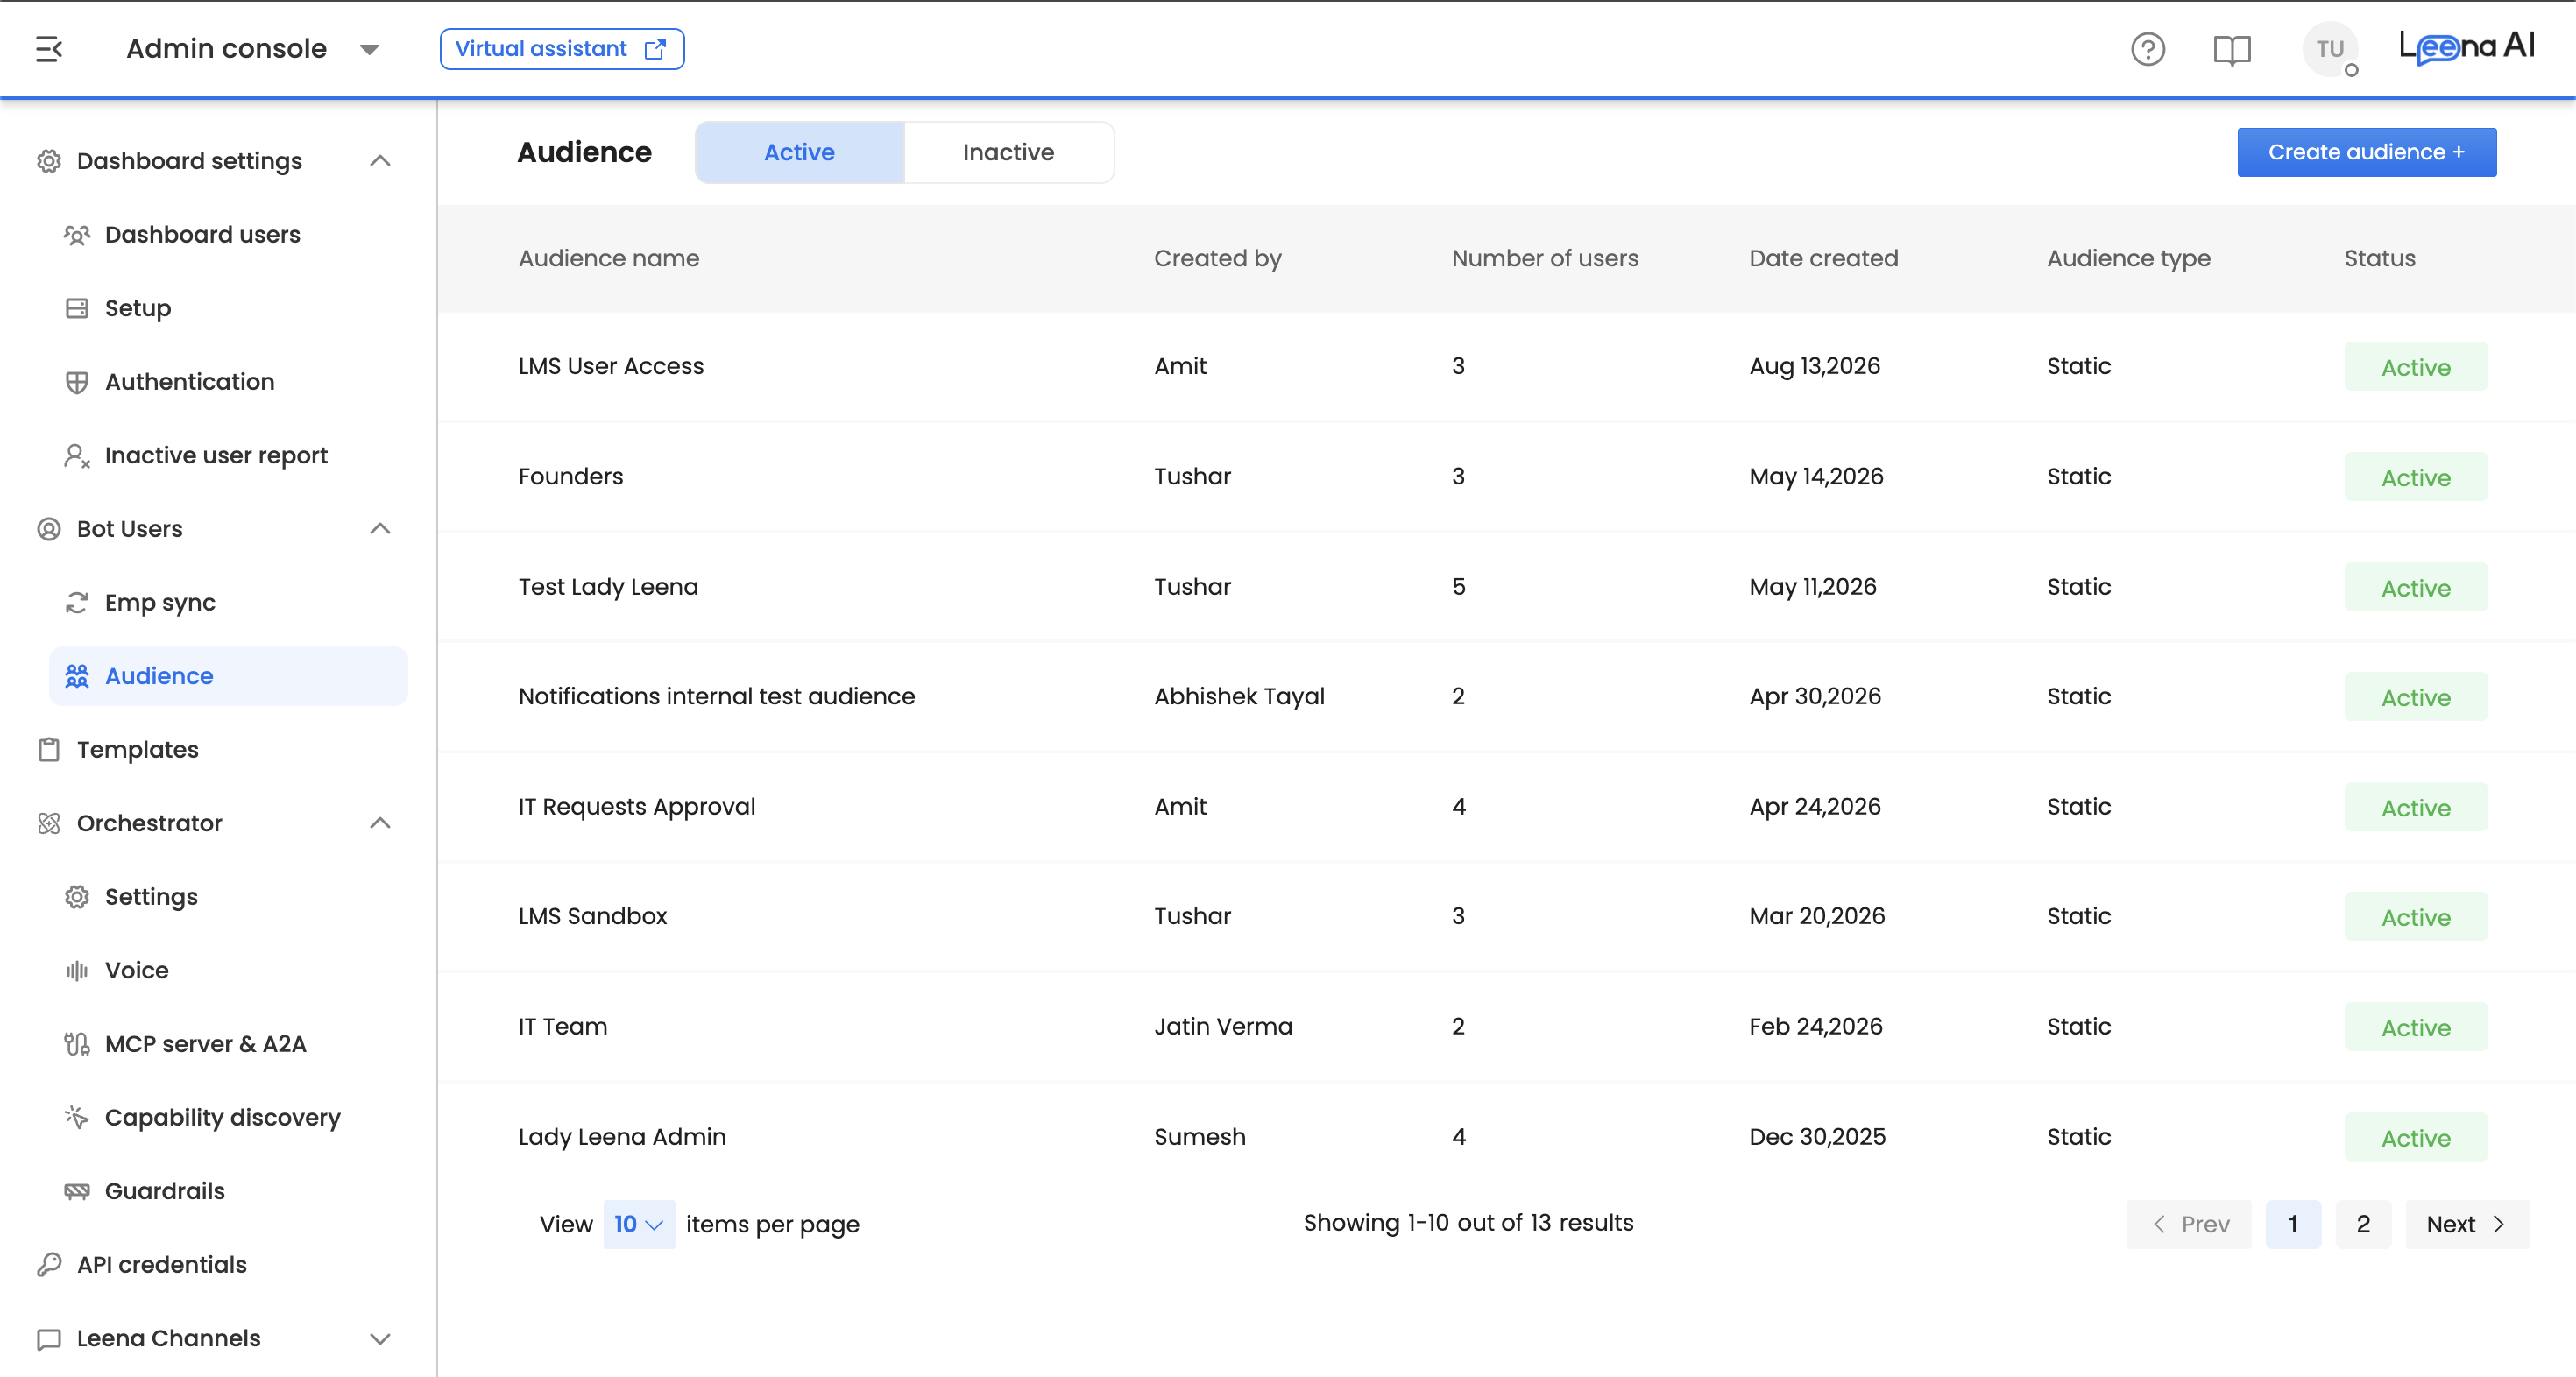
Audience
An audience is a group of employees who have access to the bot. Audiences are used across Knowledge Management, Notifications, and Workflows to decide who sees what — which content is visible, who receives a message, and who a workflow is available to.
Some audiences are a fixed list of people you pick. Others are rules that re-evaluate themselves, so membership changes as your employee data changes.
Watch the tutorial
Where to find it
Open the Admin Console, then go to Bot Users → Audience.
AccessAudience is available to roles holding the audiences capability — in most deployments, System Admin.
Creating an audience
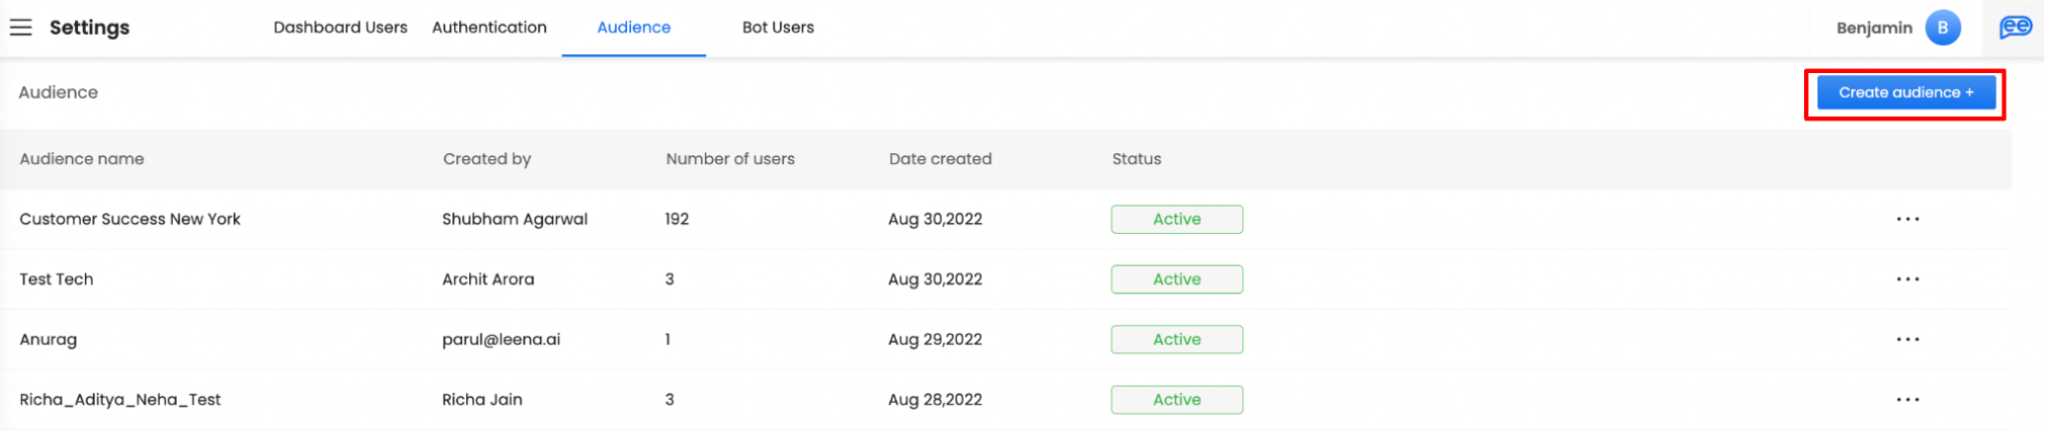
Click Create Audience to start.
Adding users manually
Select bot users individually from the list of people who have access to the bot. This produces a fixed list — it stays as you left it until you edit it.
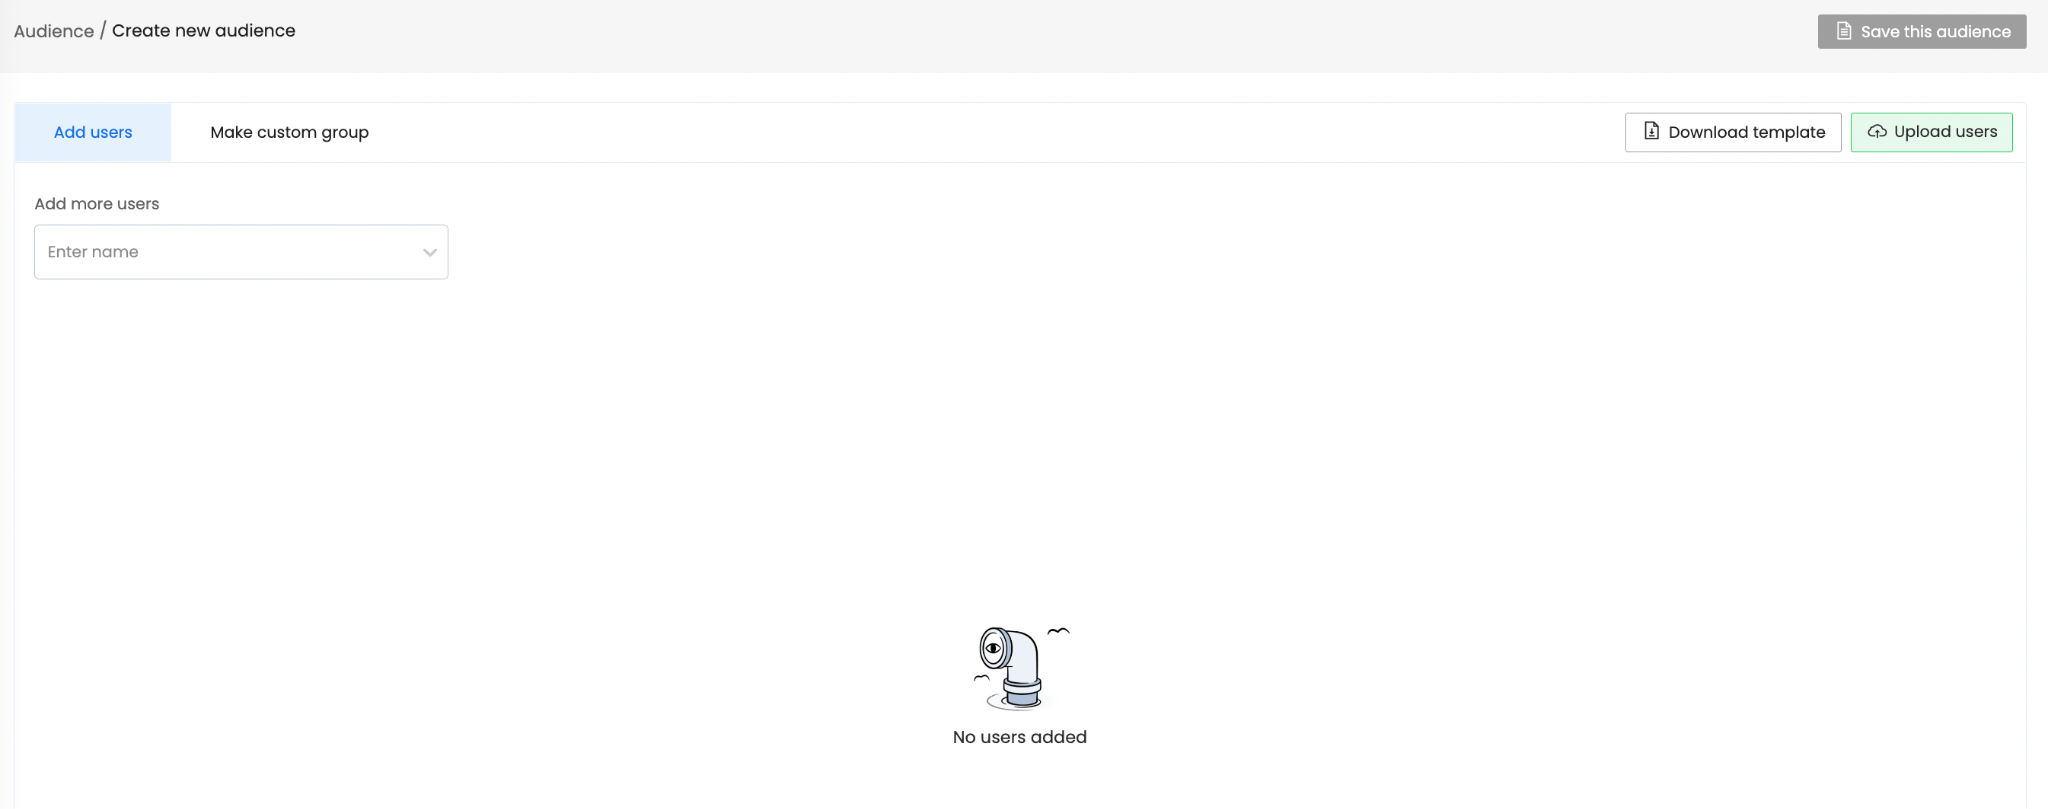
Use this for small, deliberate groups: a pilot cohort, a working group, a named set of reviewers.
Building a custom group
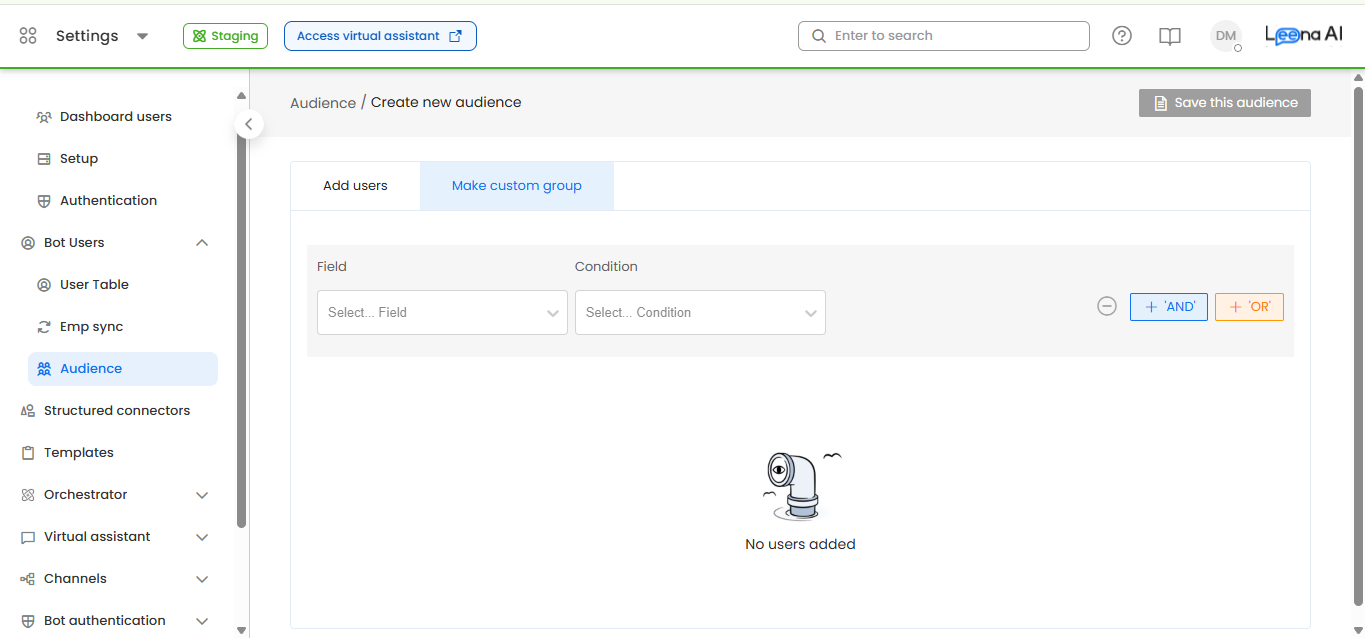
A custom group filters employees by their attributes rather than naming them. For example, everyone in the Sales department. Conditions can be combined with AND or OR to narrow the group further.
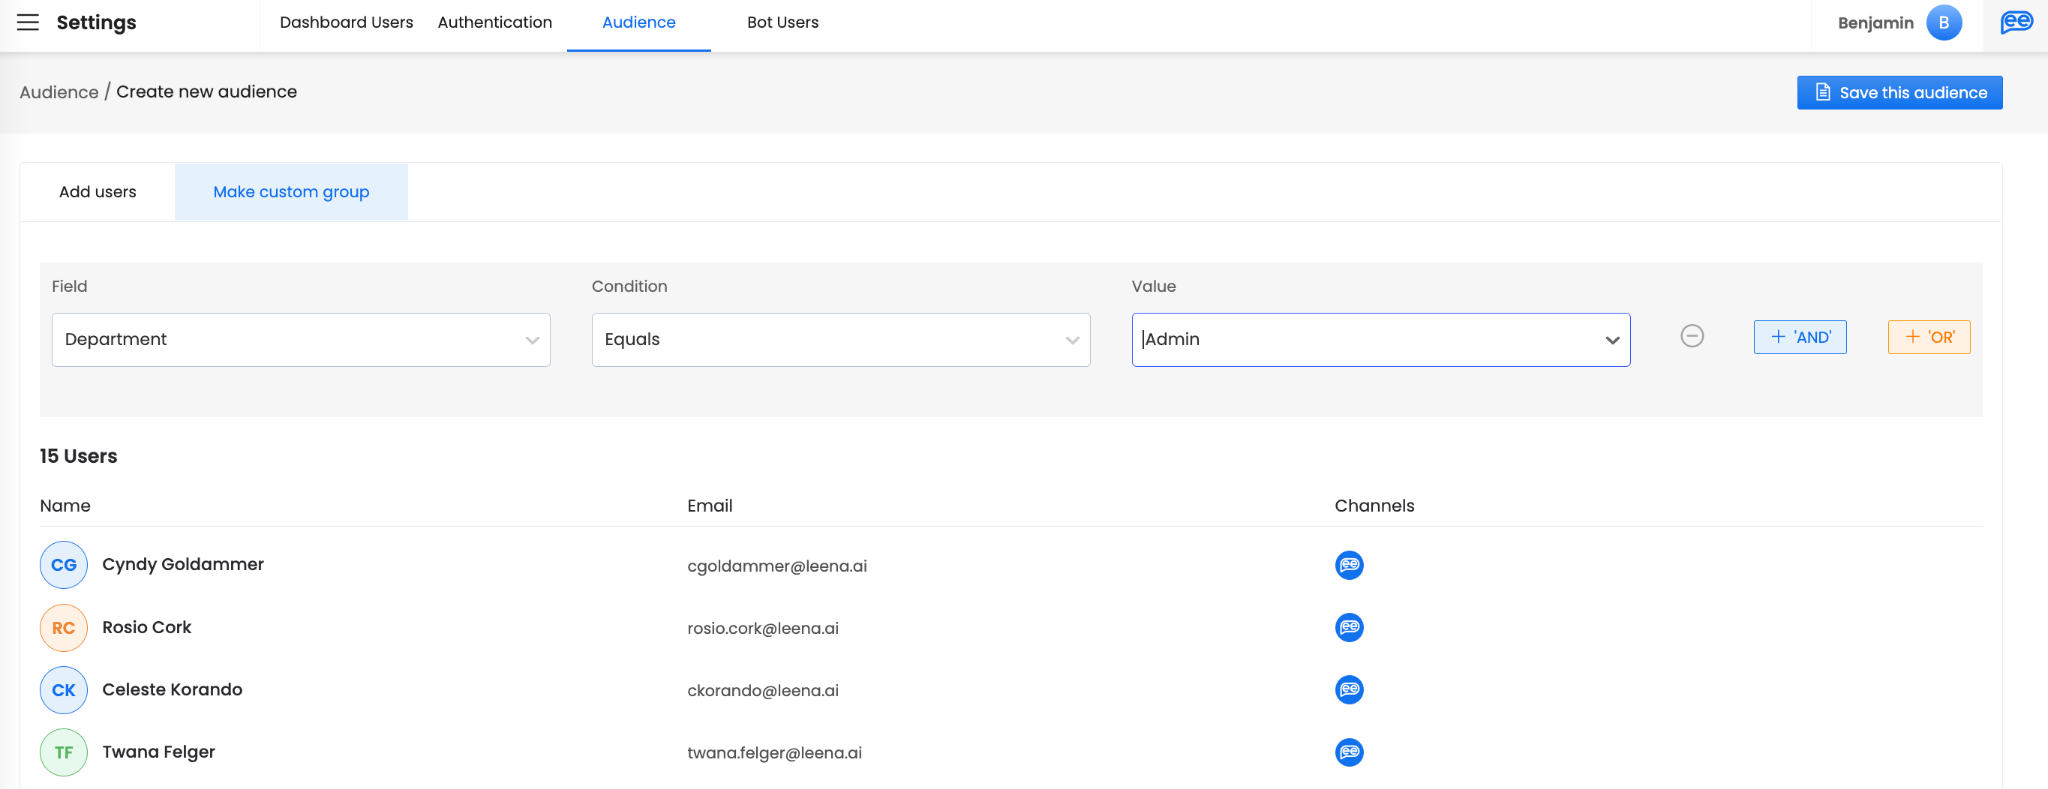
Membership here is dynamic. Anyone in the organization who comes to match the rules joins the audience automatically, and anyone whose attributes change so they no longer match is removed from it. Click Save this audience to keep the group for reuse.
Dynamic membership cuts both waysBecause a custom group re-evaluates against current employee data, an attribute change made in your HRMS can silently add or remove people from an audience that governs content visibility. Worth keeping in mind when a custom group is used to gate sensitive knowledge.
Time-based audiences
Some of the most useful audiences are time-sensitive: people who joined recently, or people with a birthday or work anniversary today. These need employee dates to be populated — anyone missing the relevant date is excluded from the audience.
New joiners
To build an audience that always reflects recent joiners, create a Custom group and configure a filter on the joining date.
Select the Joining Date field, choose the In last N days operator, and enter a value for N.
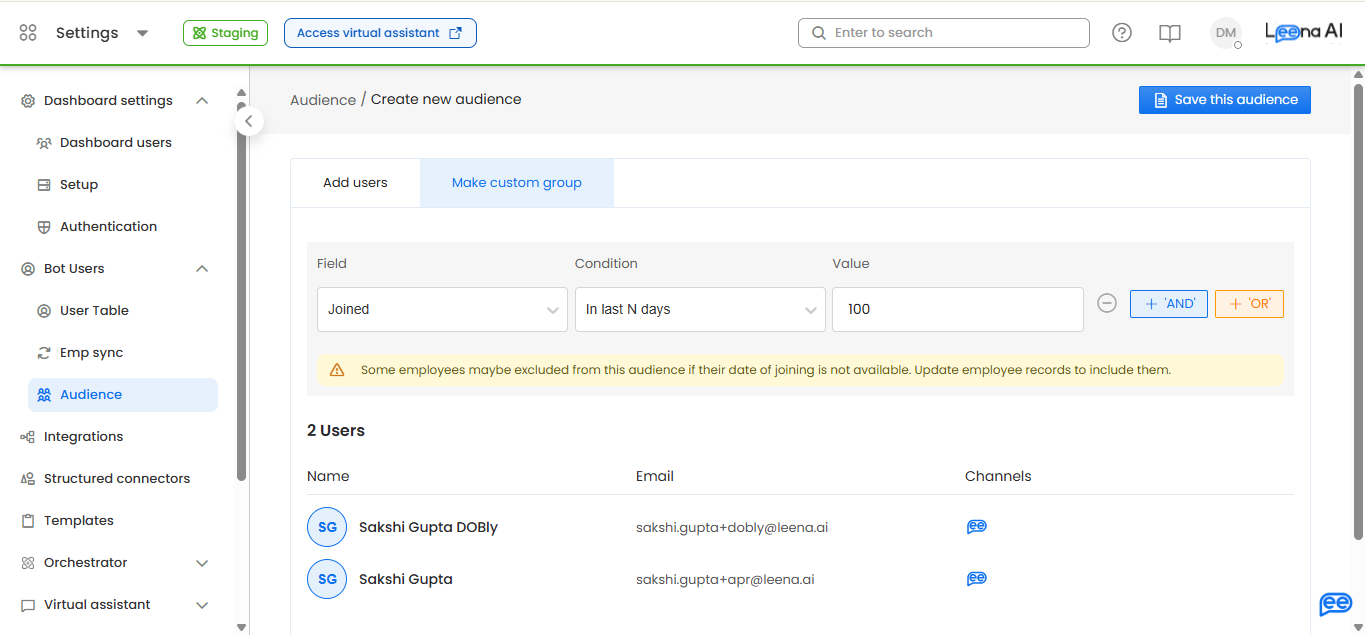
N must be a whole number between 1 and 365. Anything outside that range is rejected when the audience is evaluated.
Review the preview before saving — if employees are being excluded because they have no joining date, a warning appears there. Give the audience a clear name, such as "New Joiners (Last 30 Days)", and save it. It is then reusable anywhere audiences are picked, including Notifications.
How the window is measuredThe window runs from the start of the day N days ago through the end of today, so it covers today plus the previous N days. Setting N to 7 therefore matches eight calendar days of joiners, not seven. Allow for that overlap if a recurring notification uses this audience, or people may be picked up twice.
Time-based filters combine with any other condition. "Joined in last 30 days AND Department = Engineering" is a single saved audience.
Birthdays and work anniversaries
Birthday and work anniversary targeting works differently: there is no saved audience for it. Both are presets chosen while composing a notification, and their membership is worked out fresh each time the notification runs.
This is deliberate. Membership changes every day, so a stored list would be stale the moment it was saved. It also means you will not find Birthday or Anniversary options in the Audience builder — look for them in Notifications instead.
Using the birthday and anniversary presets
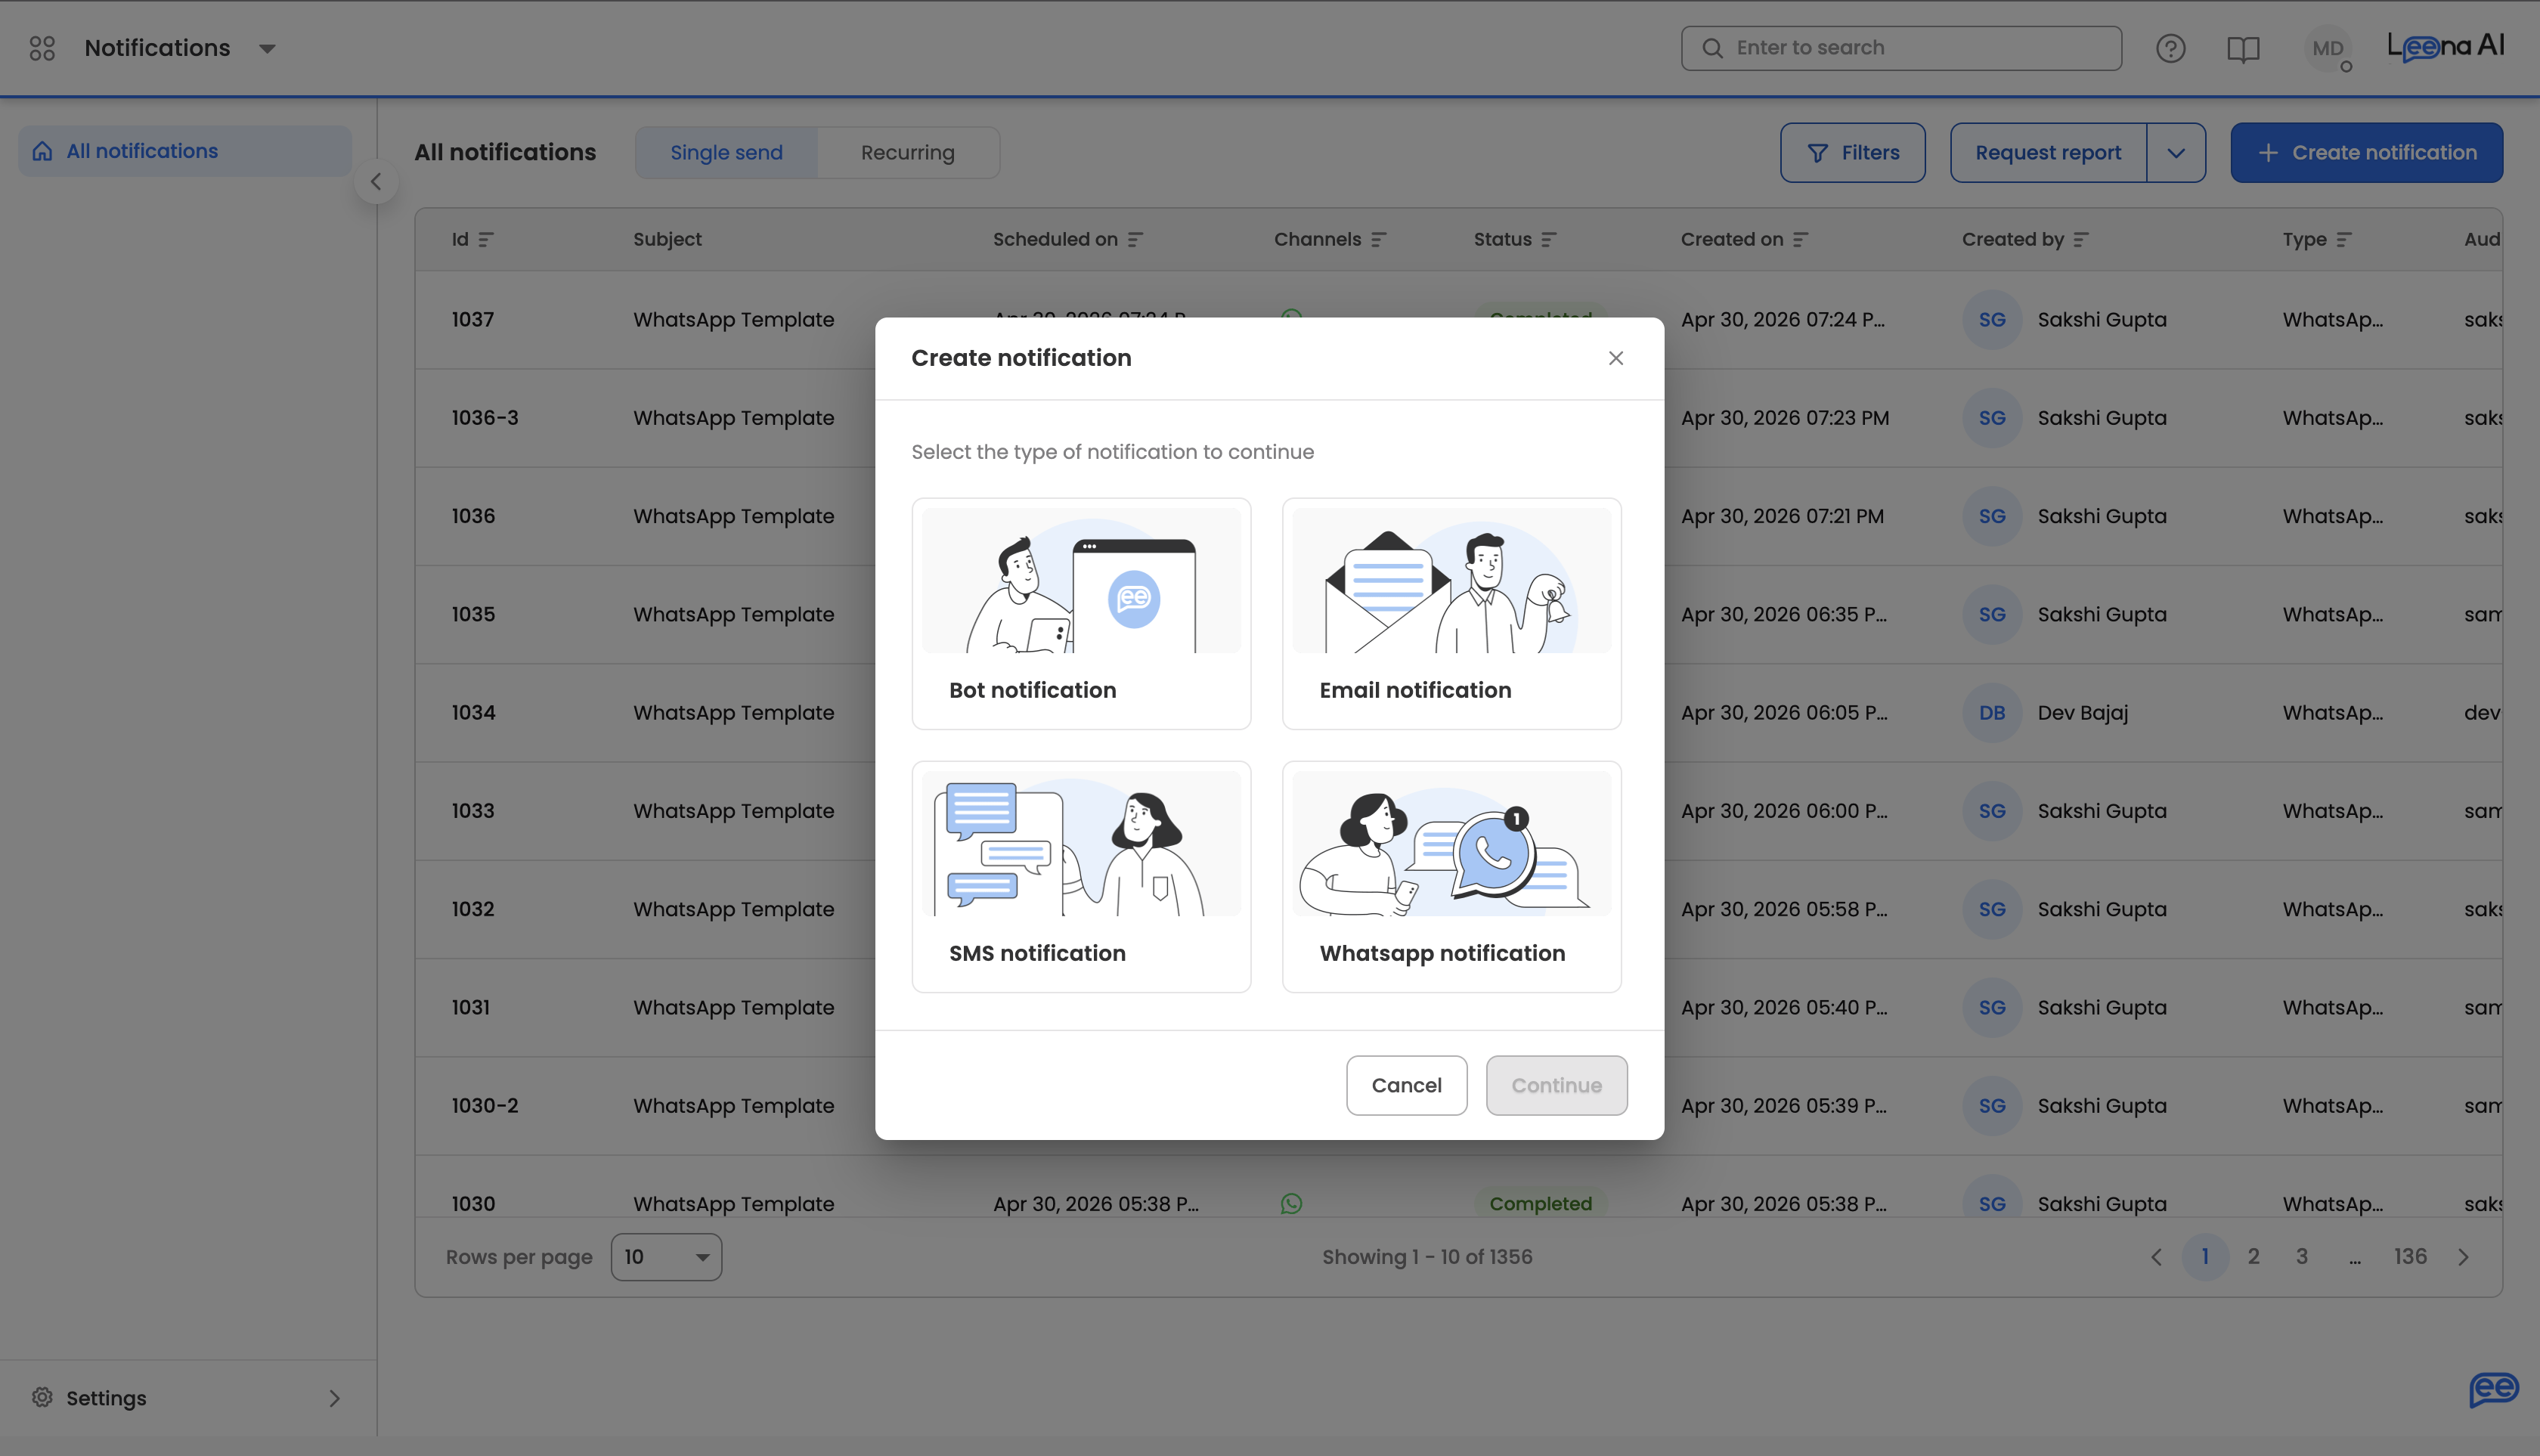
Create a notification from Notifications → Create Notification, choose the type (bot, email, WhatsApp, or SMS), and compose your content as usual.
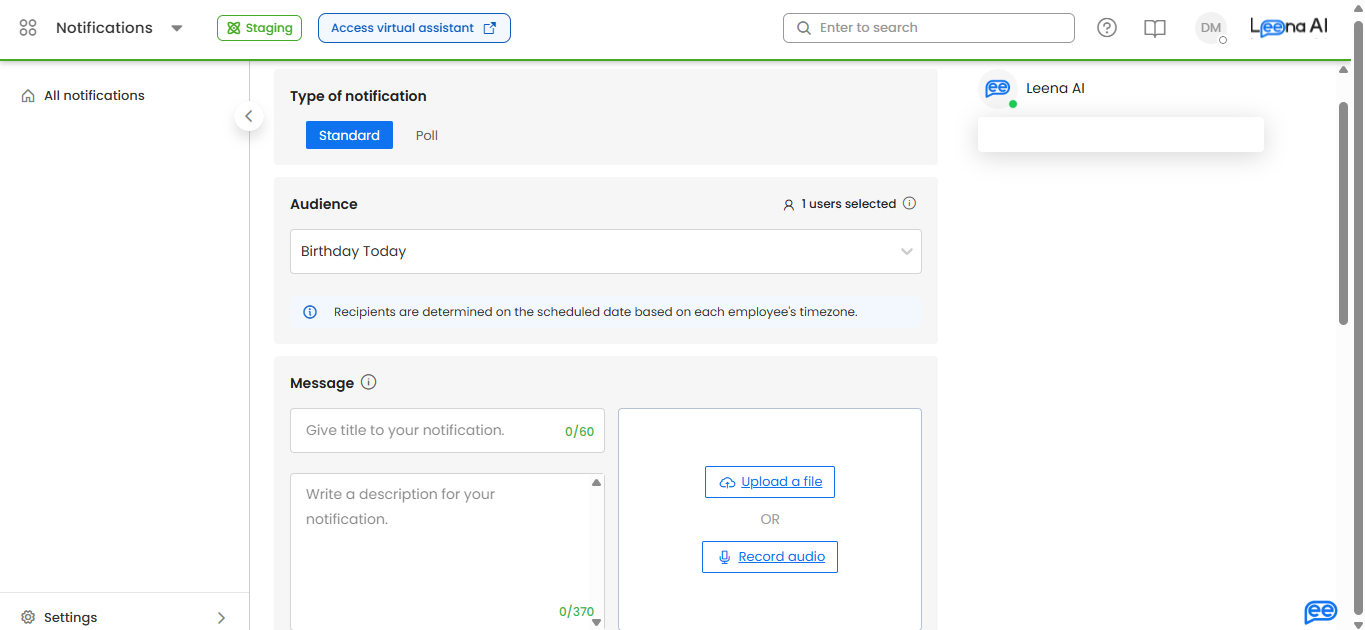
In the audience selector, choose Birthday Today or Work Anniversary Today. They sit alongside Everyone, Activated, Not Activated, and Pick Audience.
Then set up delivery: enable Recurring scheduling, set the frequency to Daily, and pick the local-time hour you want the message to land — 9:00 AM in the employee's own time, for instance. Selecting either preset switches timezone-aware delivery on automatically. Save and create the notification (or send, for email).
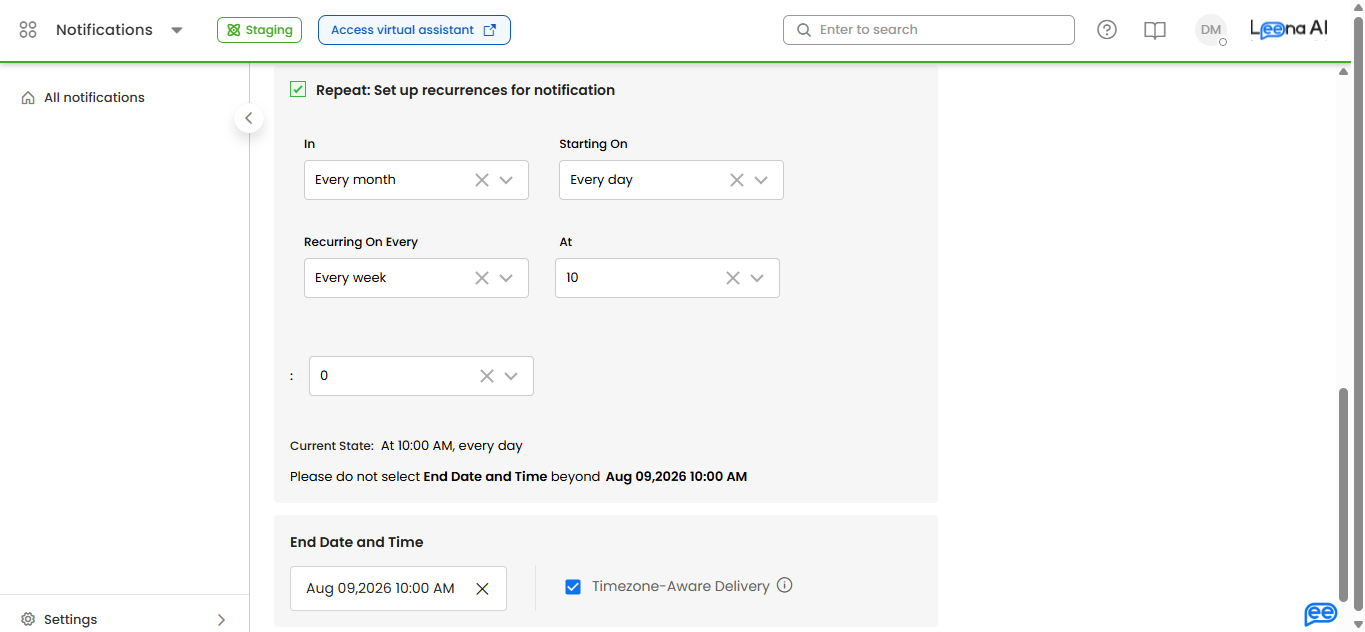
Use these presets on a recurring notificationA recurring notification is allowed to have no matching recipients when you create it, because the audience is recalculated on each run. A one-off notification is not — if nobody has a birthday on the day you set it up, creation fails with an audience-count error. Set the schedule to recurring before saving.
Test the content firstSend a one-time notification to a Pick Audience containing only yourself to check how the message renders, then set up the recurring run.
How recipients are determined
| Rule | Behaviour |
|---|---|
| Date evaluated | "Today" means the date the notification runs, not the date you created it |
| Matching | Birthday Today matches on the employee's date of birth; Work Anniversary Today matches on their joining date. Only the month and day are compared, so the year is ignored |
| Rehires | Work anniversary uses whatever joining date is currently on the employee record, so a rehired employee's anniversary follows the rehire date |
| Feb 29 | In non-leap years, employees with a 29 February date are matched on 1 March, so nobody is skipped |
| Delivery time | Each employee receives the message at the chosen hour in their own timezone. Where an employee has no timezone on their profile, delivery falls back to the admin timezone — the message still arrives, just at the admin's local hour |
| Missing dates | Employees without the required date are excluded silently. The audience preview warns you about exclusions while you are building a saved audience |
| Permissions | The presets follow your existing Notifications access controls. No extra permission is needed |
Managing existing audiences
The audience list shows each audience with its name, language, number of users, creation date, type, status, and refresh status.
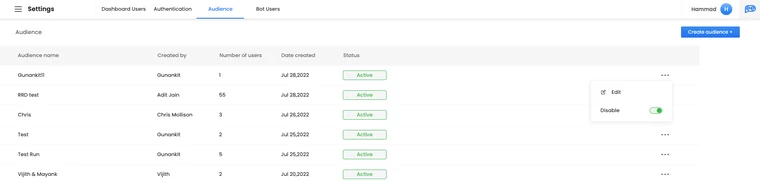
Use Edit to change an audience — including which users belong to a manual list, or the conditions behind a custom group. To take one out of use, open the menu (three dots) beside it and choose Disable; its status changes to Inactive.
Refresh status tells you where a custom group is in its most recent re-evaluation, and shows as running, completed, or failed. A failed refresh means membership may be stale, so check it if an audience is returning unexpected numbers.
Updated about 2 months ago