
Build your first AI Colleague
Watch the tutorial
Create your first AI Colleague
Step 1: Navigate to AI Colleagues Dashboard
- Log into the platform
- Select "AI Colleagues" from the main navigation
- Click "Create AI Colleague"
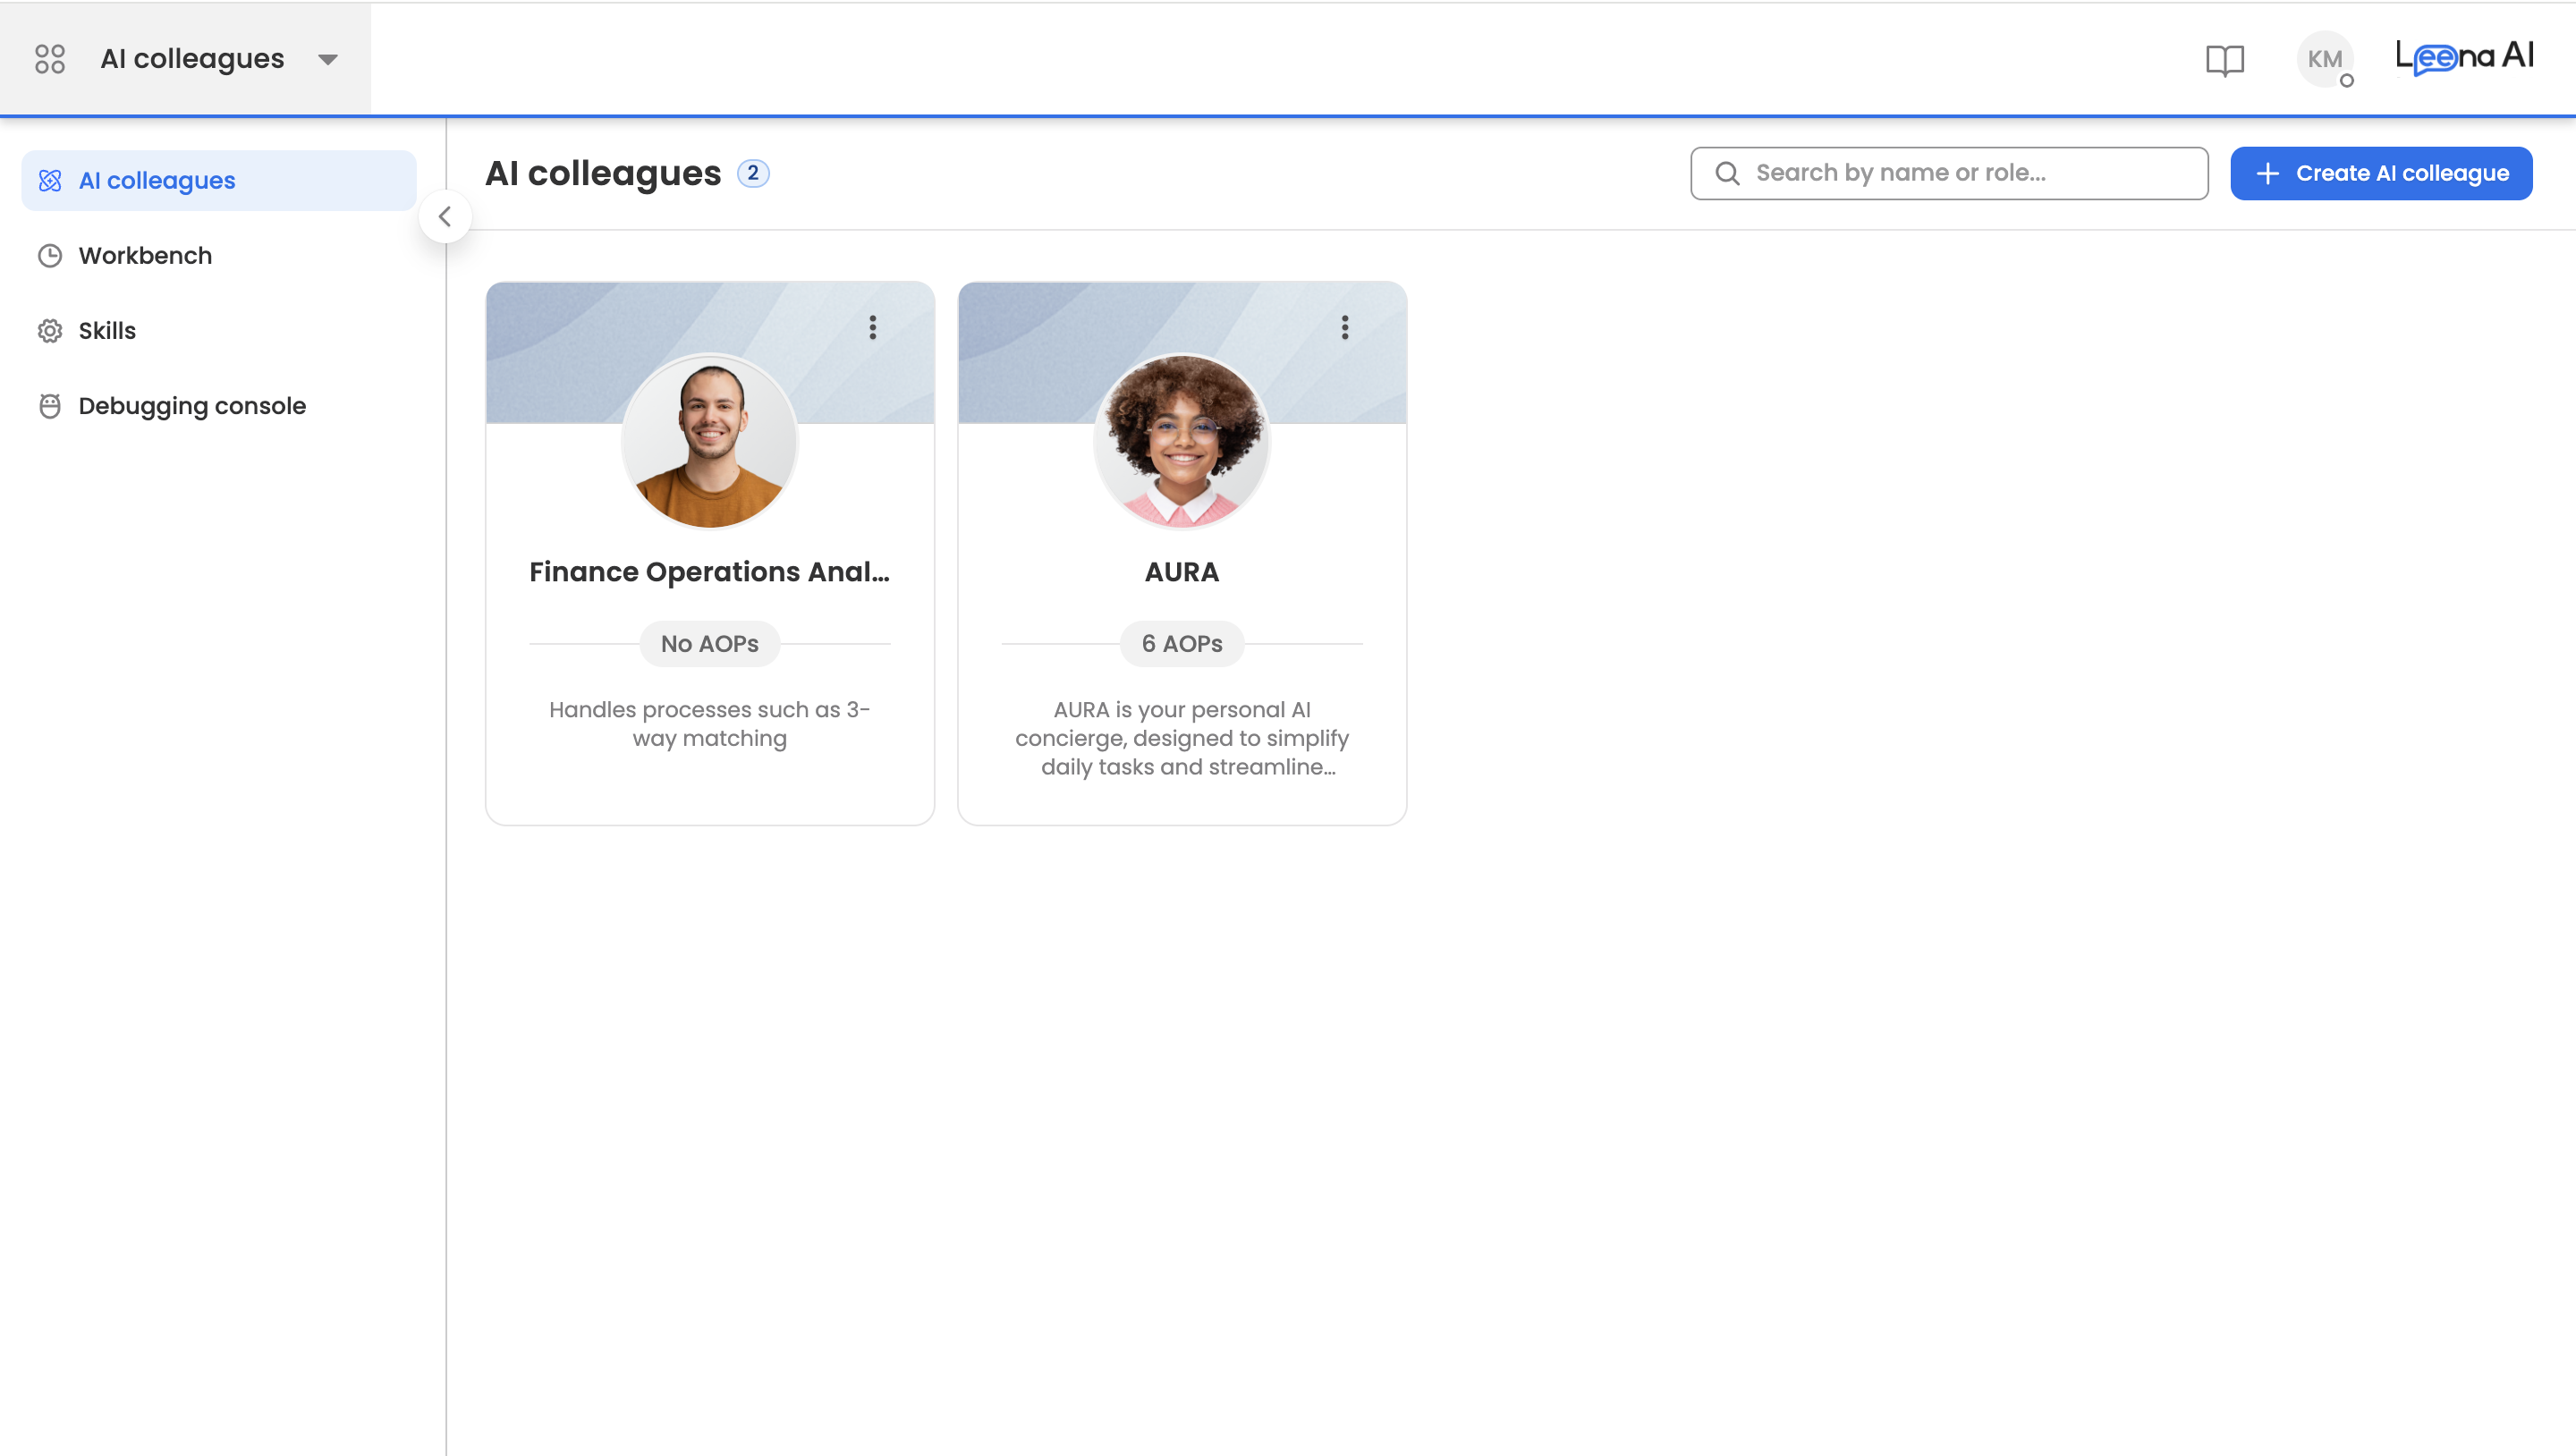
This is how your AI Colleagues would look once created
Step 2: Configure Basic Settings
- Name: Name of the AI Colleague which represents its role. For example, 'HR Operations Specialist'.
- Description: The Job Description of the AI Colleague. For example, 'Automates employee onboarding, document compliance, and attendance management'.
- Escalation Manager: Select an employee as Escalation Manager. Wherever an AOP execution is stuck, it would reach out to Escalation Manager for further guidance.
Building Your First AOP
Step 1: Navigate to AI Colleagues Dashboard
- From your AI Colleague profile, click "Create AOP"

Once you create an AI Colleague from scratch, you would land on empty page to start creating AOPs

View with all your created AOPs
Step 2: Basic details of AOP
- AOP Name: Name of the AOP (business process). For example, "Daily Attendance Reconciliation."
- Description: A short description of what an AOP does. For example, "Check employee time punches against schedules, identify discrepancies, and request manager approval for exceptions."
- AOP type: The AOP Type determines how and when the AOP can be executed. Access detailed documentation here.
- Audience: An AOP can be either enabled for all employees or specific employees. If enabled for specific user/employee, an AOP can be utilised to address a user's query on virtual assistant.
- Attachments: Any document which can be utilised at the time of AOP execution. For example, Reimbursement policy document is a part of AOP and is parsed to fetch category-wise reimbursement limits.
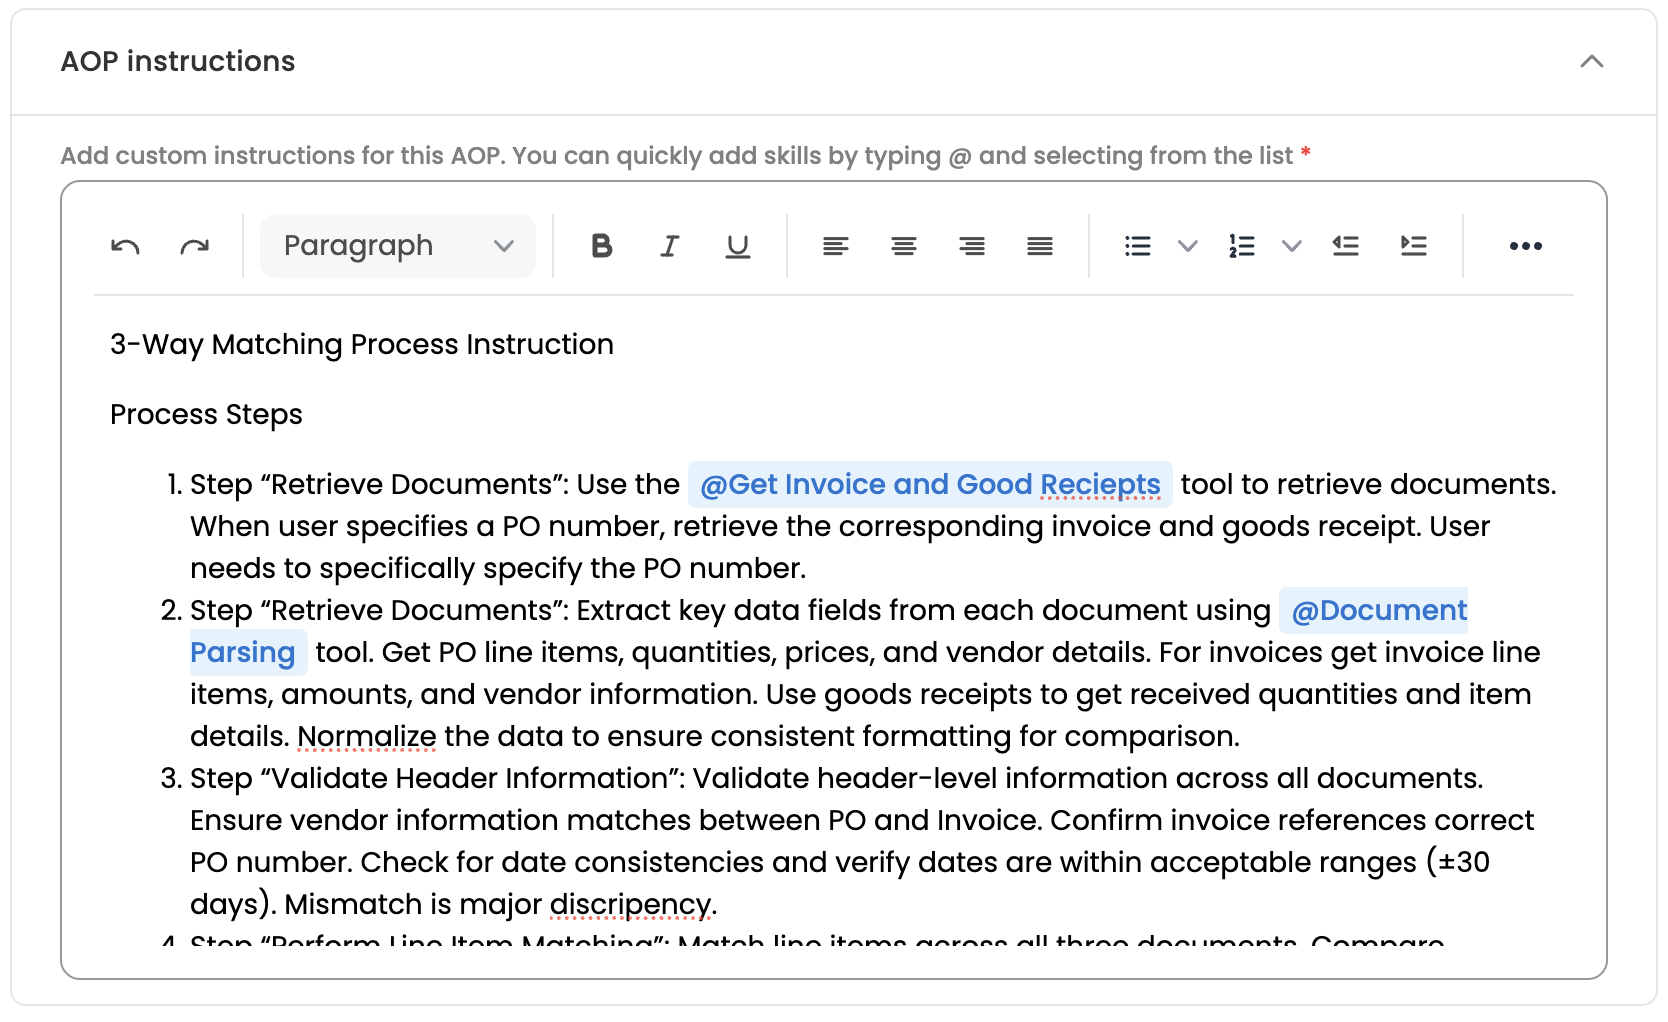
Step 3: Define AOP Steps
- The steps of the business logic can be provided within the 'Instructions' segment of the AOP.
- Use '@' to tag a step with a tool.
Step 4: Final 'Create' action
- Click on 'Create' to finally create the AOP.
- By default, an AOP is marked as Active at the time of creating it. Once marked as active, an AOP is enabled for utilisation by AI Colleagues.
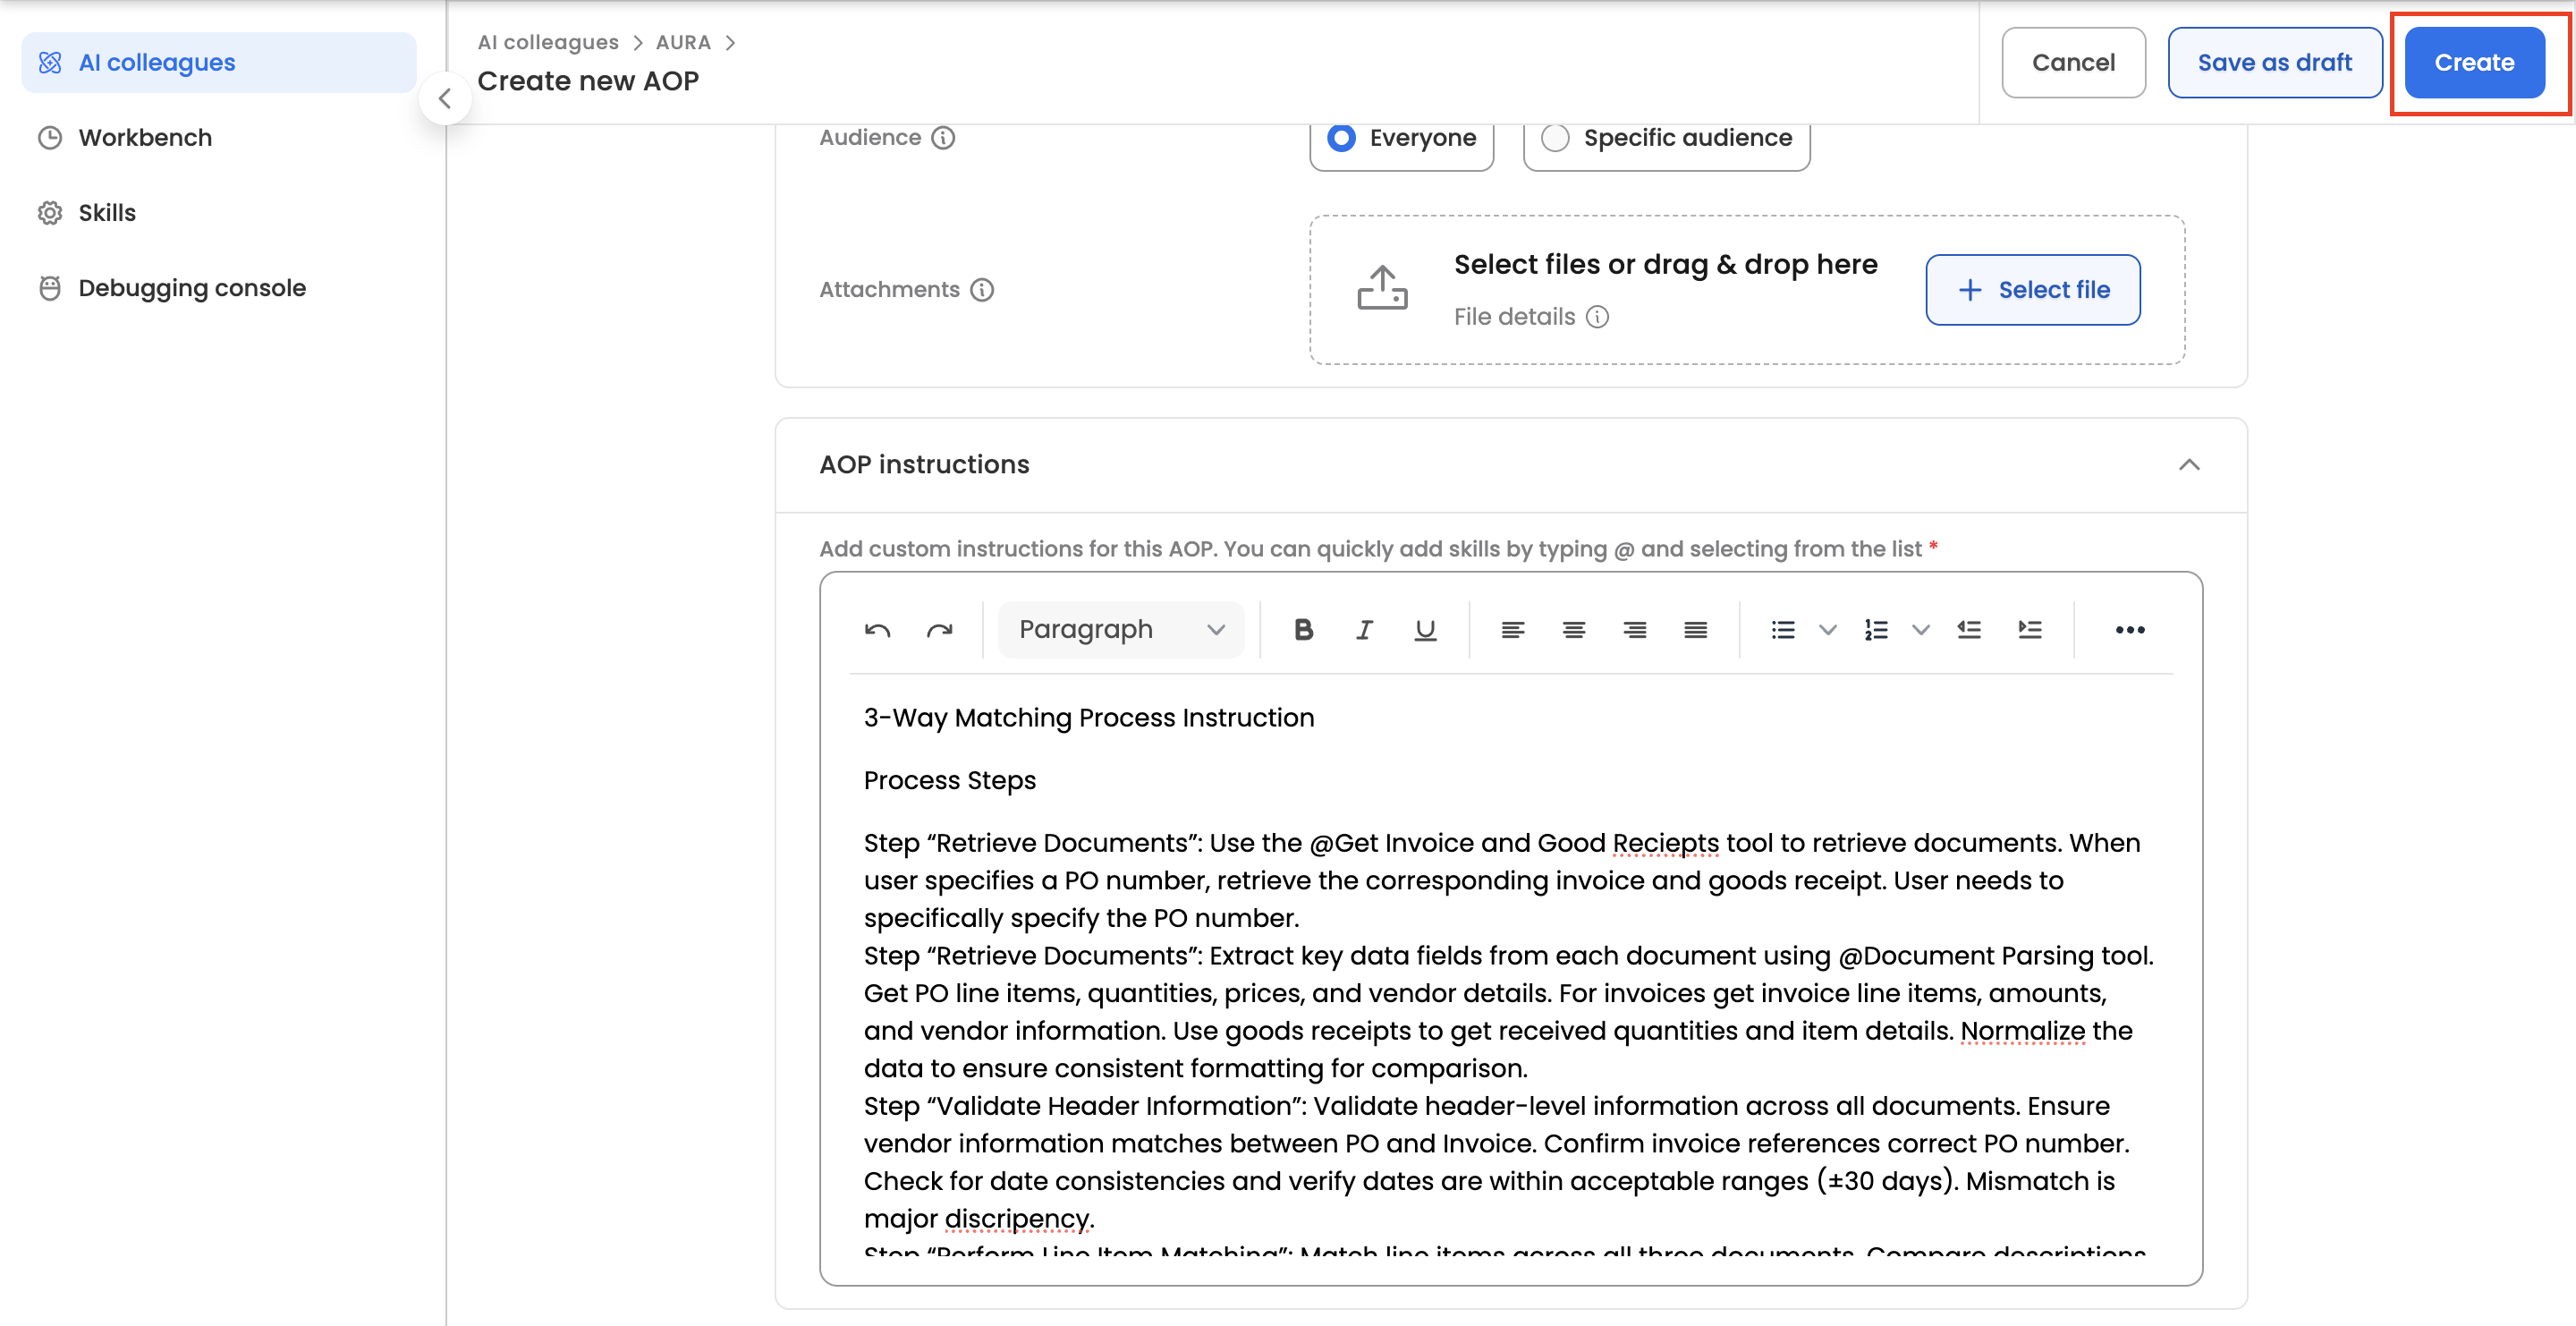
Click on 'Create' CTA to finally create an AOP
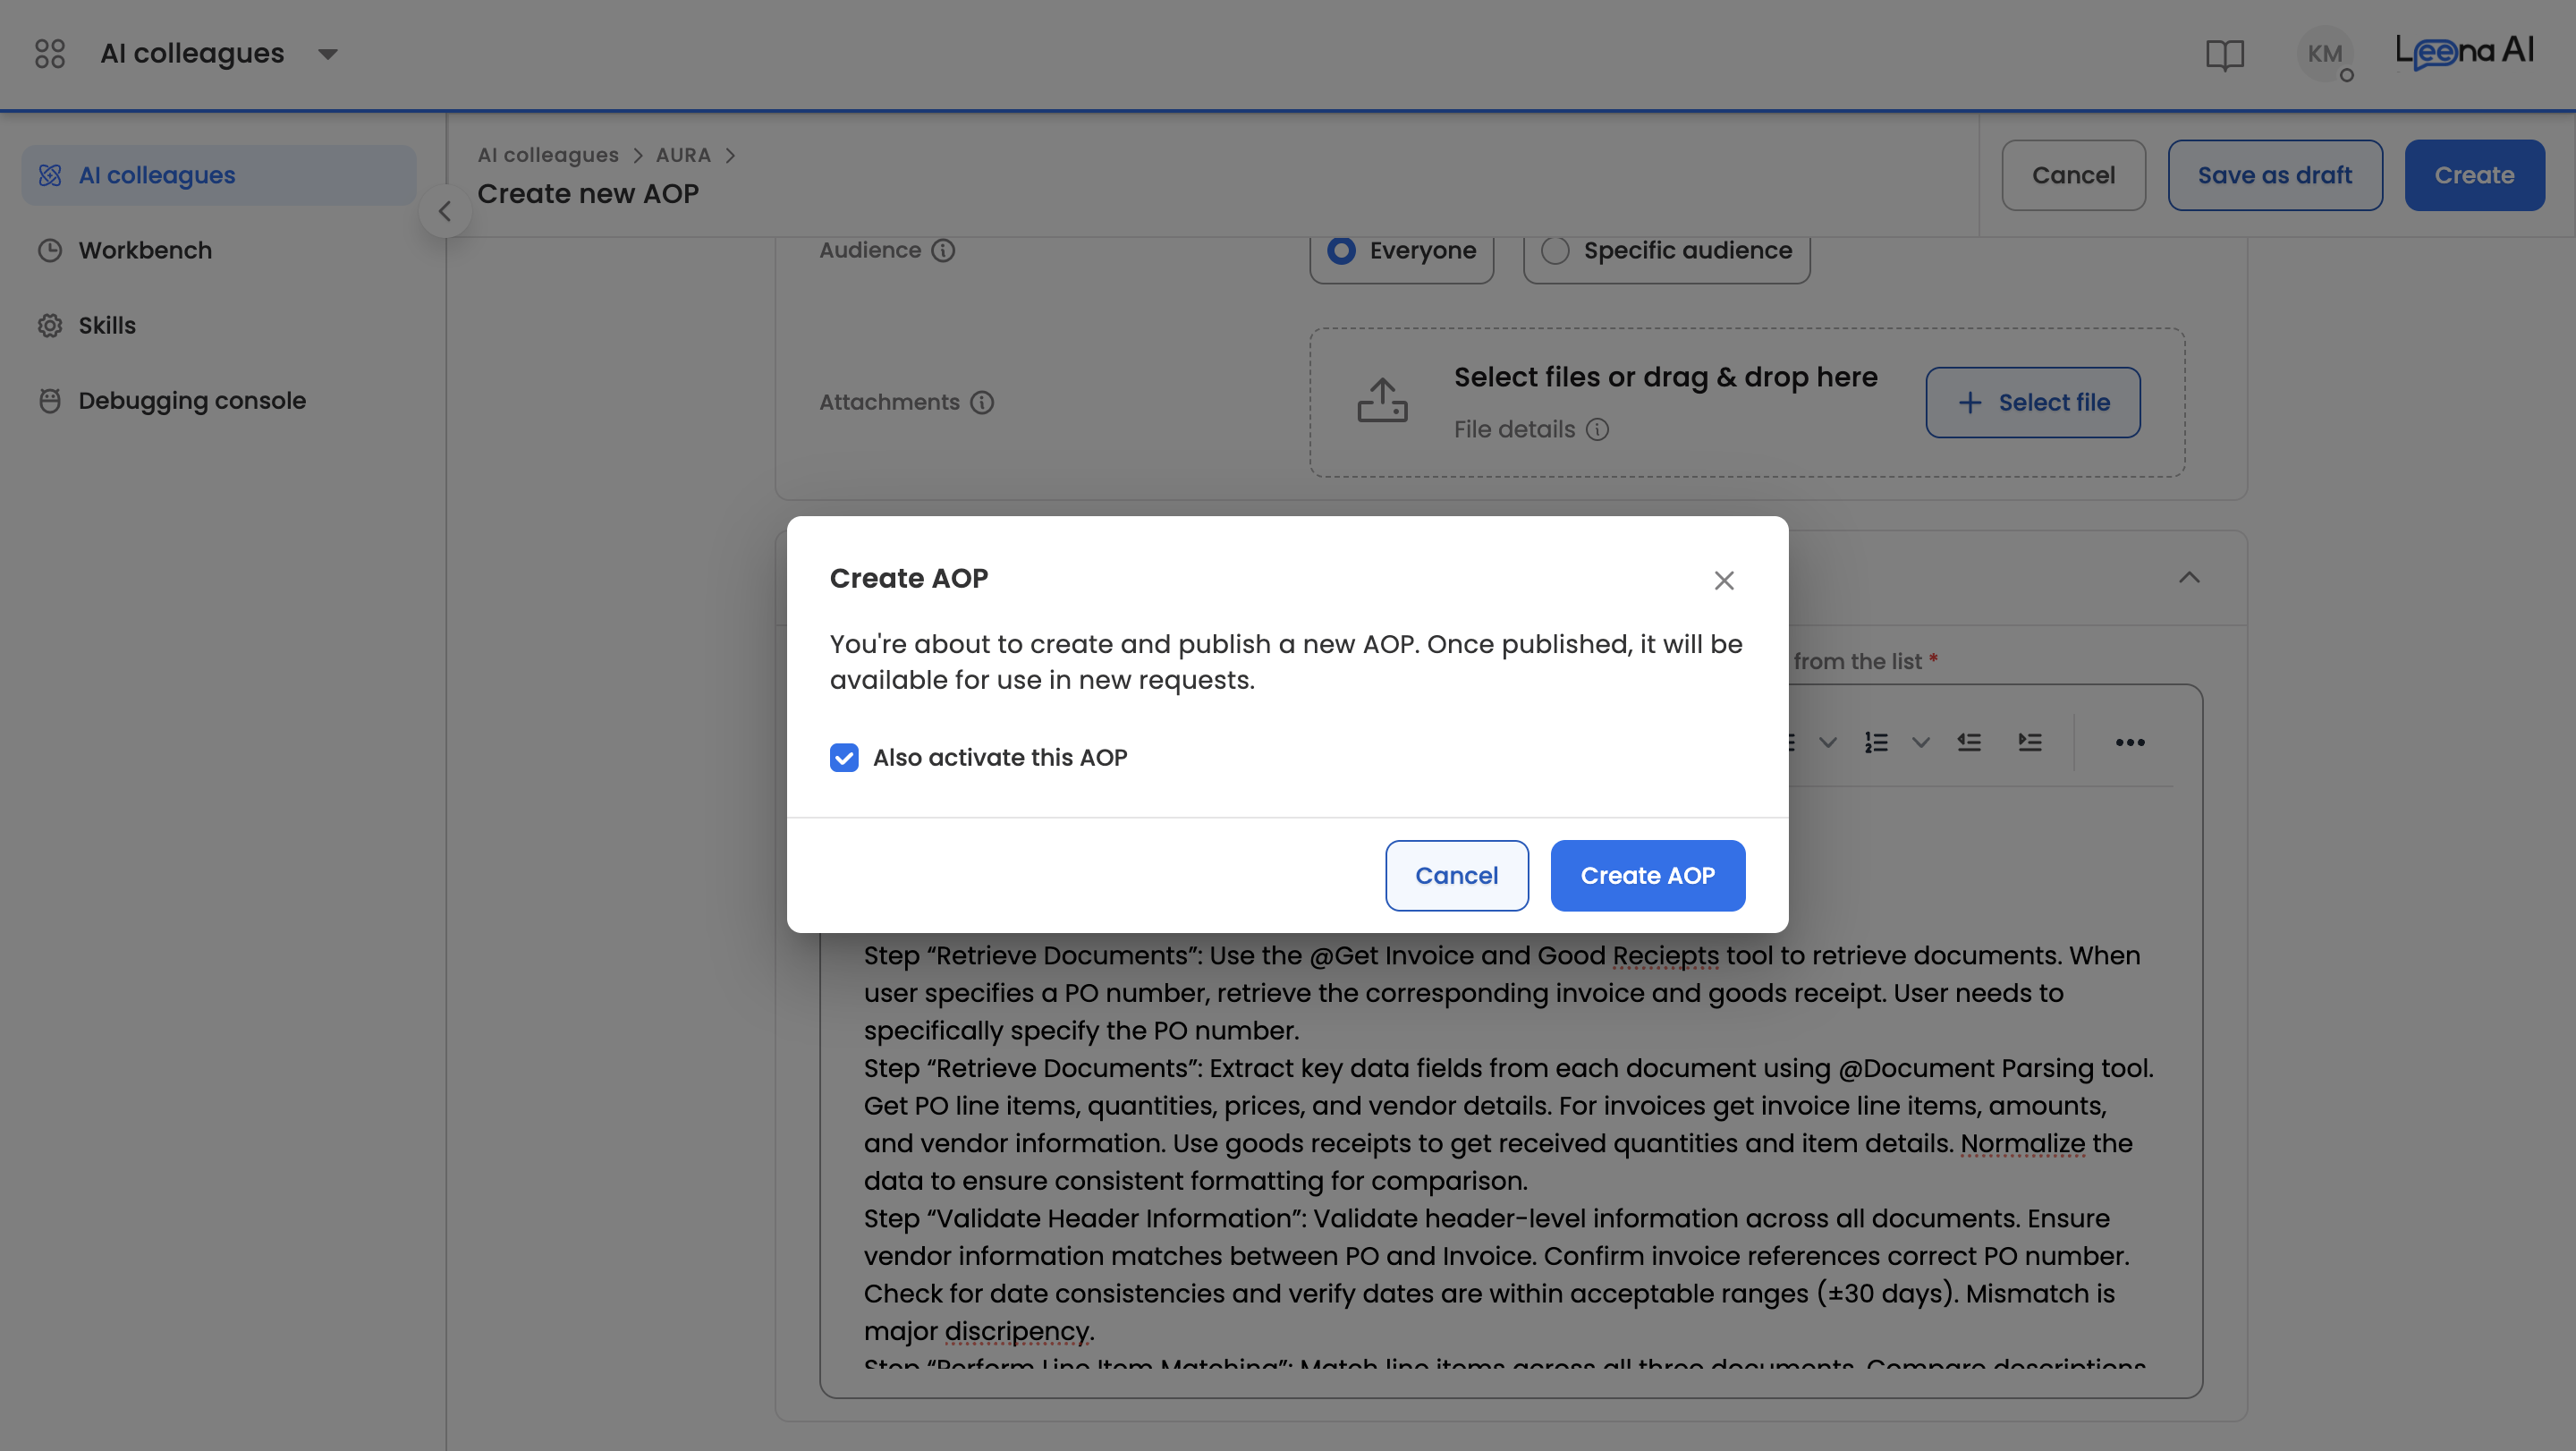
An AOP is by default marked as Active for utilisation
Managing AI Colleagues & AOPs
Delete an AI Colleague
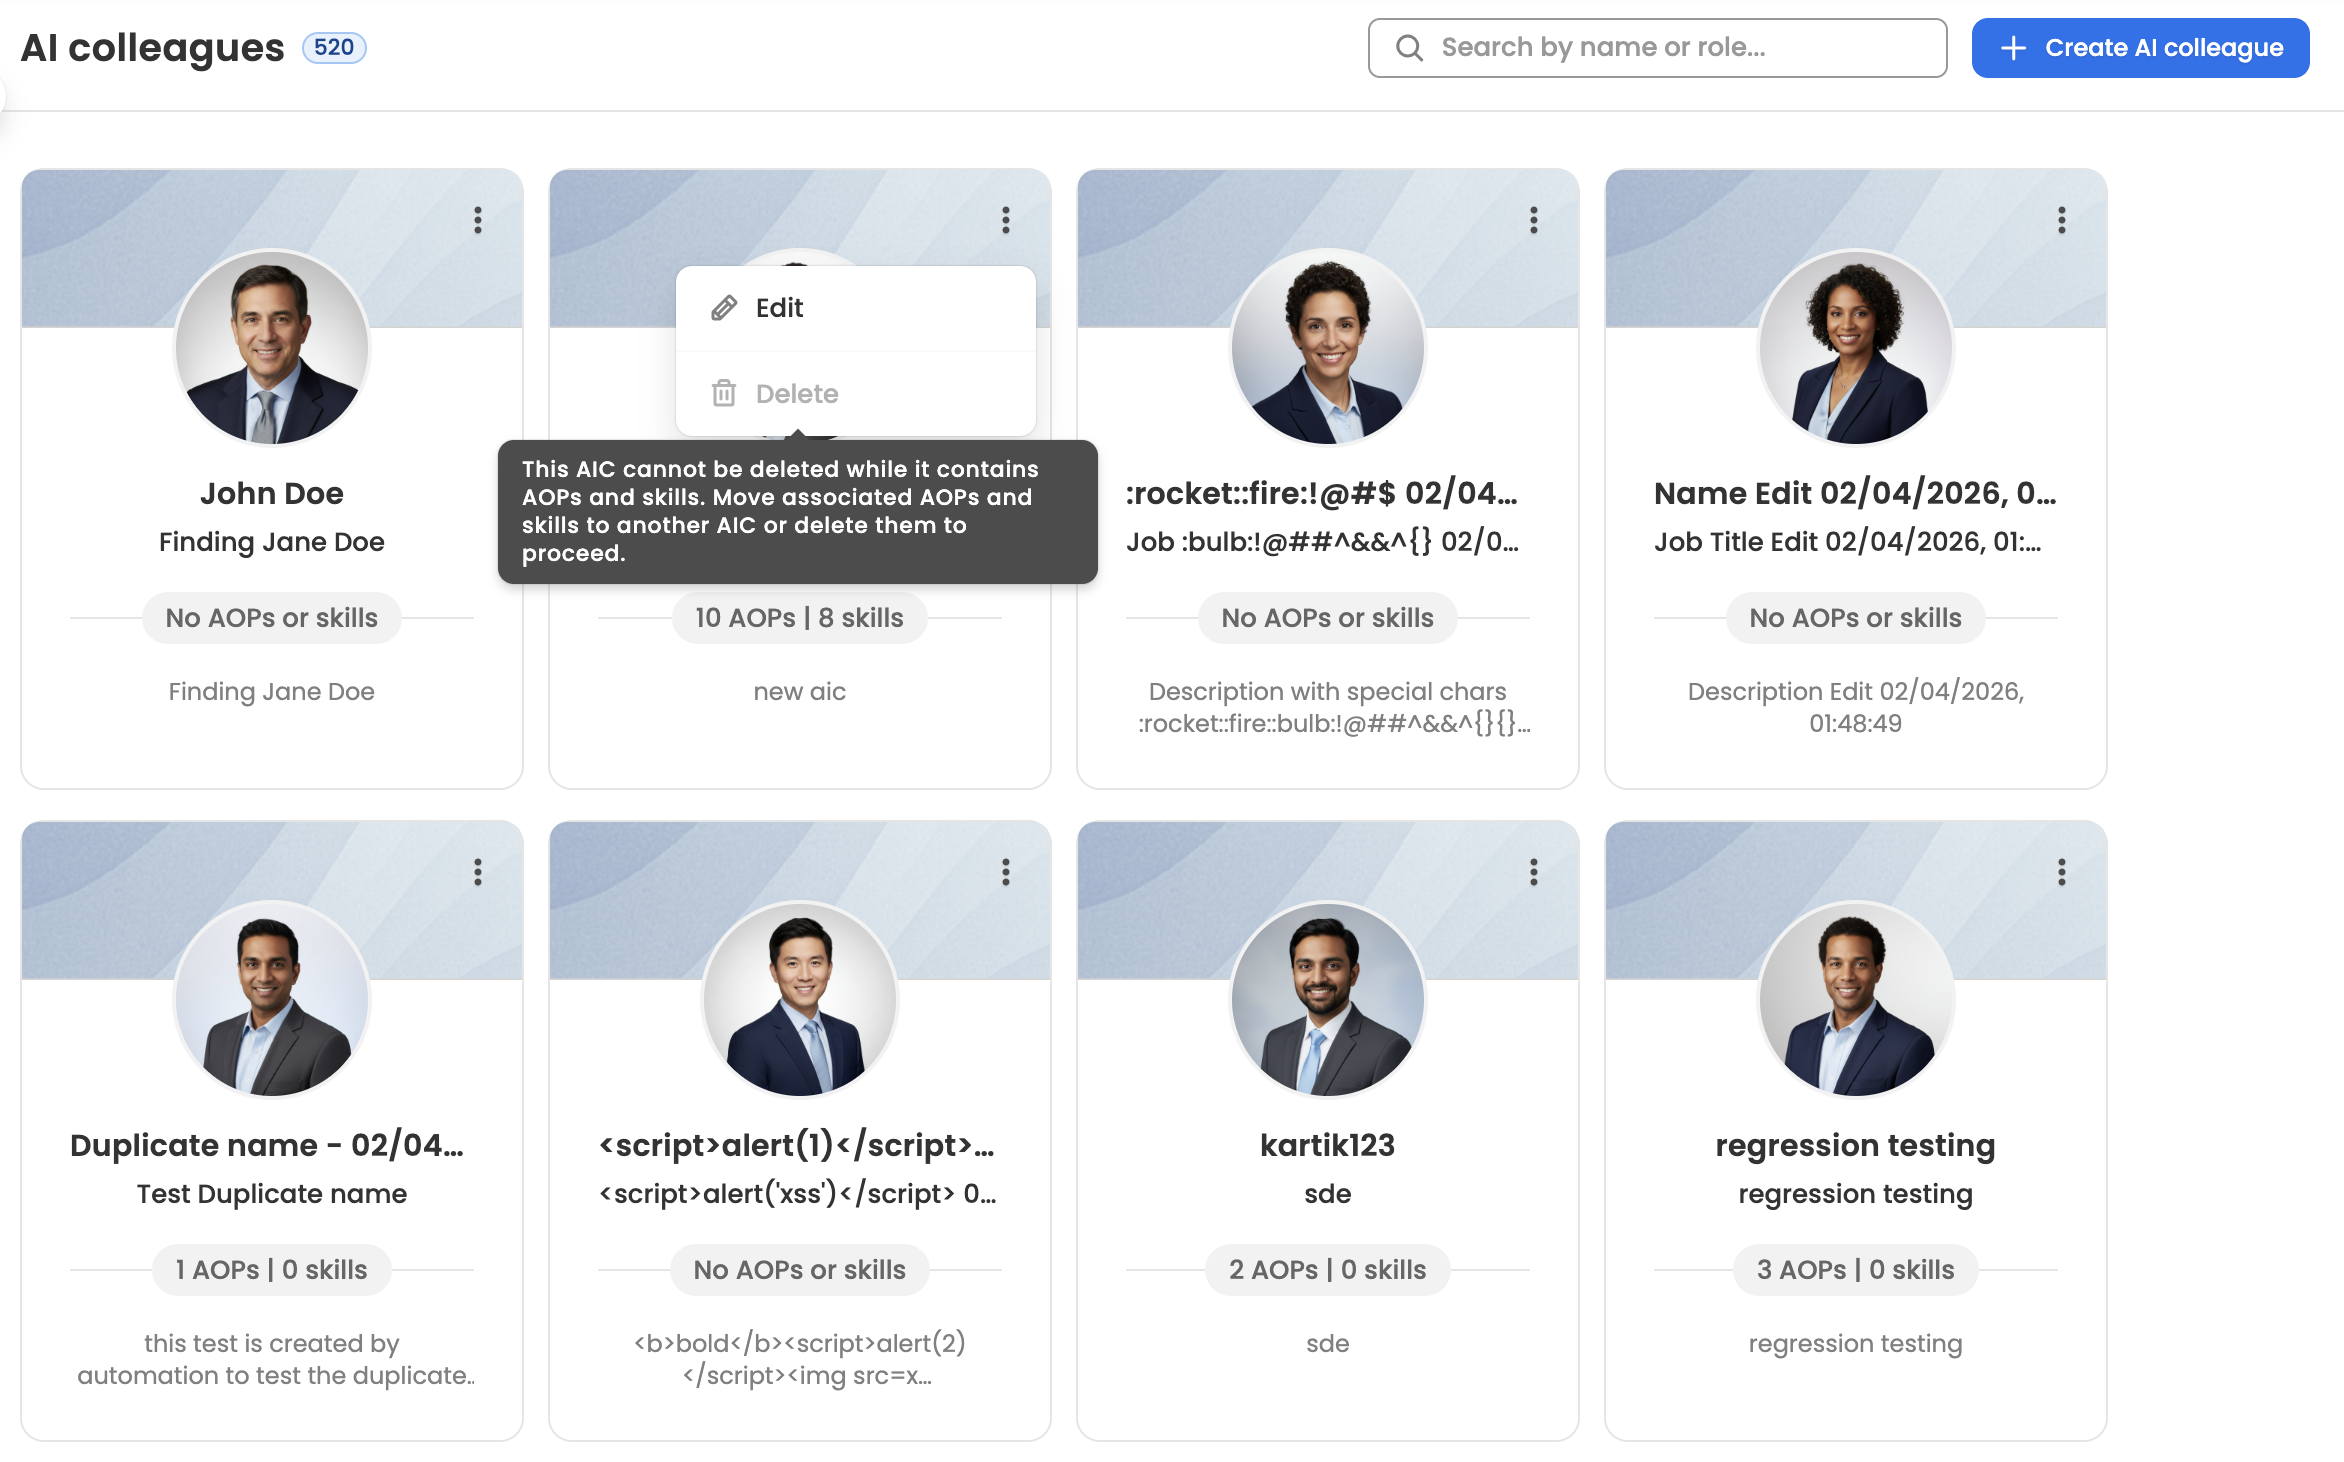
You can permanently delete an AI Colleague that has no AOPs linked to it.
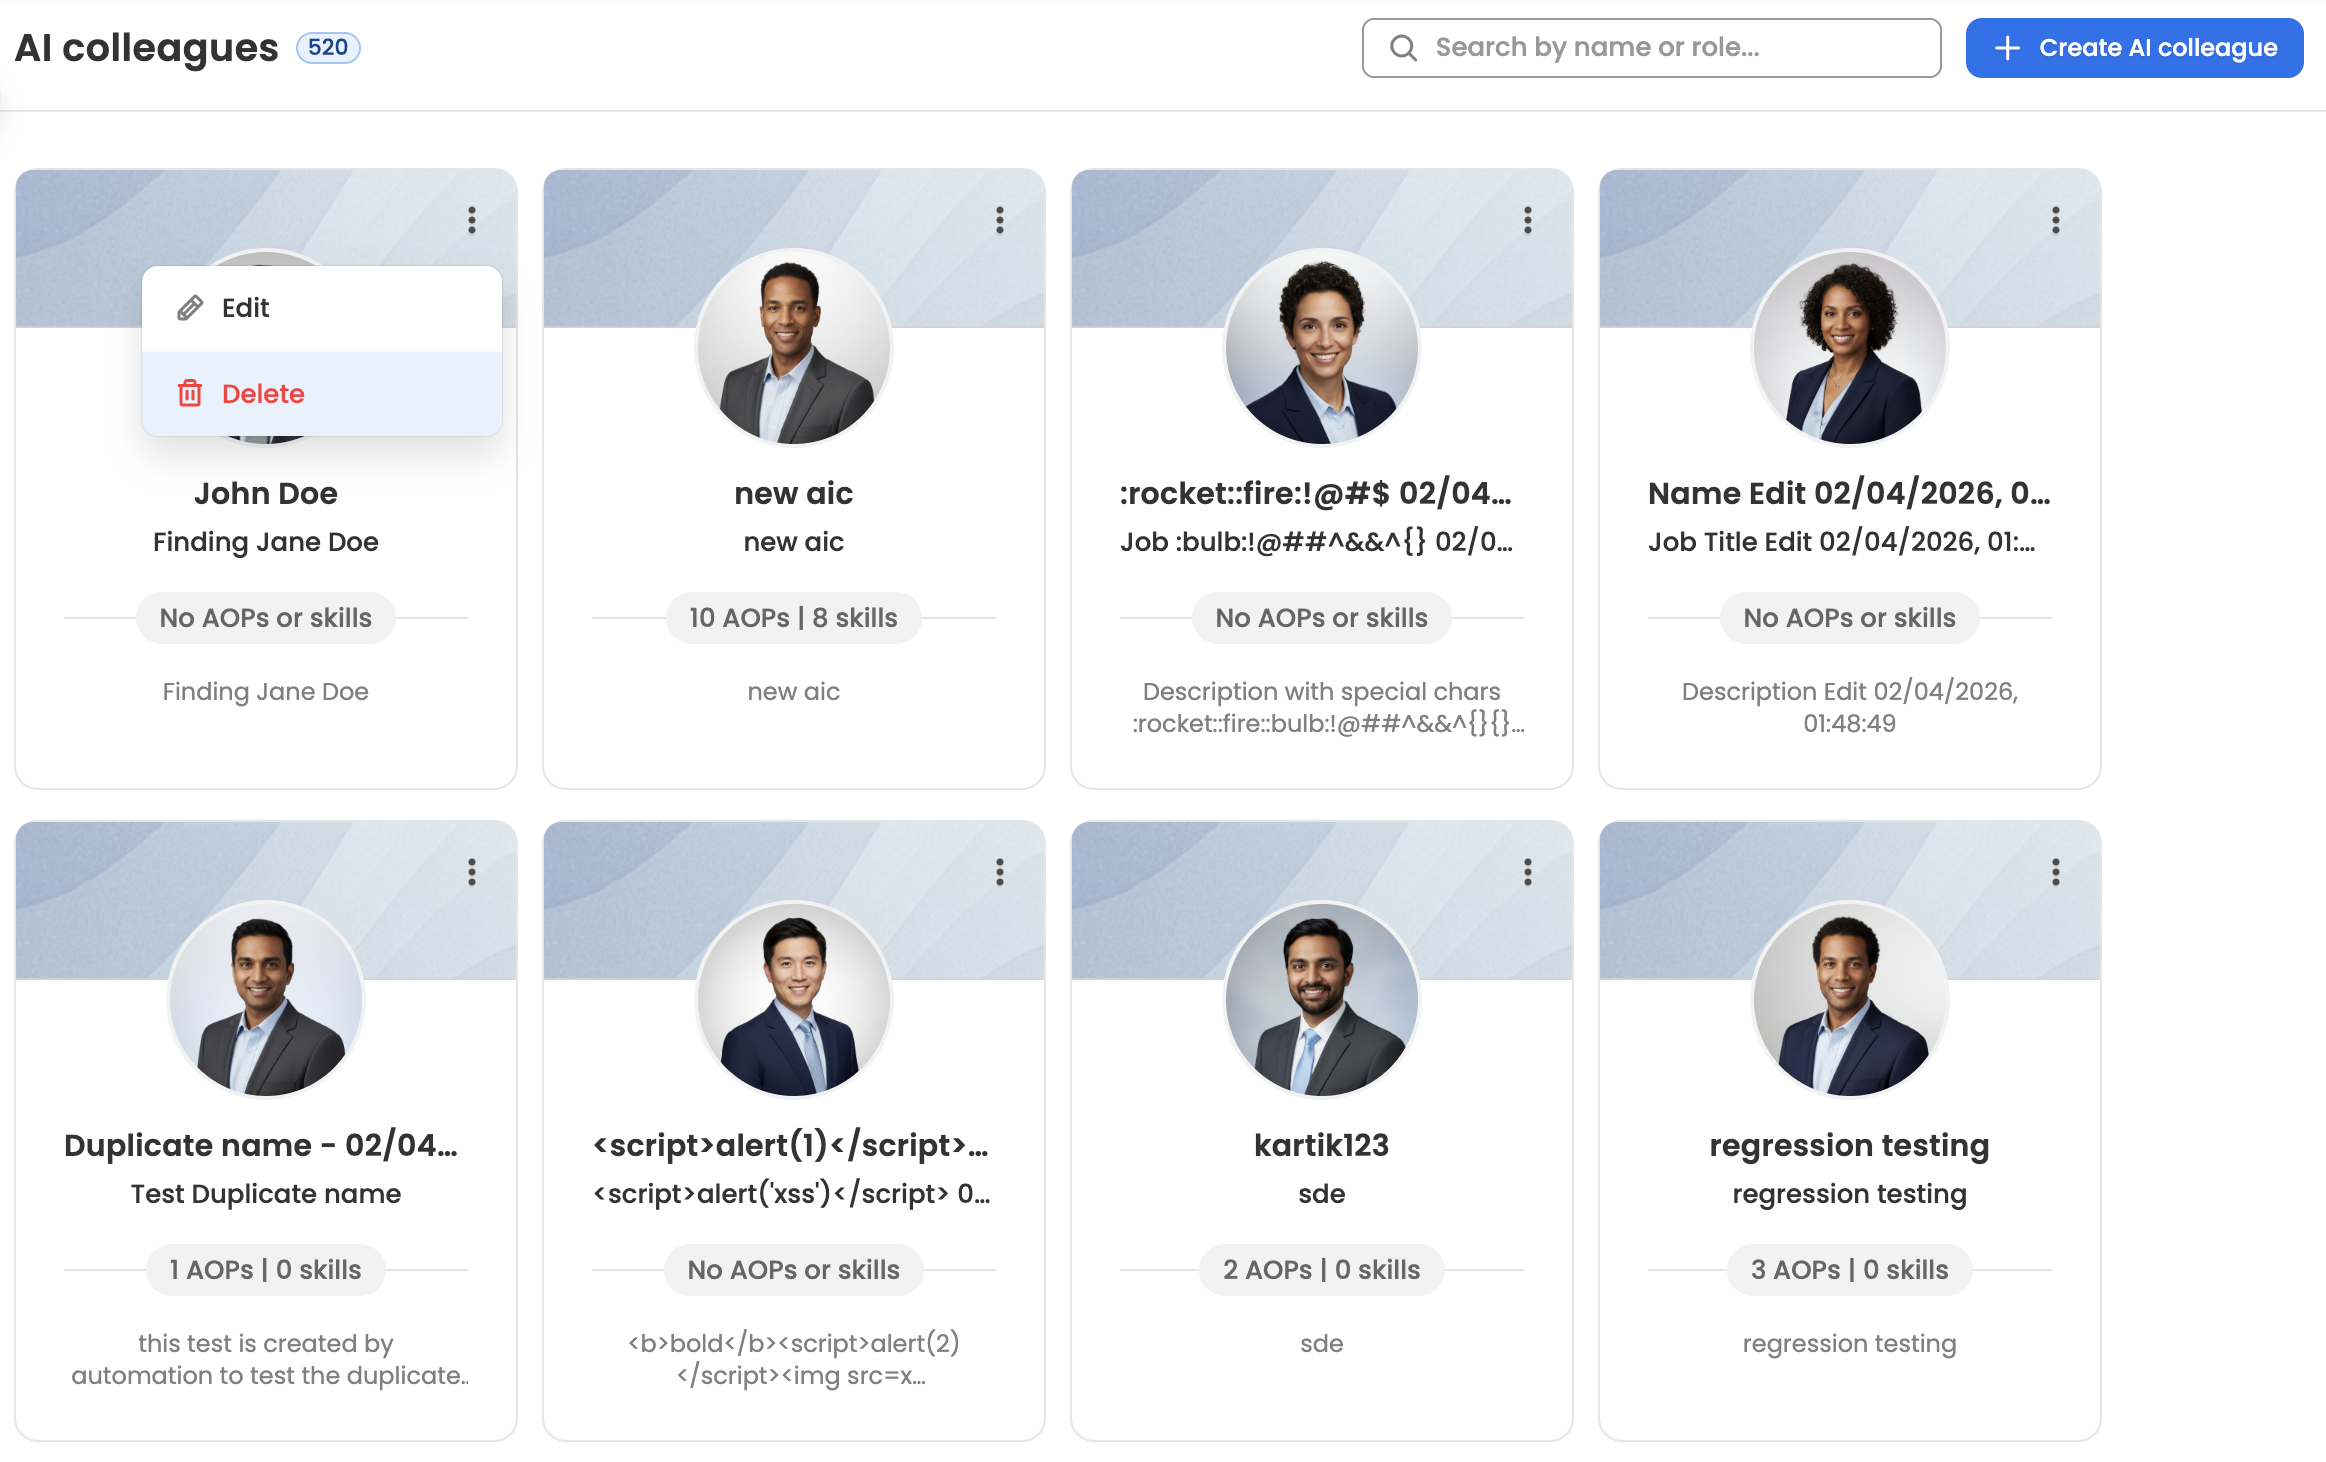
- Click the ⋮ (kebab menu) on the AIC card.
- Select Delete.
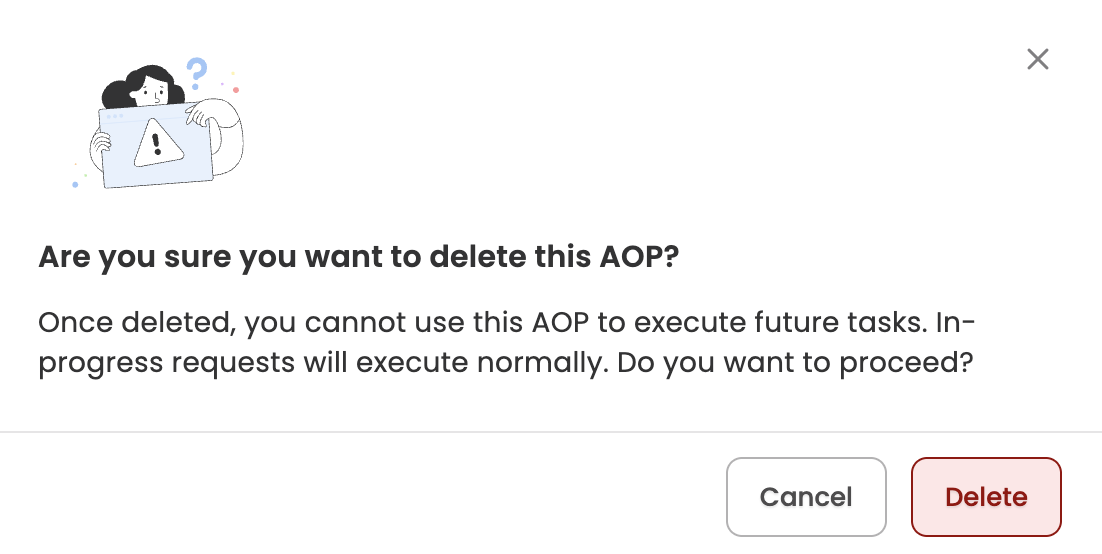
- If the AIC has linked AOPs, you'll see an error.
- If no AOPs are linked, a confirmation modal will appear.
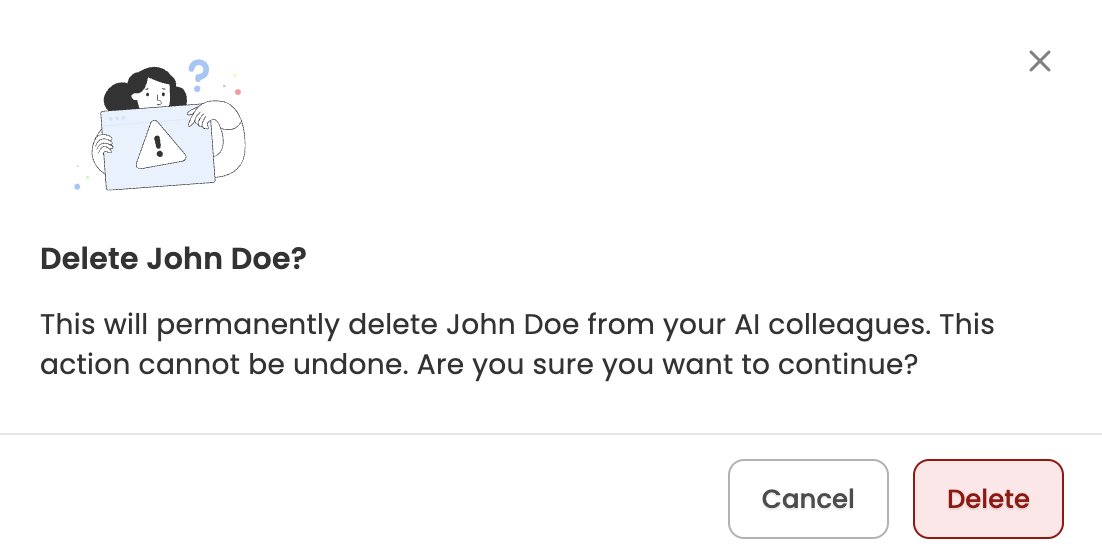
- Click Delete to confirm.
Delete a Draft AOP
Only AOPs that have never been published (status: Draft) can be deleted. Active or Inactive AOPs can only be deactivated.
- Click the ⋮ (kebab menu) on the draft AOP row.
- Select Delete.
- Review the confirmation message.
- Click Delete to confirm.
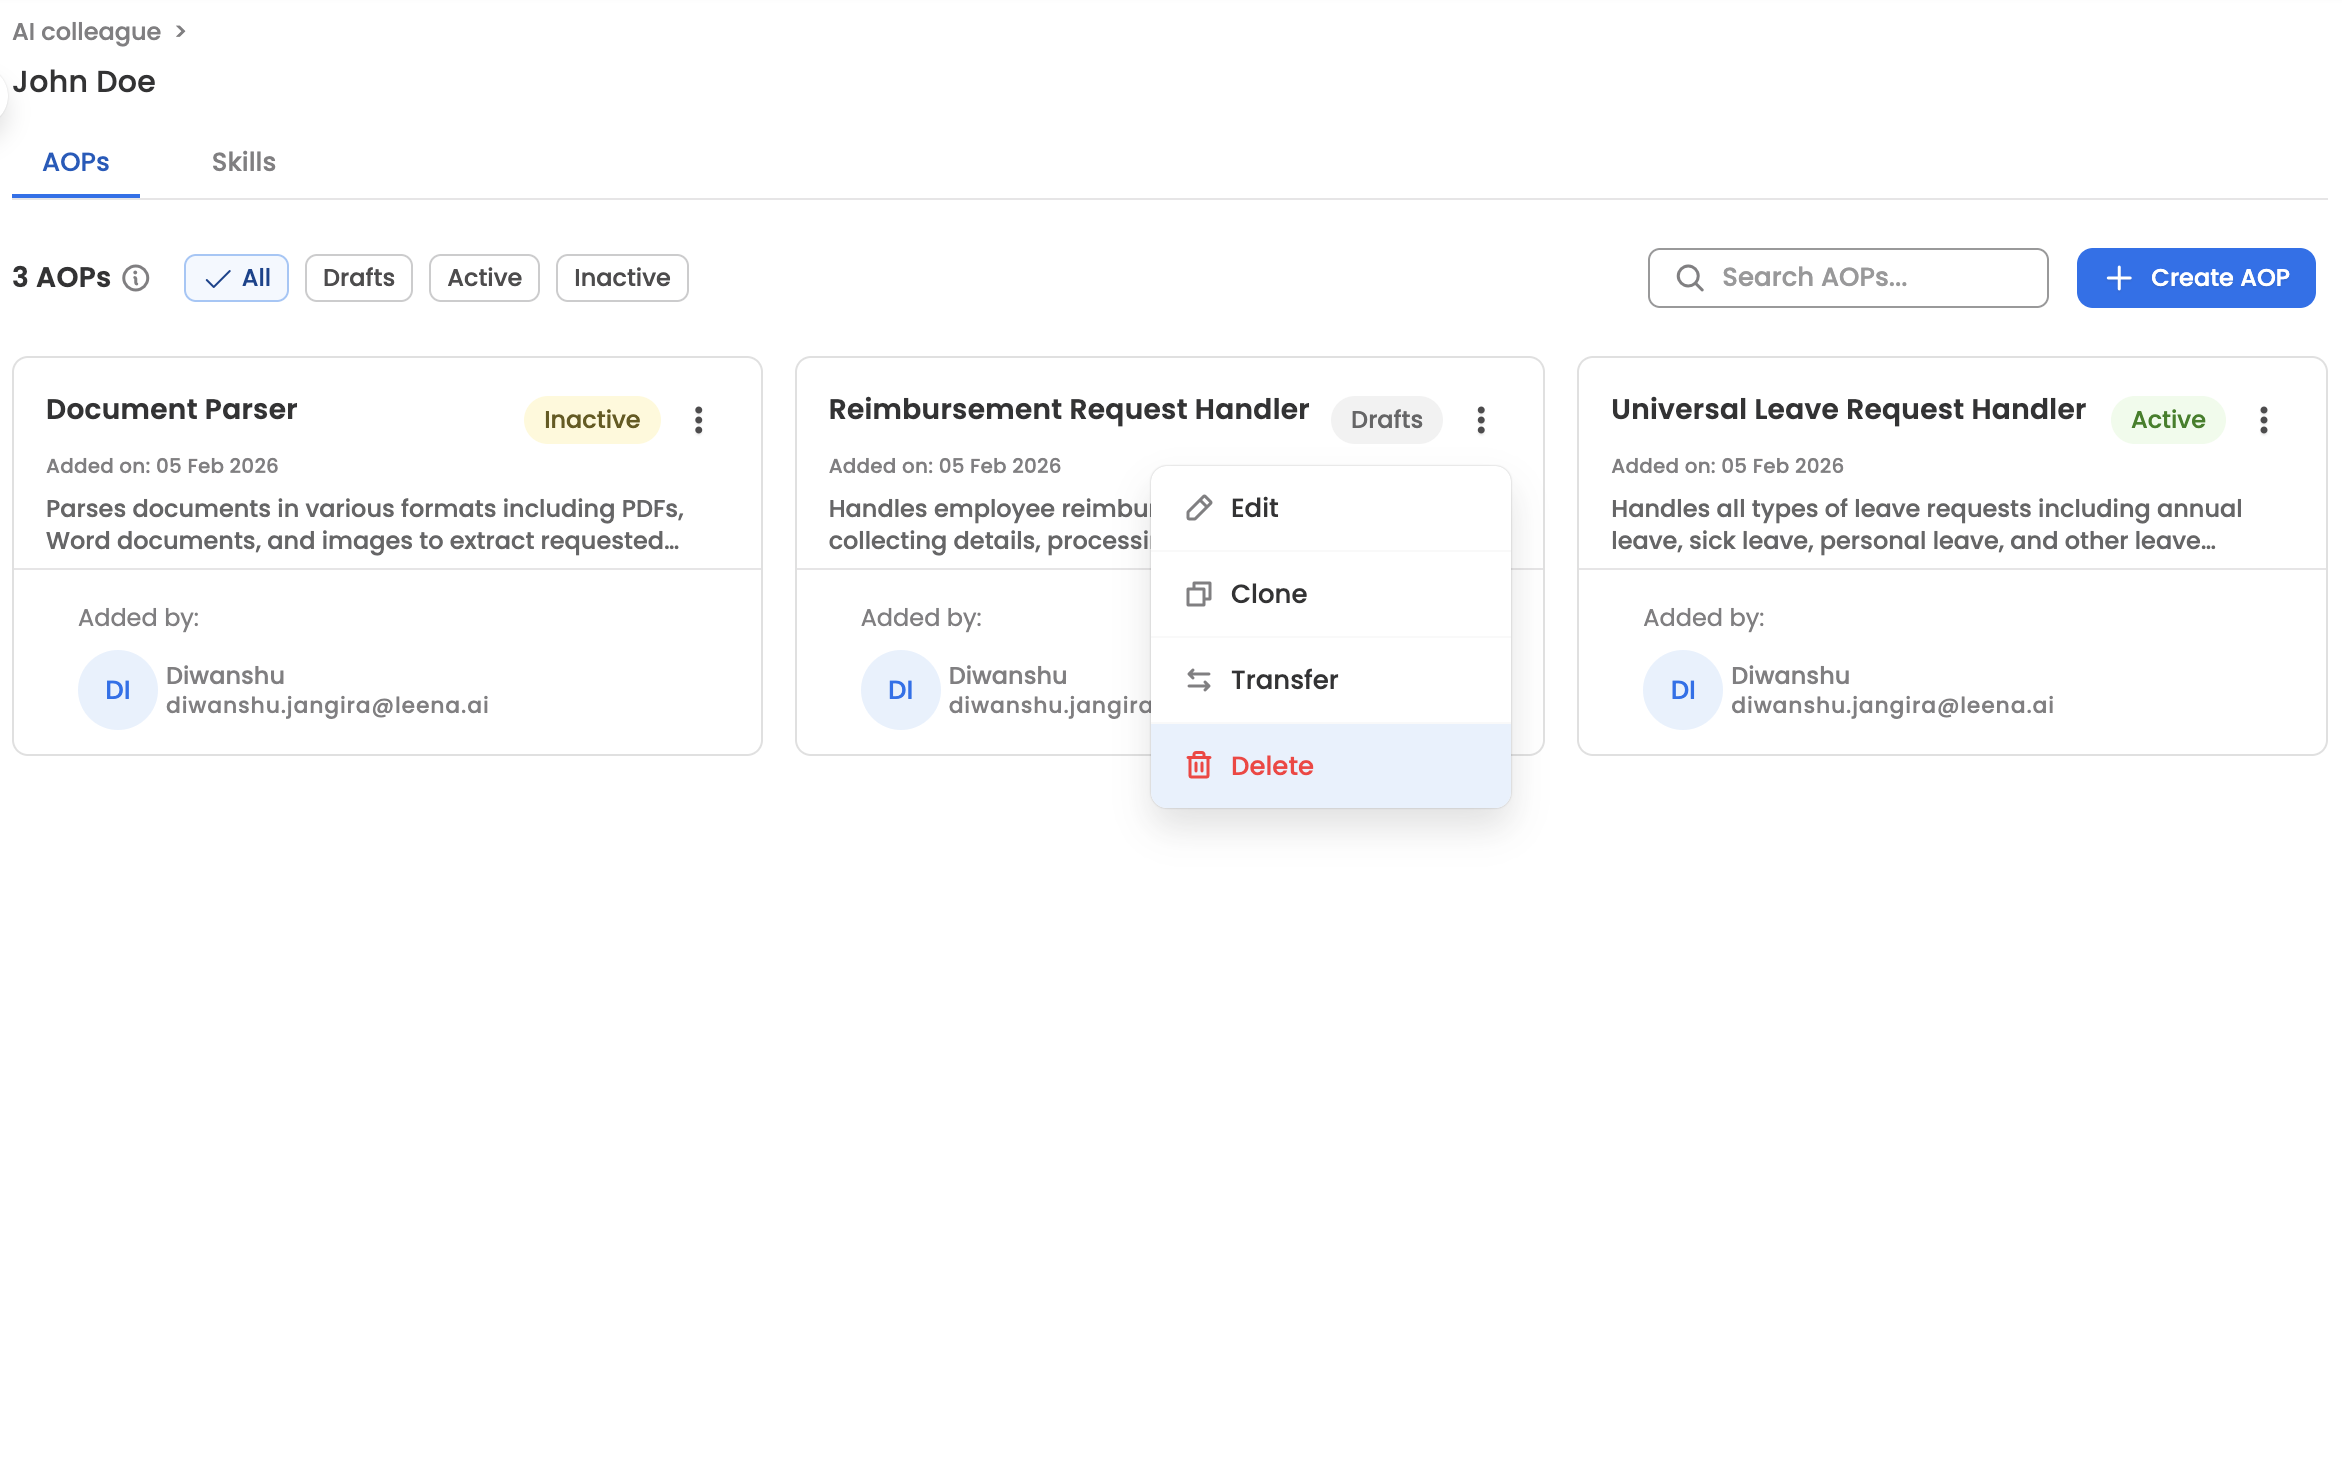
Clone an AOP
Cloning creates a duplicate of an AOP as a new draft. You can clone any AOP regardless of its status (Active, Inactive, or Draft) and place the clone in the same AIC or a different one.
- Click the ⋮ (kebab menu) on the AOP row.
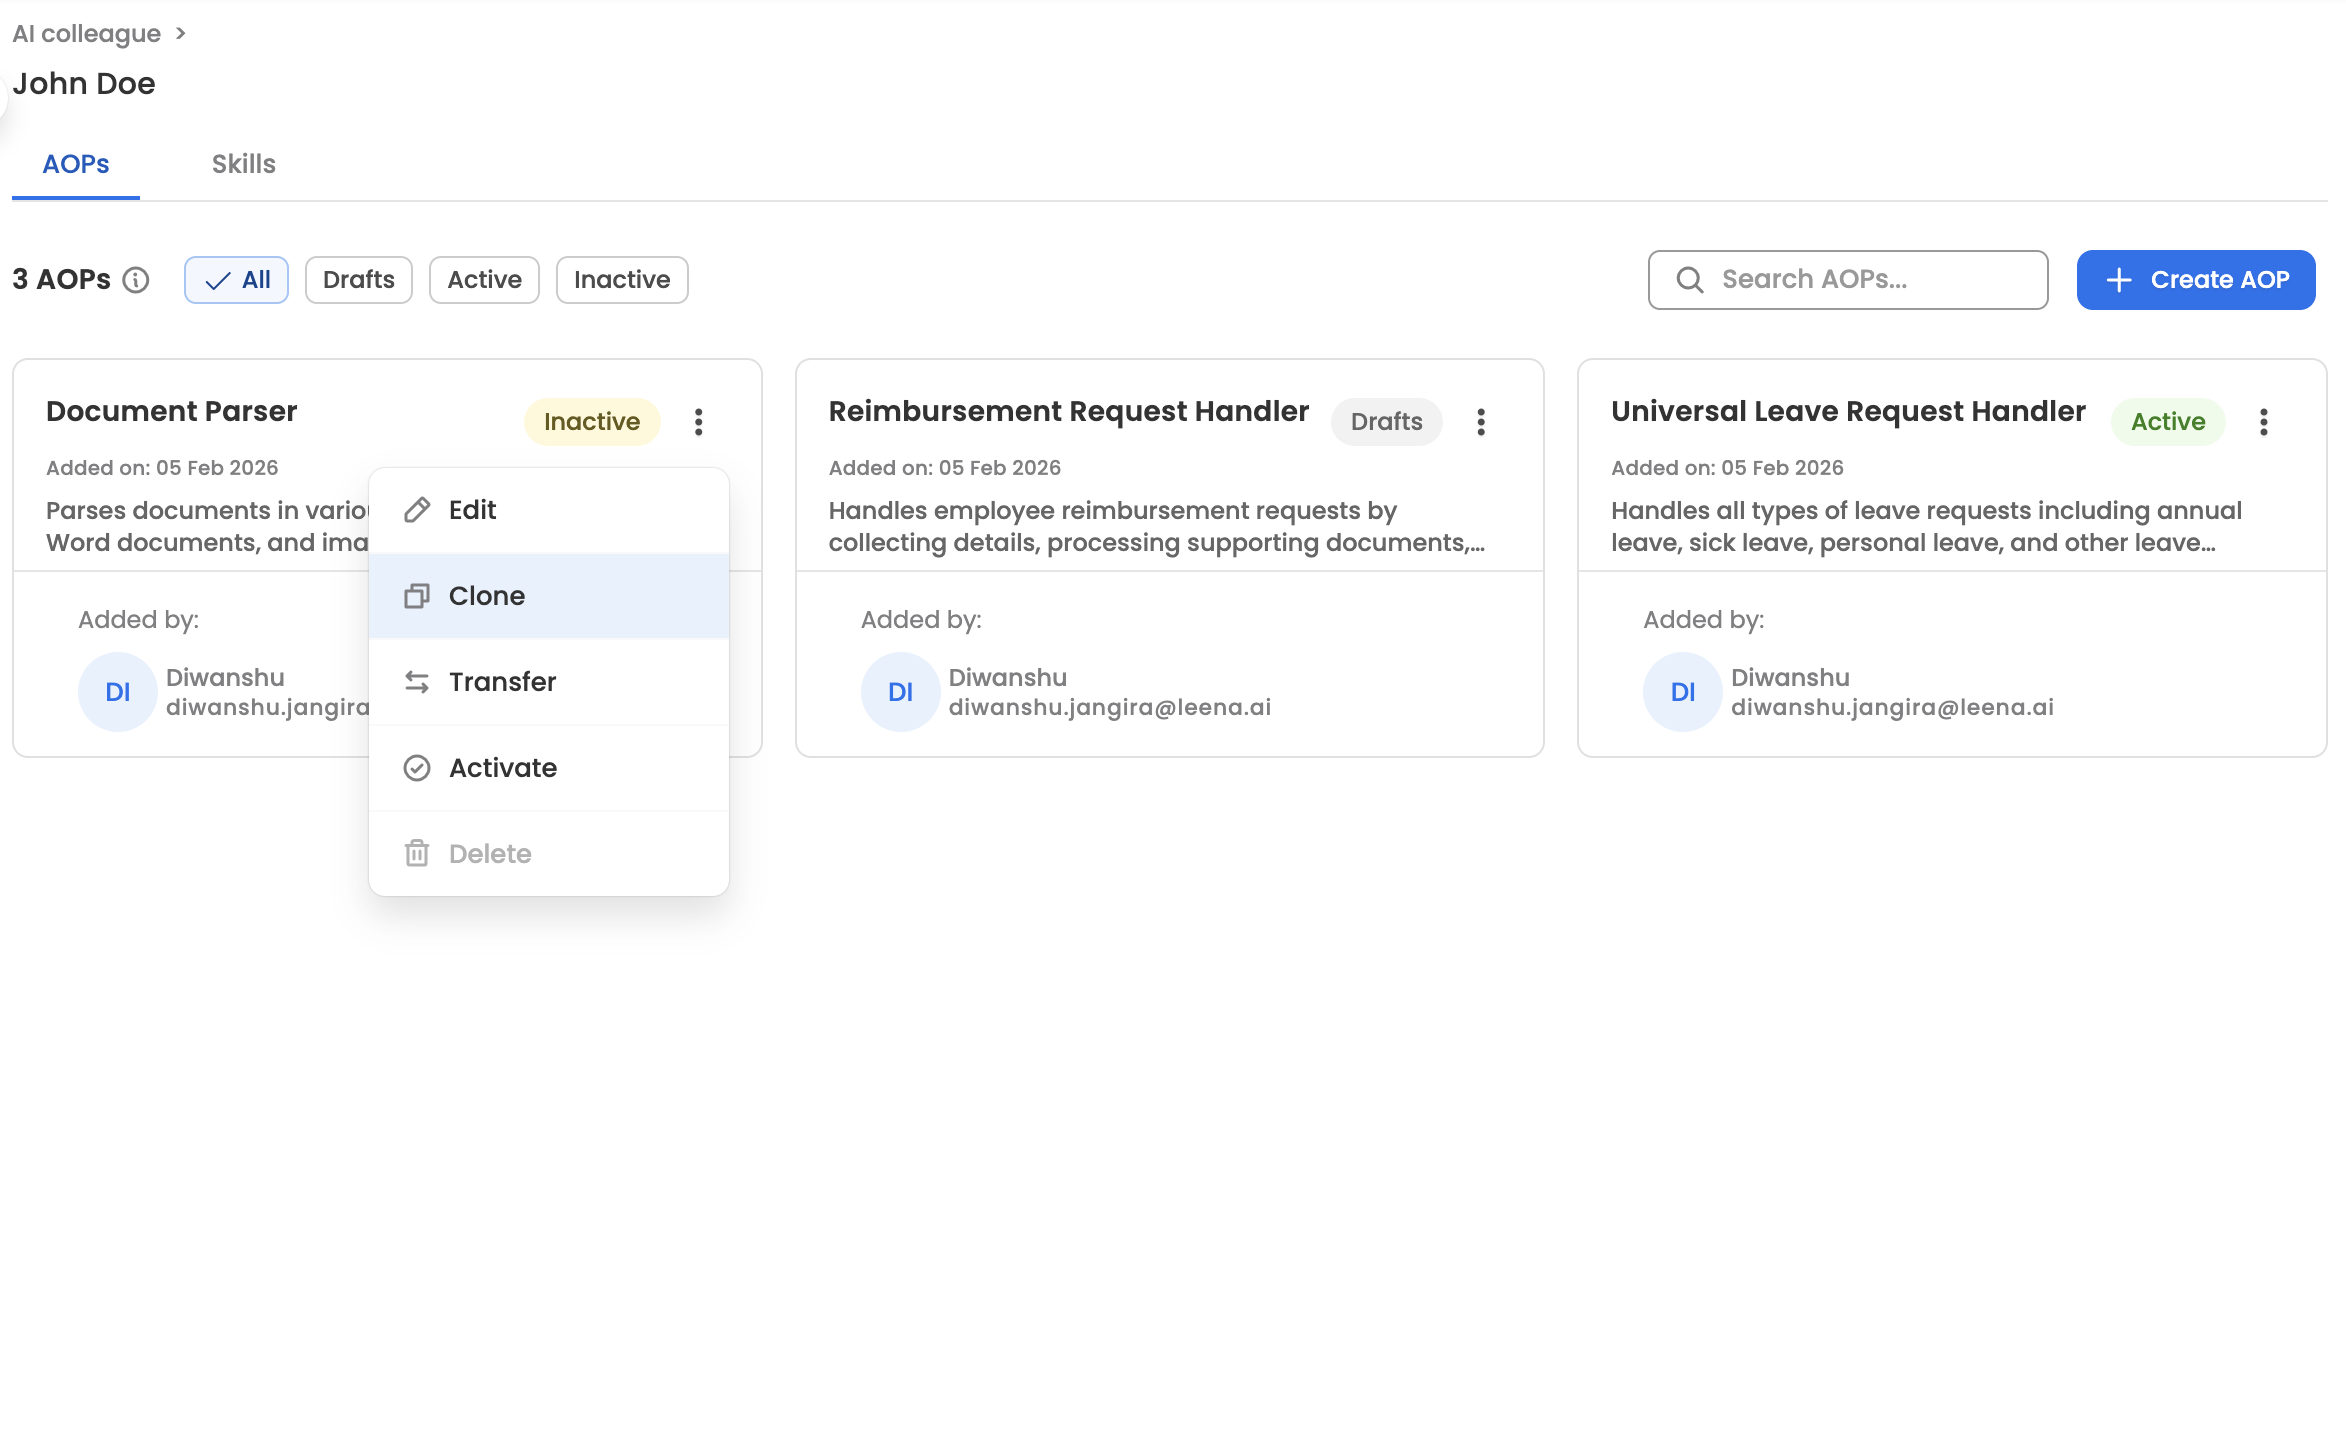
- Select Clone.
- Select the target AIC for the clone.
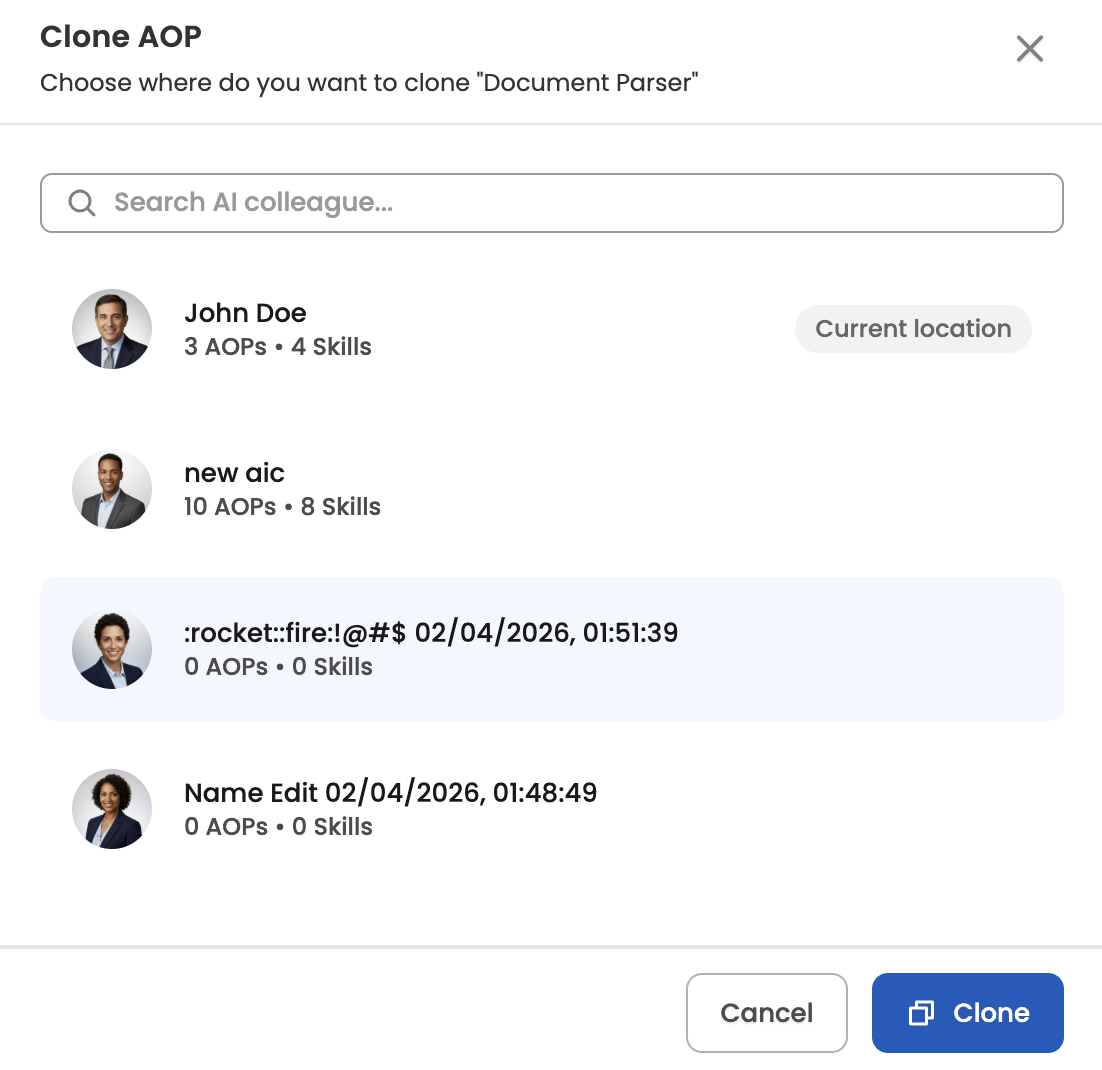
- Click Clone.
- You will be directed to a create new AOP page. Cloned AOP requires a unique Name, Identifier and Description to avoid conflicts with the original AOP.

- Click Create after filling in the details.
- A validation check will validate your AOP.
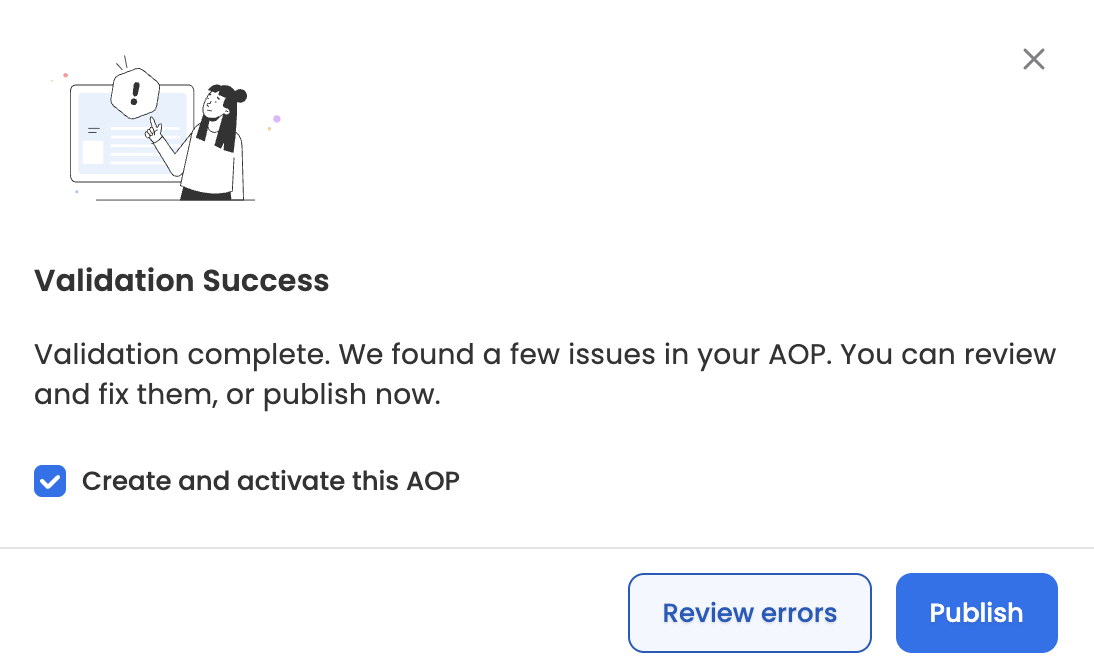
- Click Publish.
A new cloned AOP is created in the target AIC.
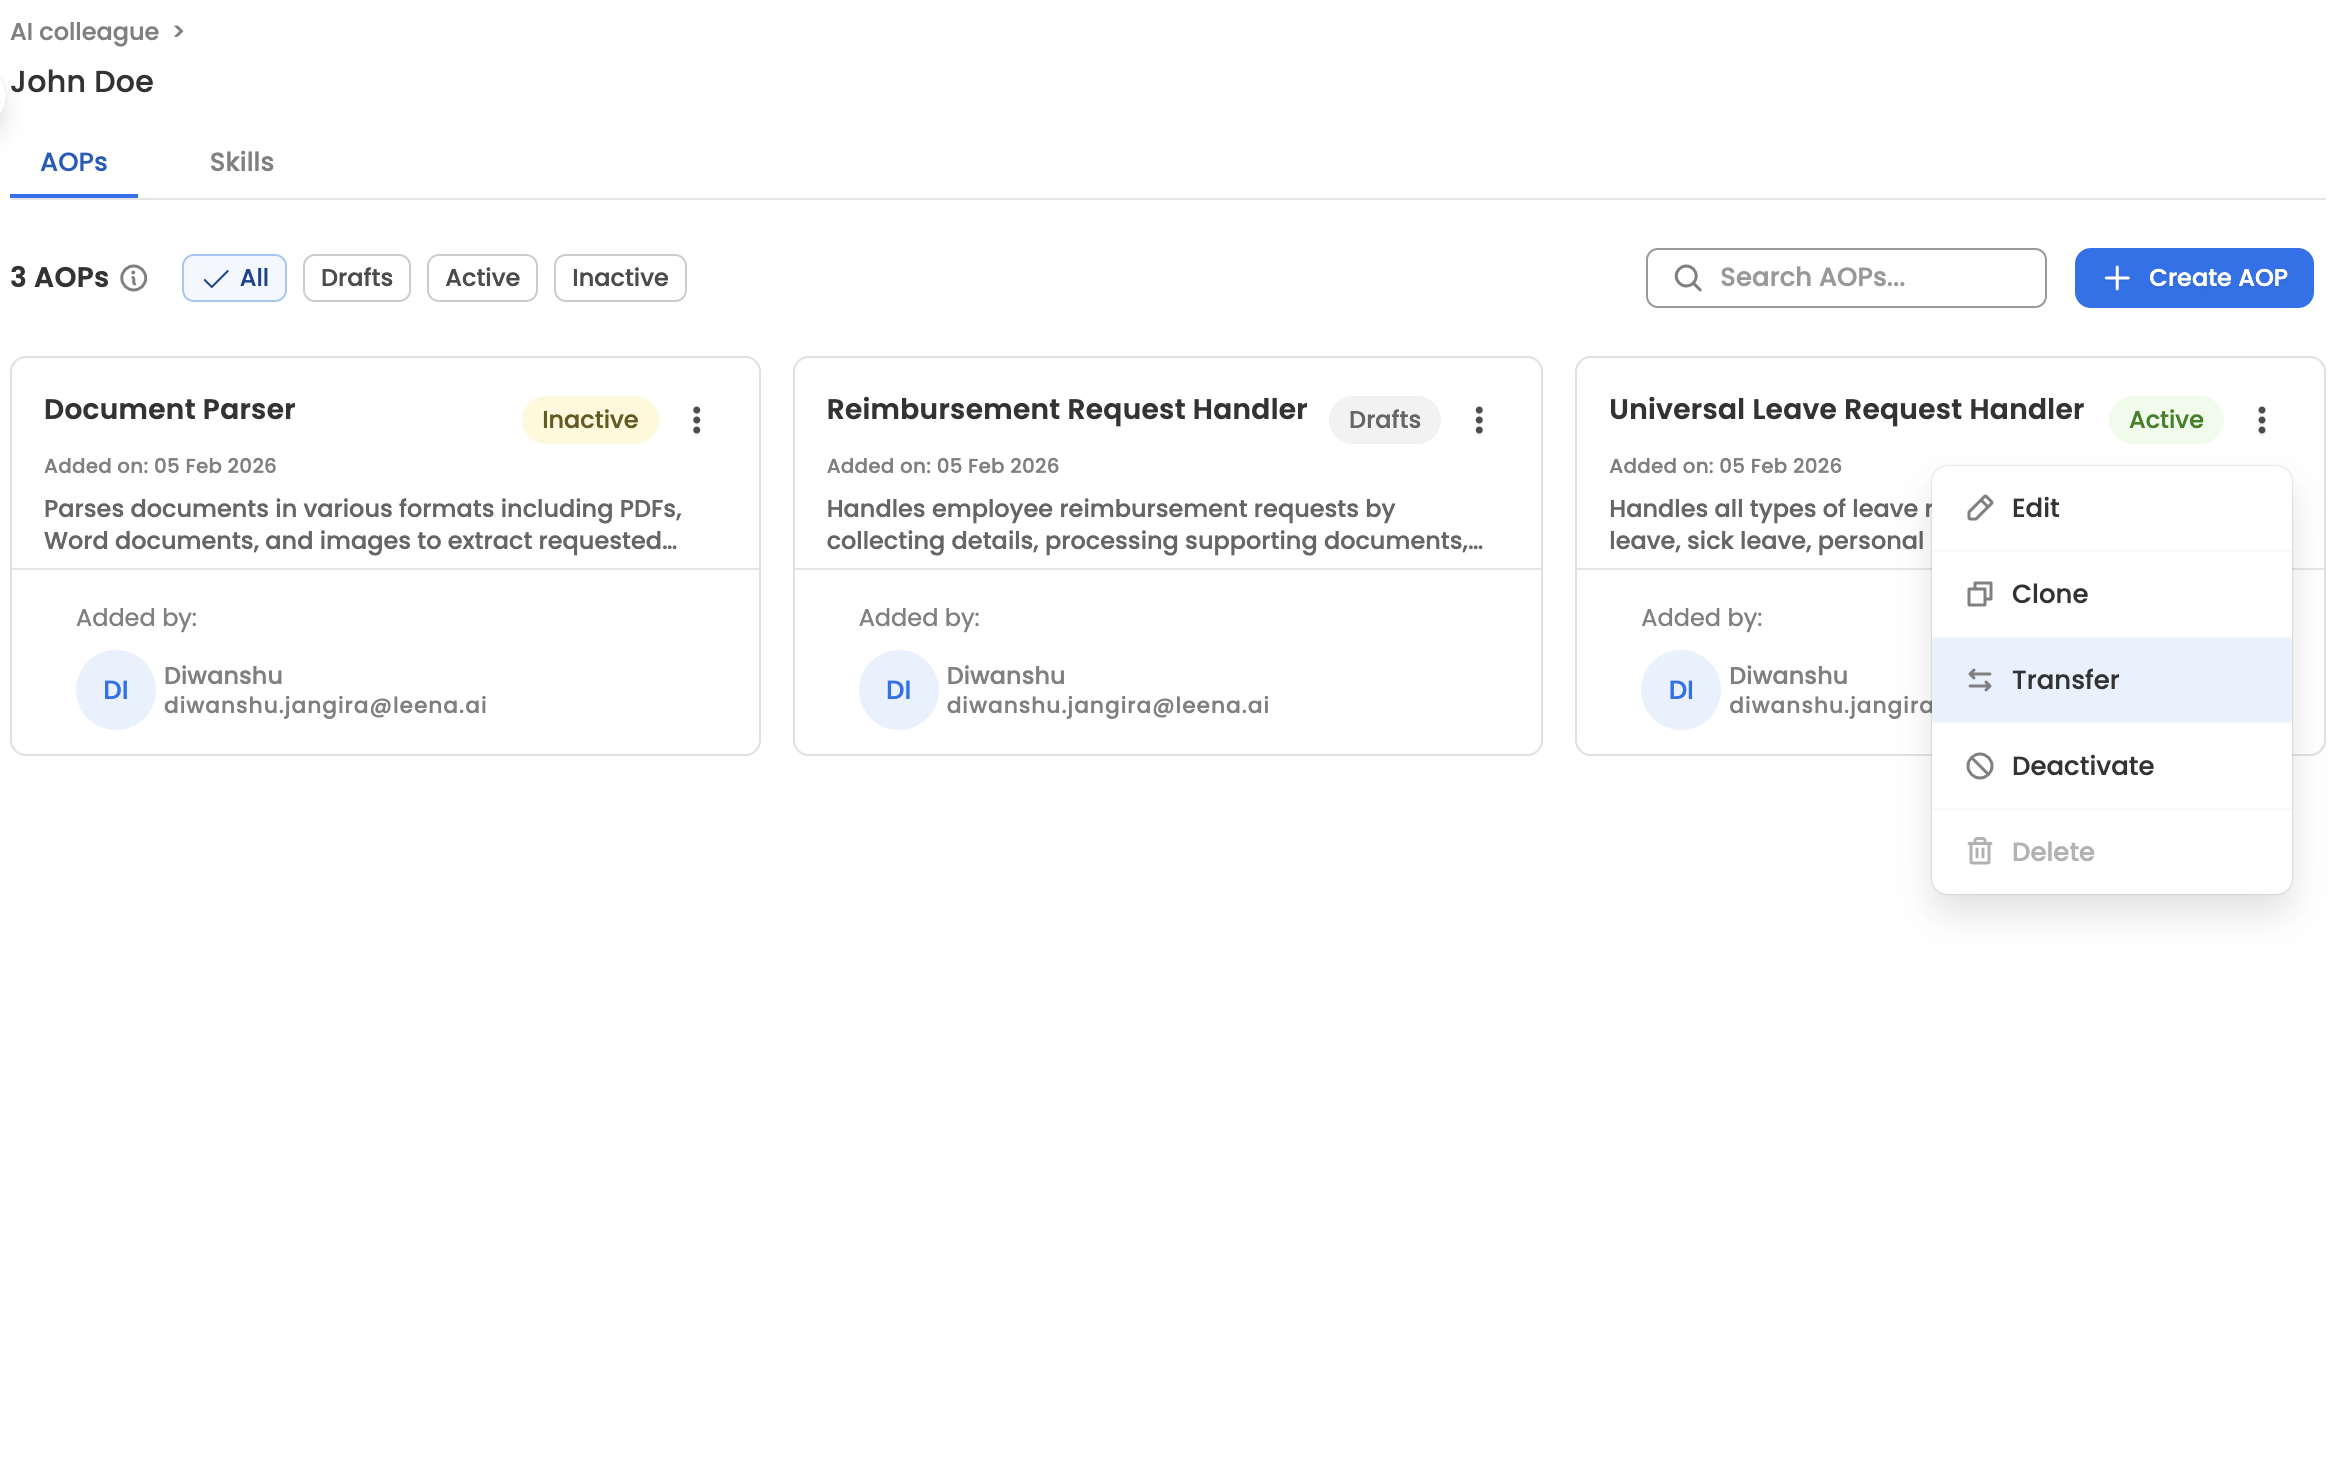
Transfer an AOP
Transferring moves an AOP from one AI Colleague to another. The AOP retains its identifier, name, all versions, and execution history. You can transfer Active, Inactive, or Draft AOPs.
- Click the ⋮ (kebab menu) on the AOP row.
- Select Transfer.
- In the Transfer modal, select the Target AI Colleague.
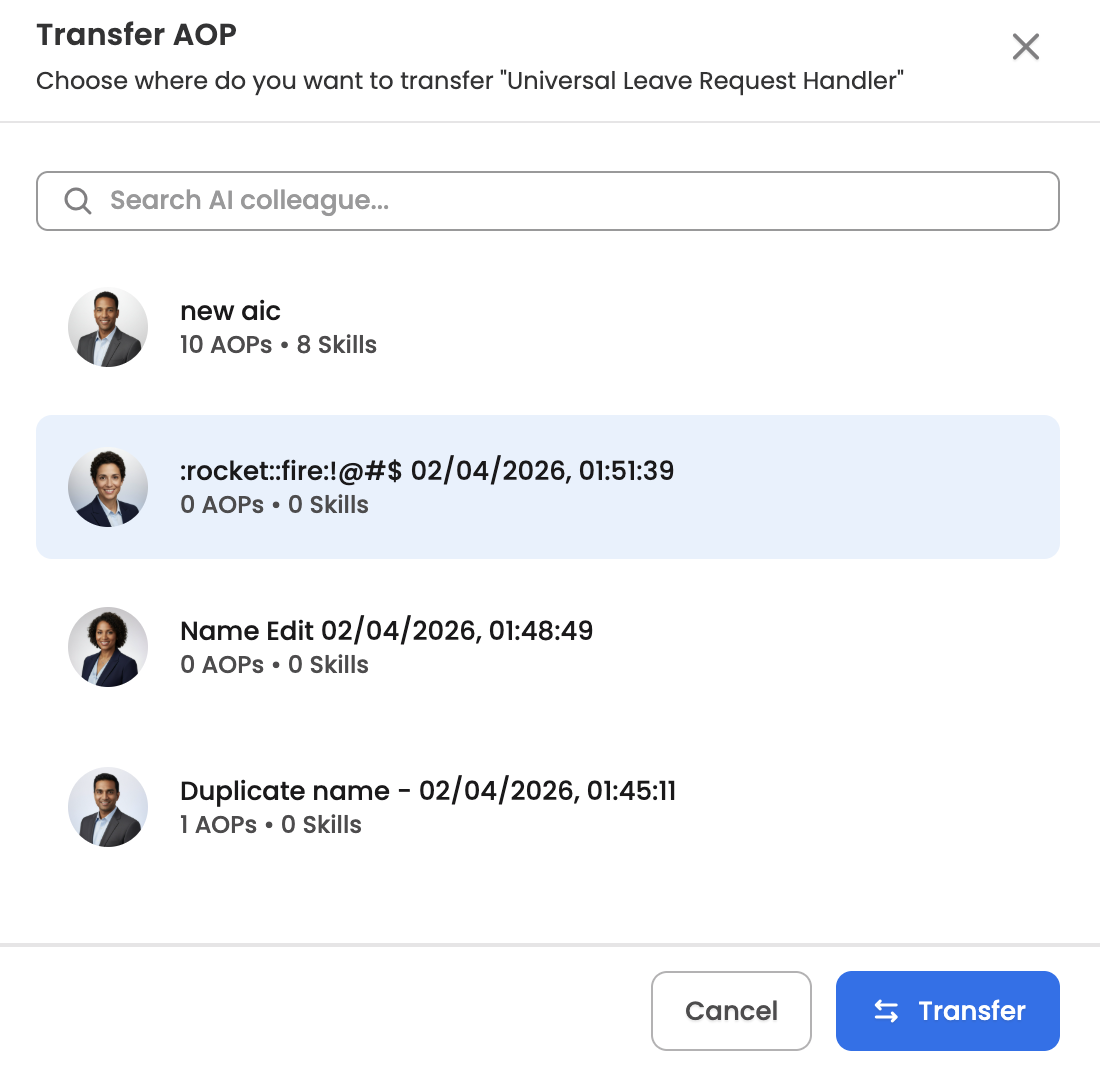
- Click Transfer.