
Smart Fields
Introduction
Smart fields automatically update linked section keys when a reference section key is changed to a specific value. This ensures that fields like recruiter/manager contact numbers and emails are updated without manual intervention whenever a name is added or changed.
Add new smart fields
Here’s how to add a new smart fields:
-
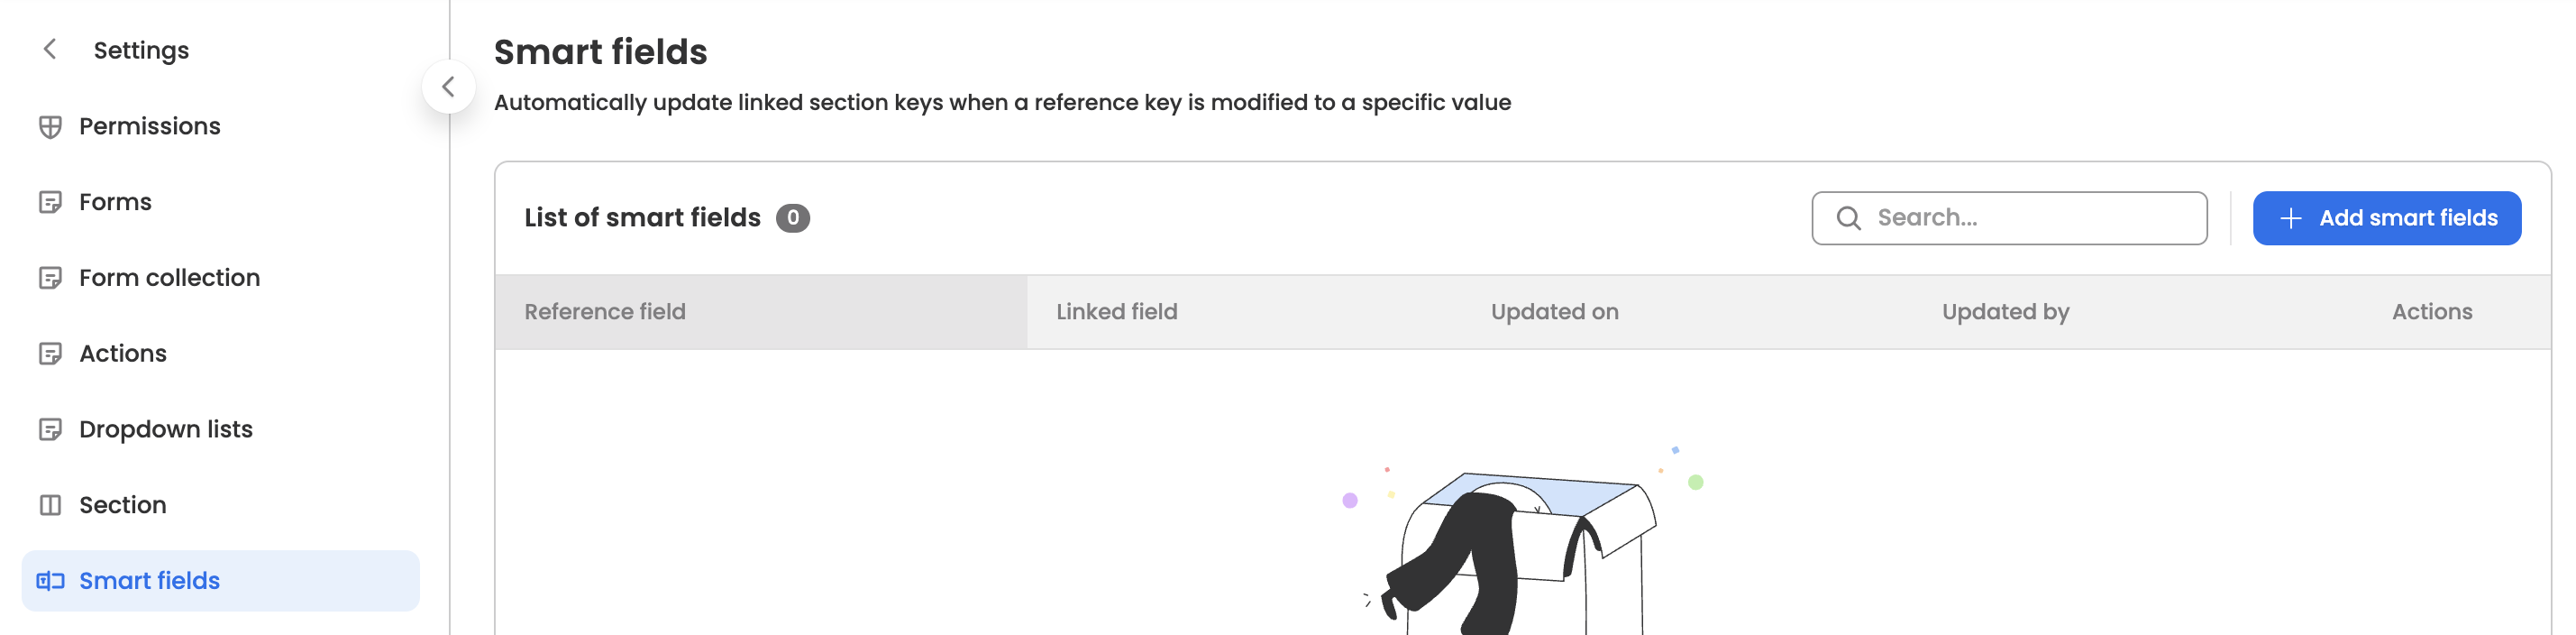
Go to the smart fields within the onboarding settings.
-
Click the “+ New smart fields" button located at the top-right corner of the table.
-
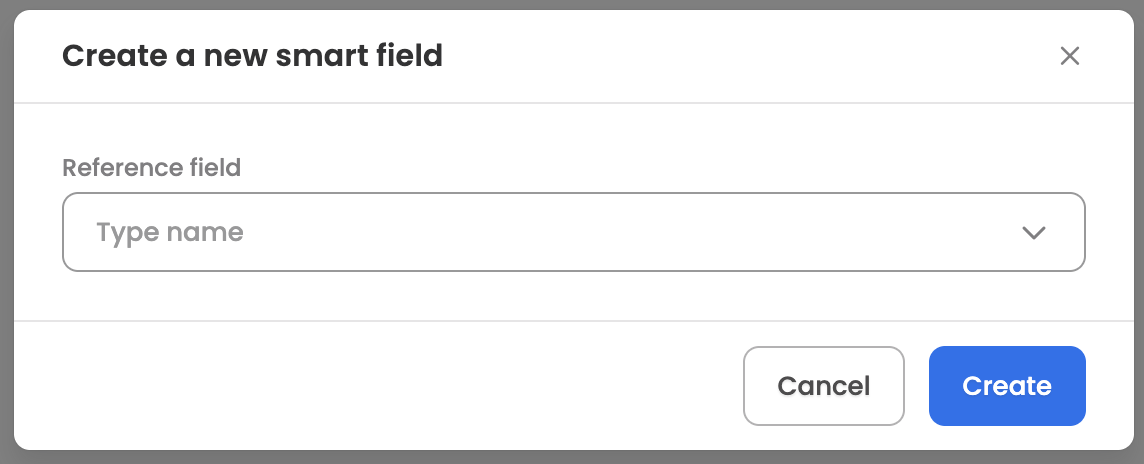
Add the section key that will serve as a reference to update linked fields.
-
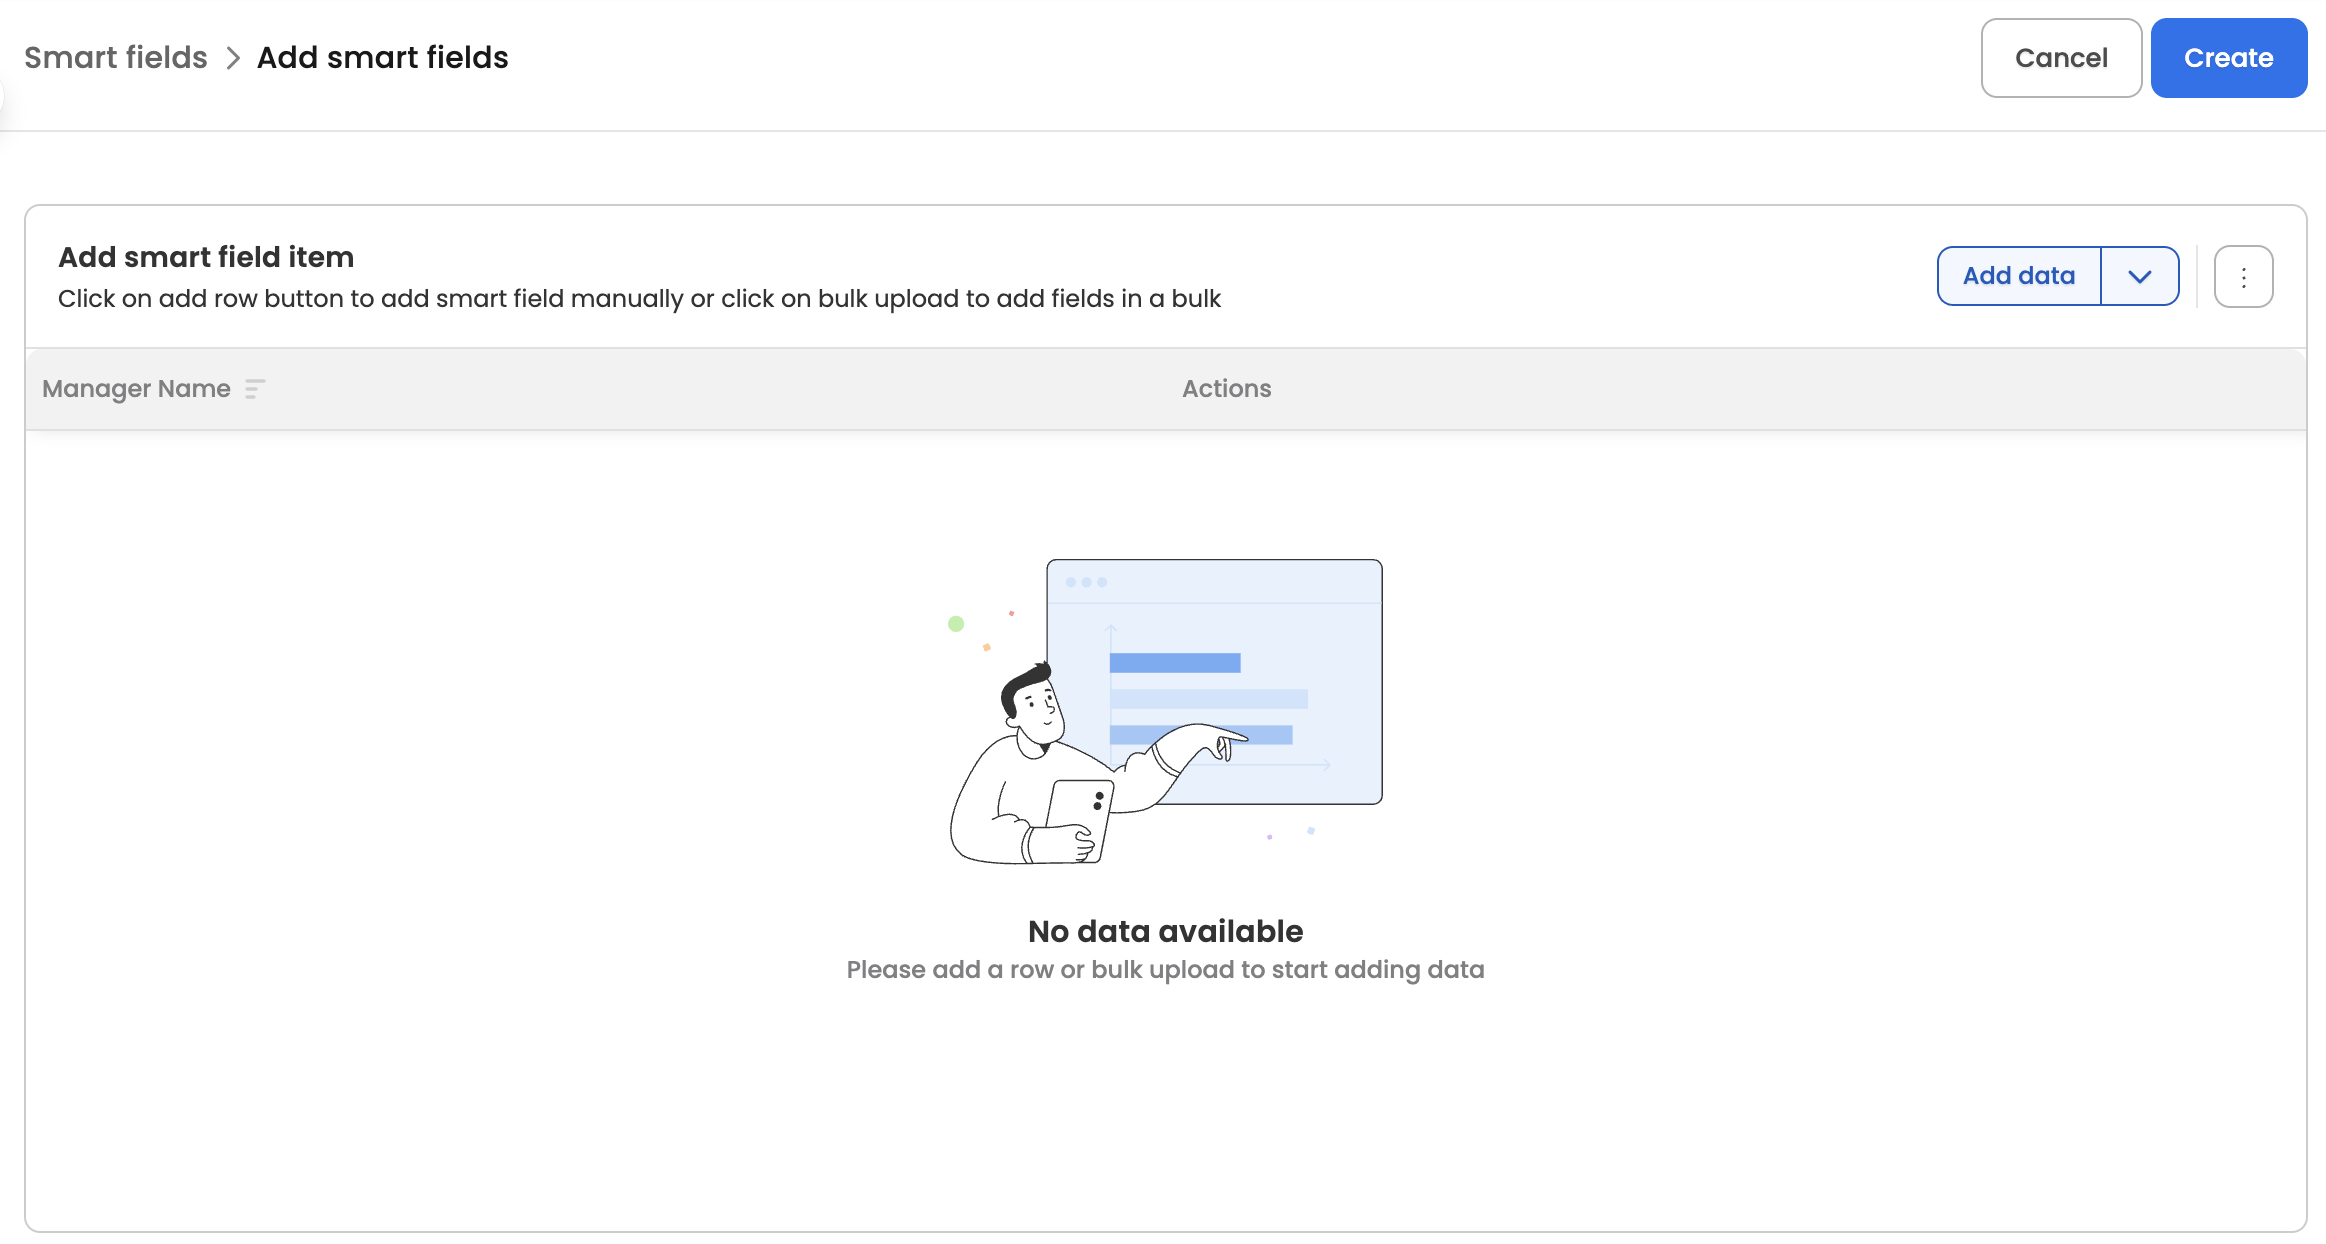
You’ll now be taken to the screen where you can configure smart fields.
-
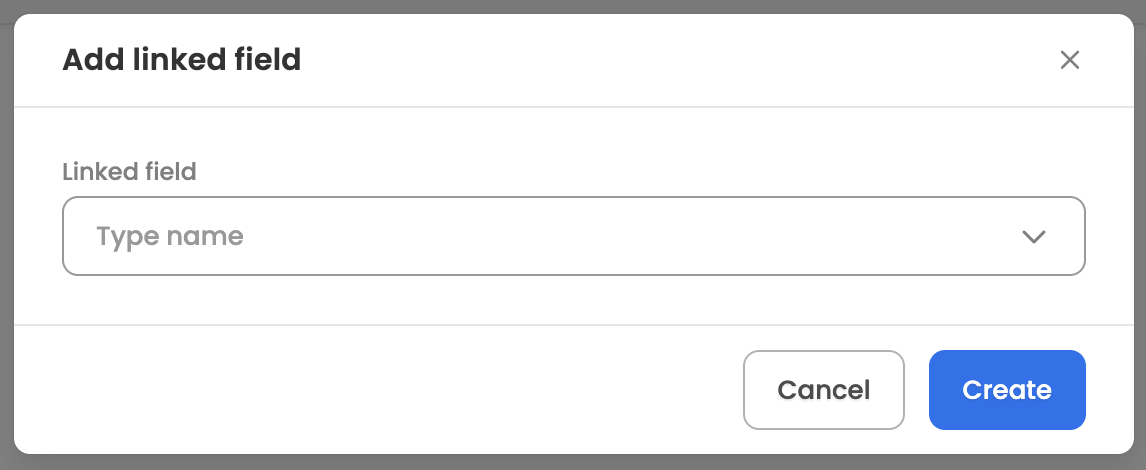
Add linked fields to update based on reference field value, by selecting Add → Linked field and select the field.
-
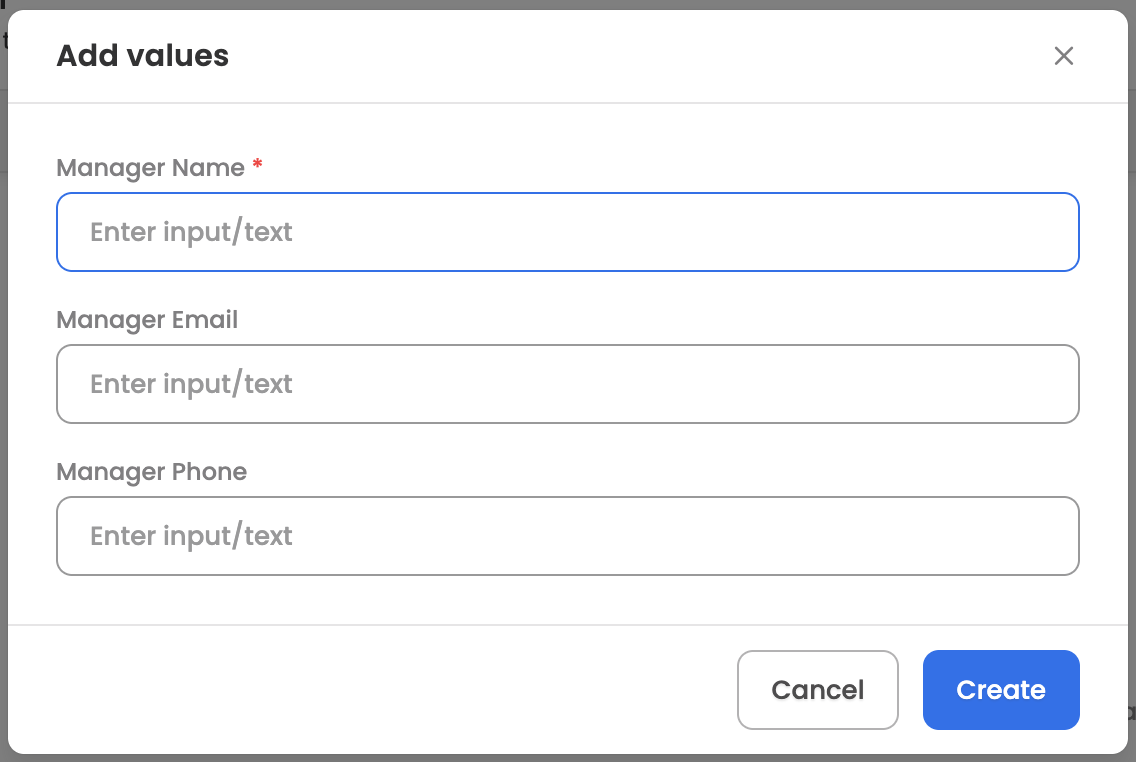
Now, add values using any of the following methods:
-
Manual: Add values individually by clicking Add → Add values.

-
Bulk upload: Add values in bulk using an XLS file by clicking the three-dot menu and selecting Bulk upload. Download the template, fill in the values, and re-upload it on the same screen.

-
-
You can also export the configured data and view error data points using the relevant options in the three-dot menu.
-
Once you’re done, save the list and proceed to the settings page.
Managing existing smart fields
The configured smart fields will be visible in the settings, here are the actions which can be performed for each configured fields:
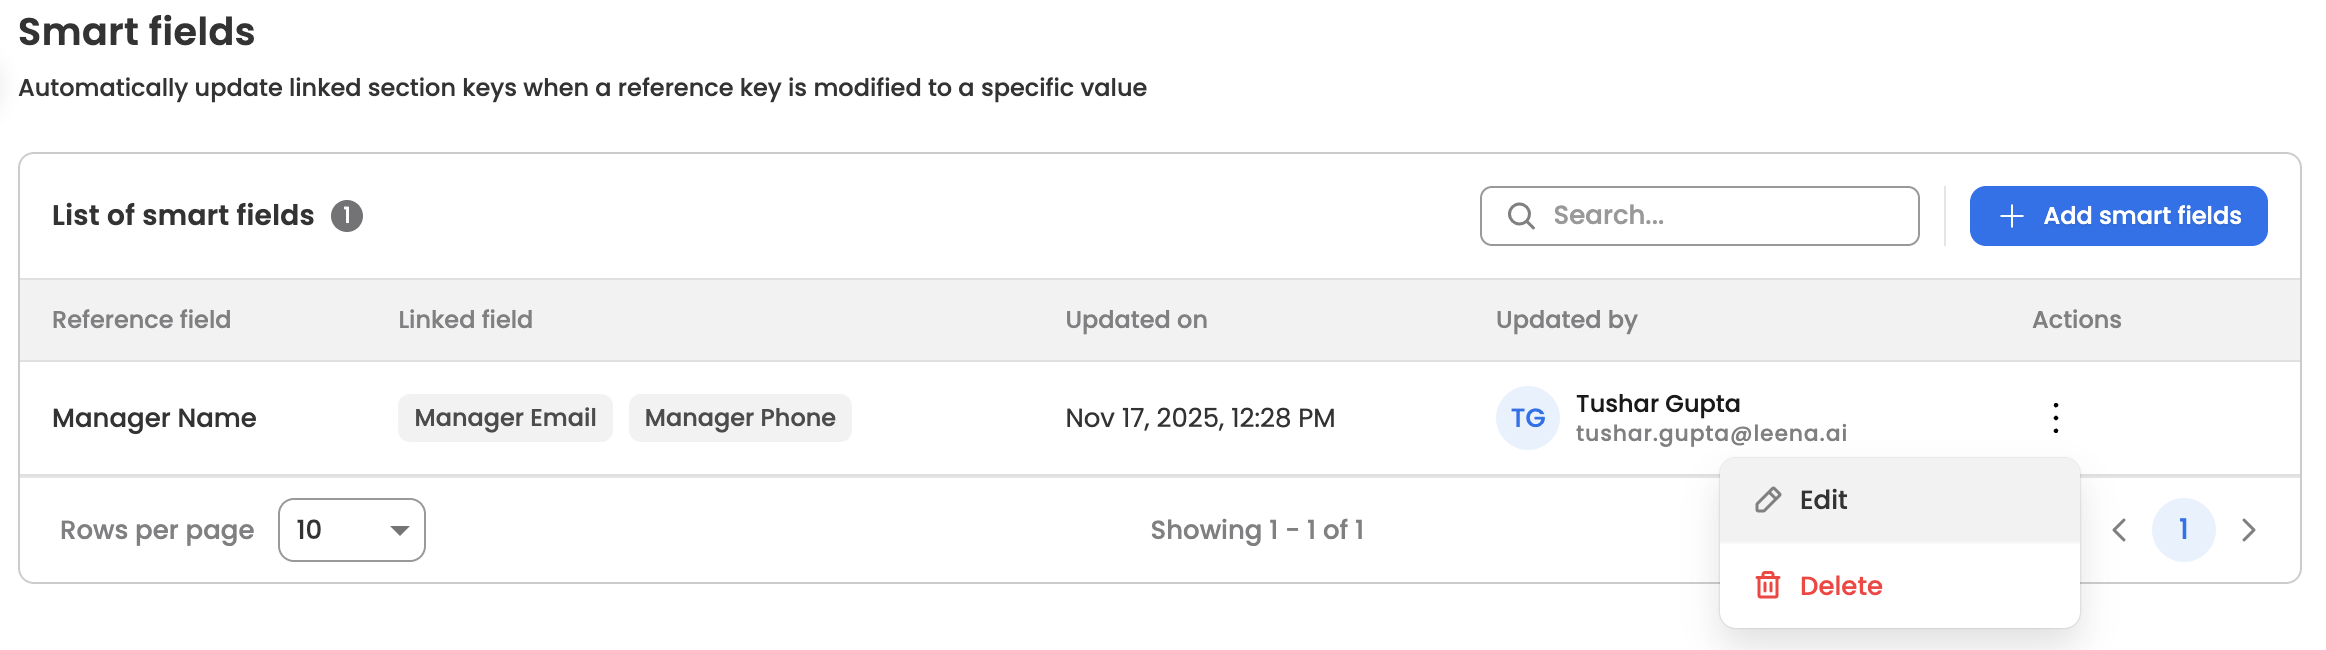
- Edit: Modify the configured fields.
- Delete: Permanently delete the fields.