
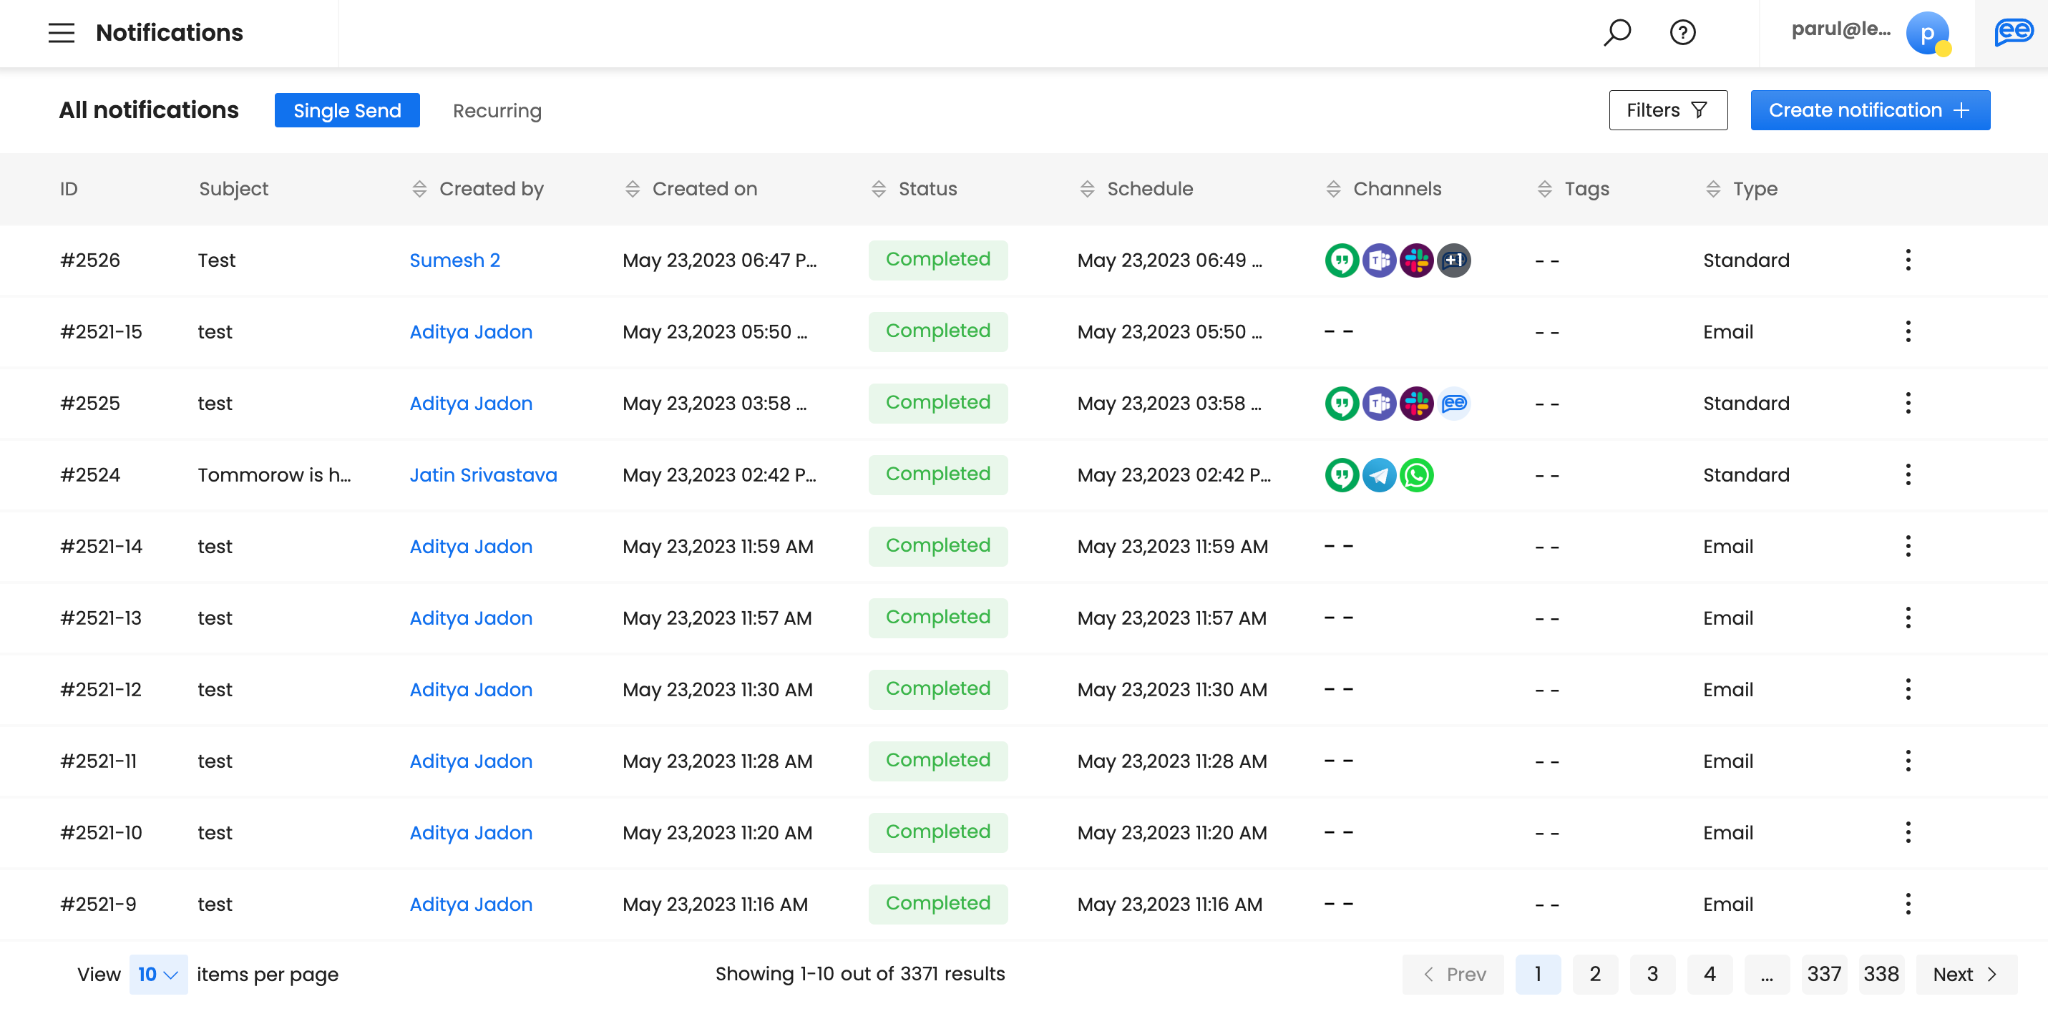
Creating Notifications
Watch the tutorial
Creating Bot Notifications
-
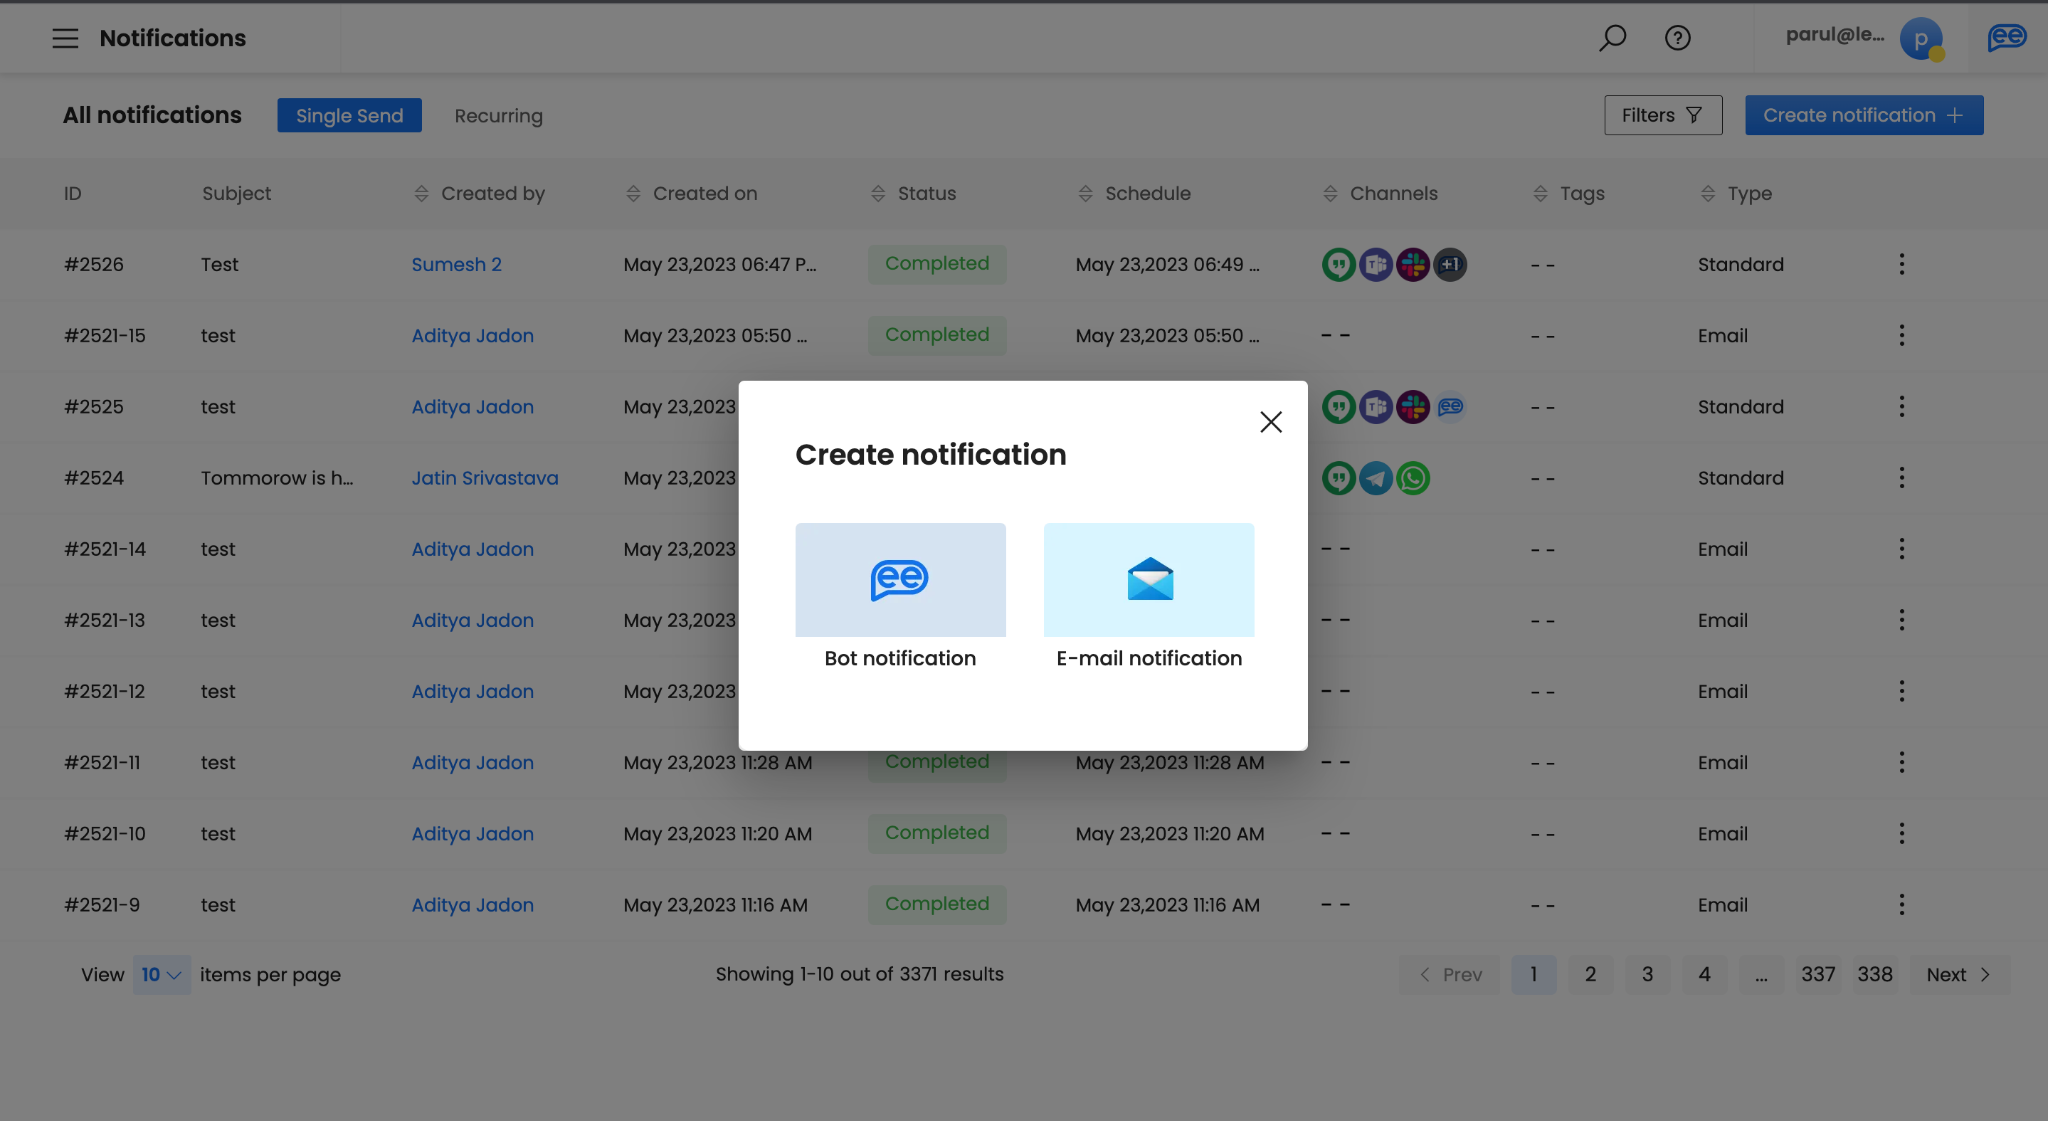
Click on Create Notification
-
Select Bot Notification

-
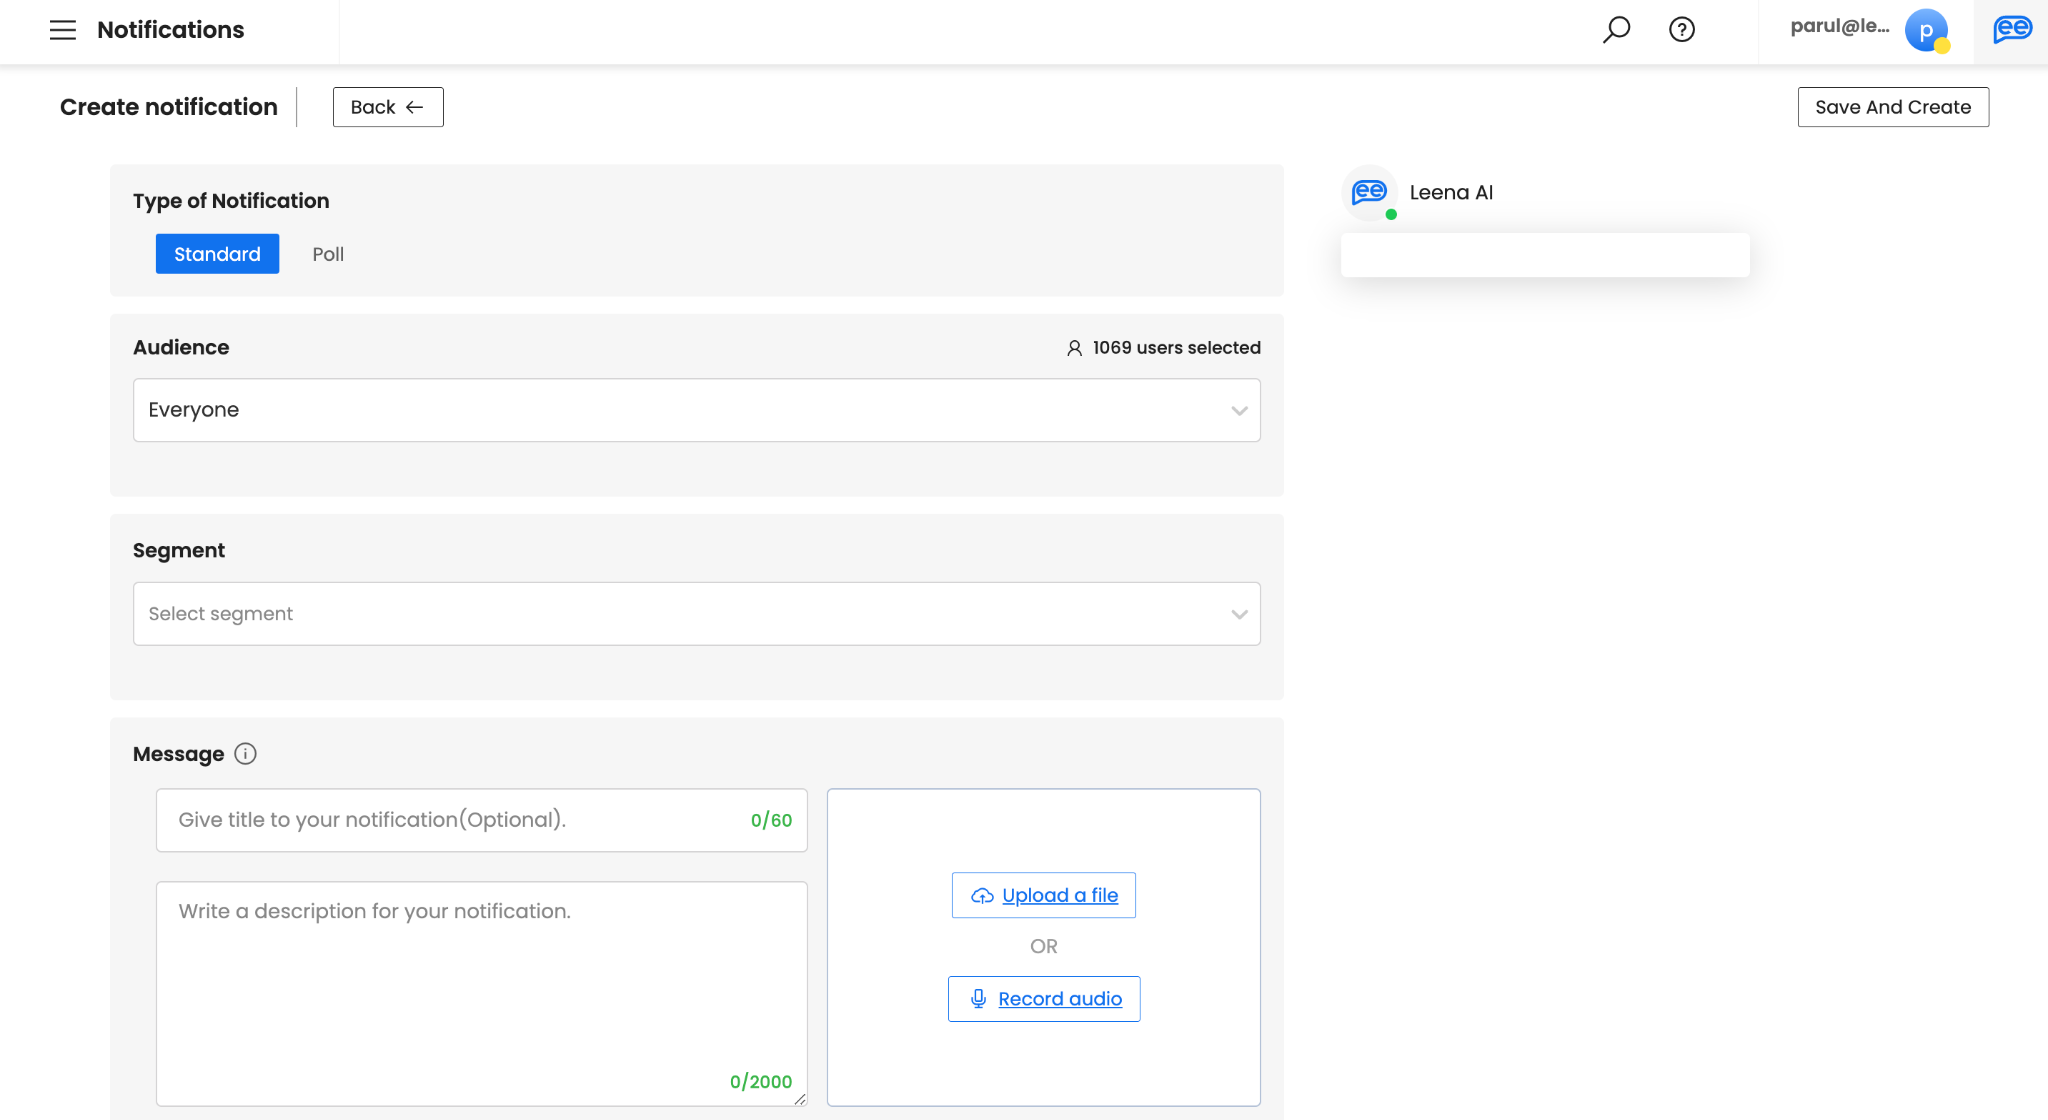
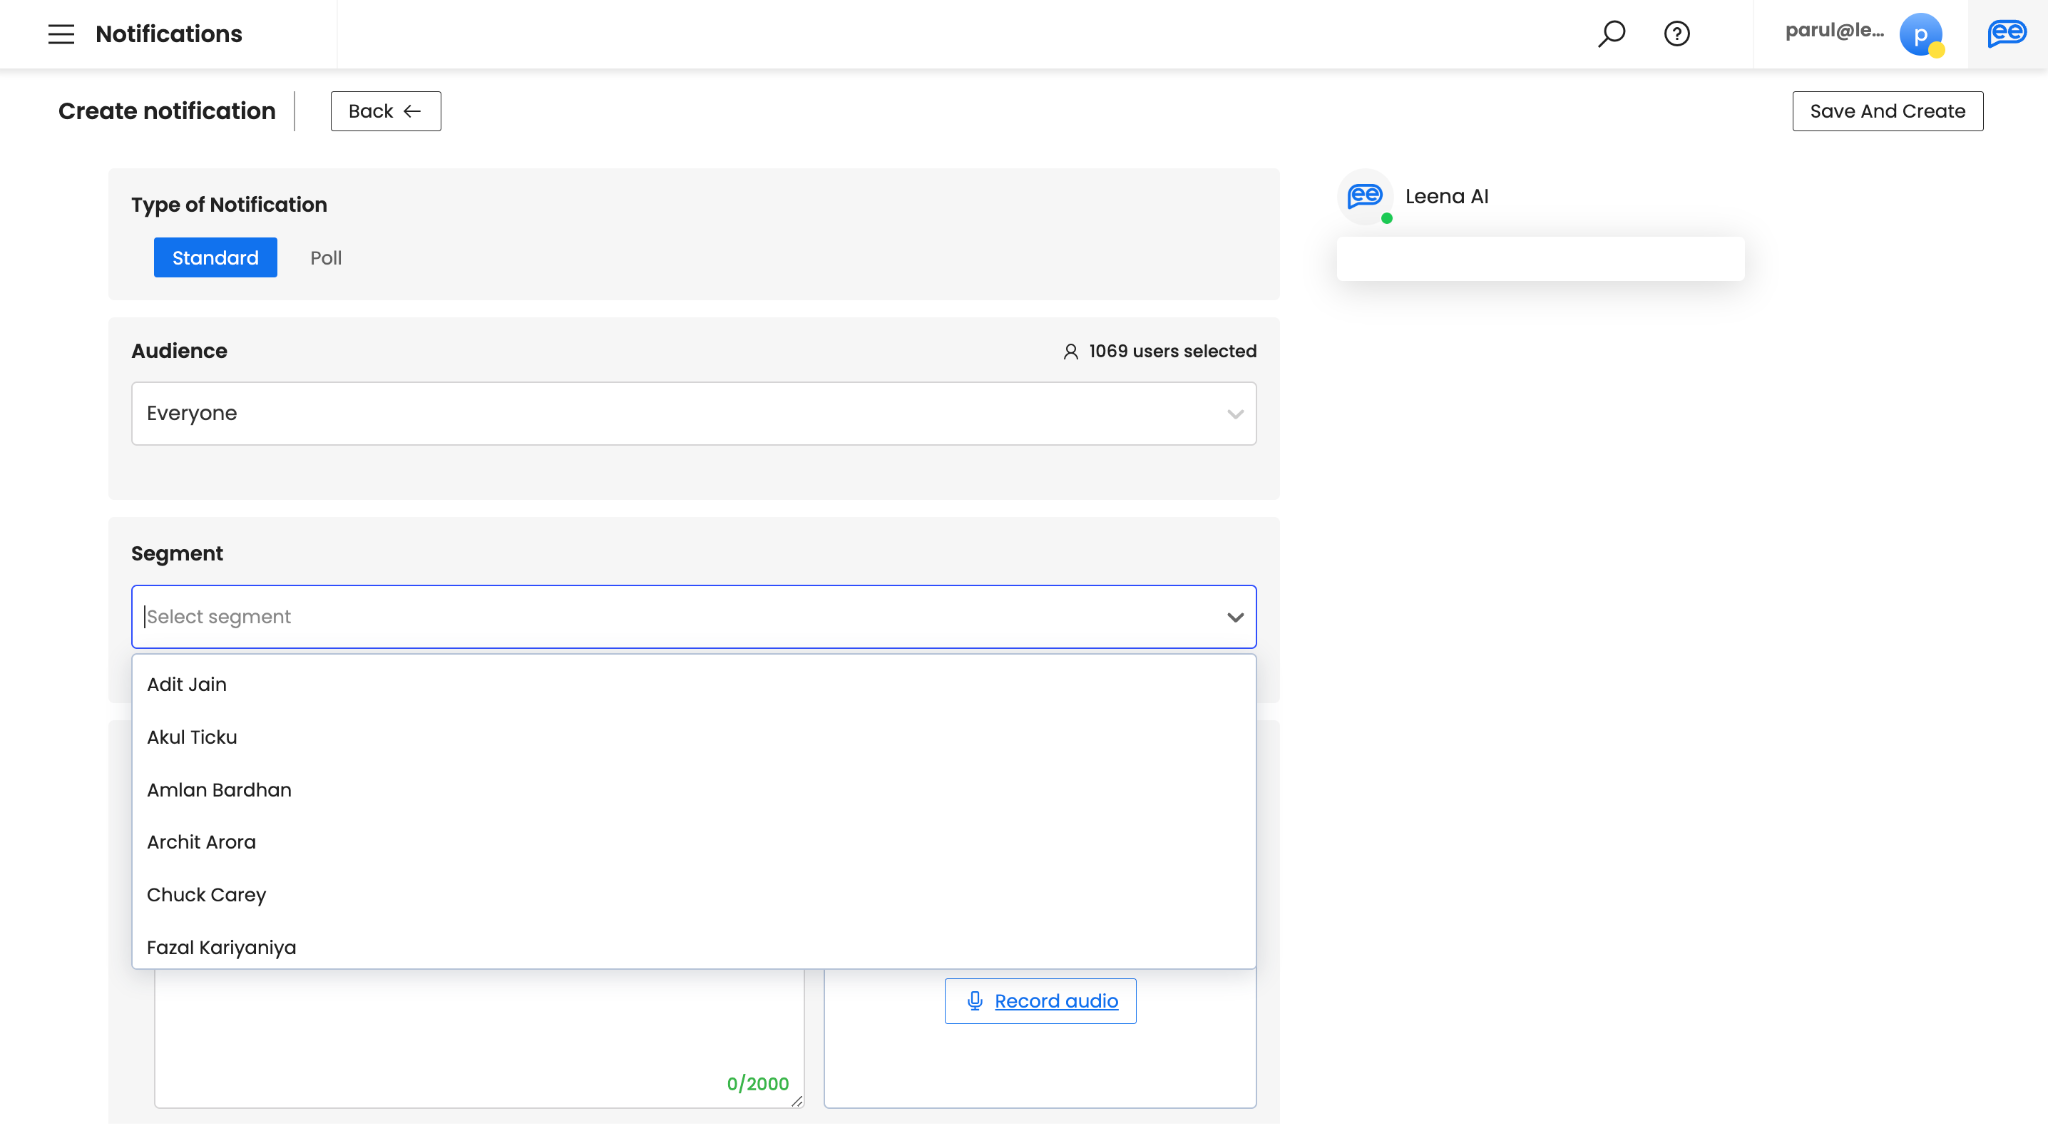
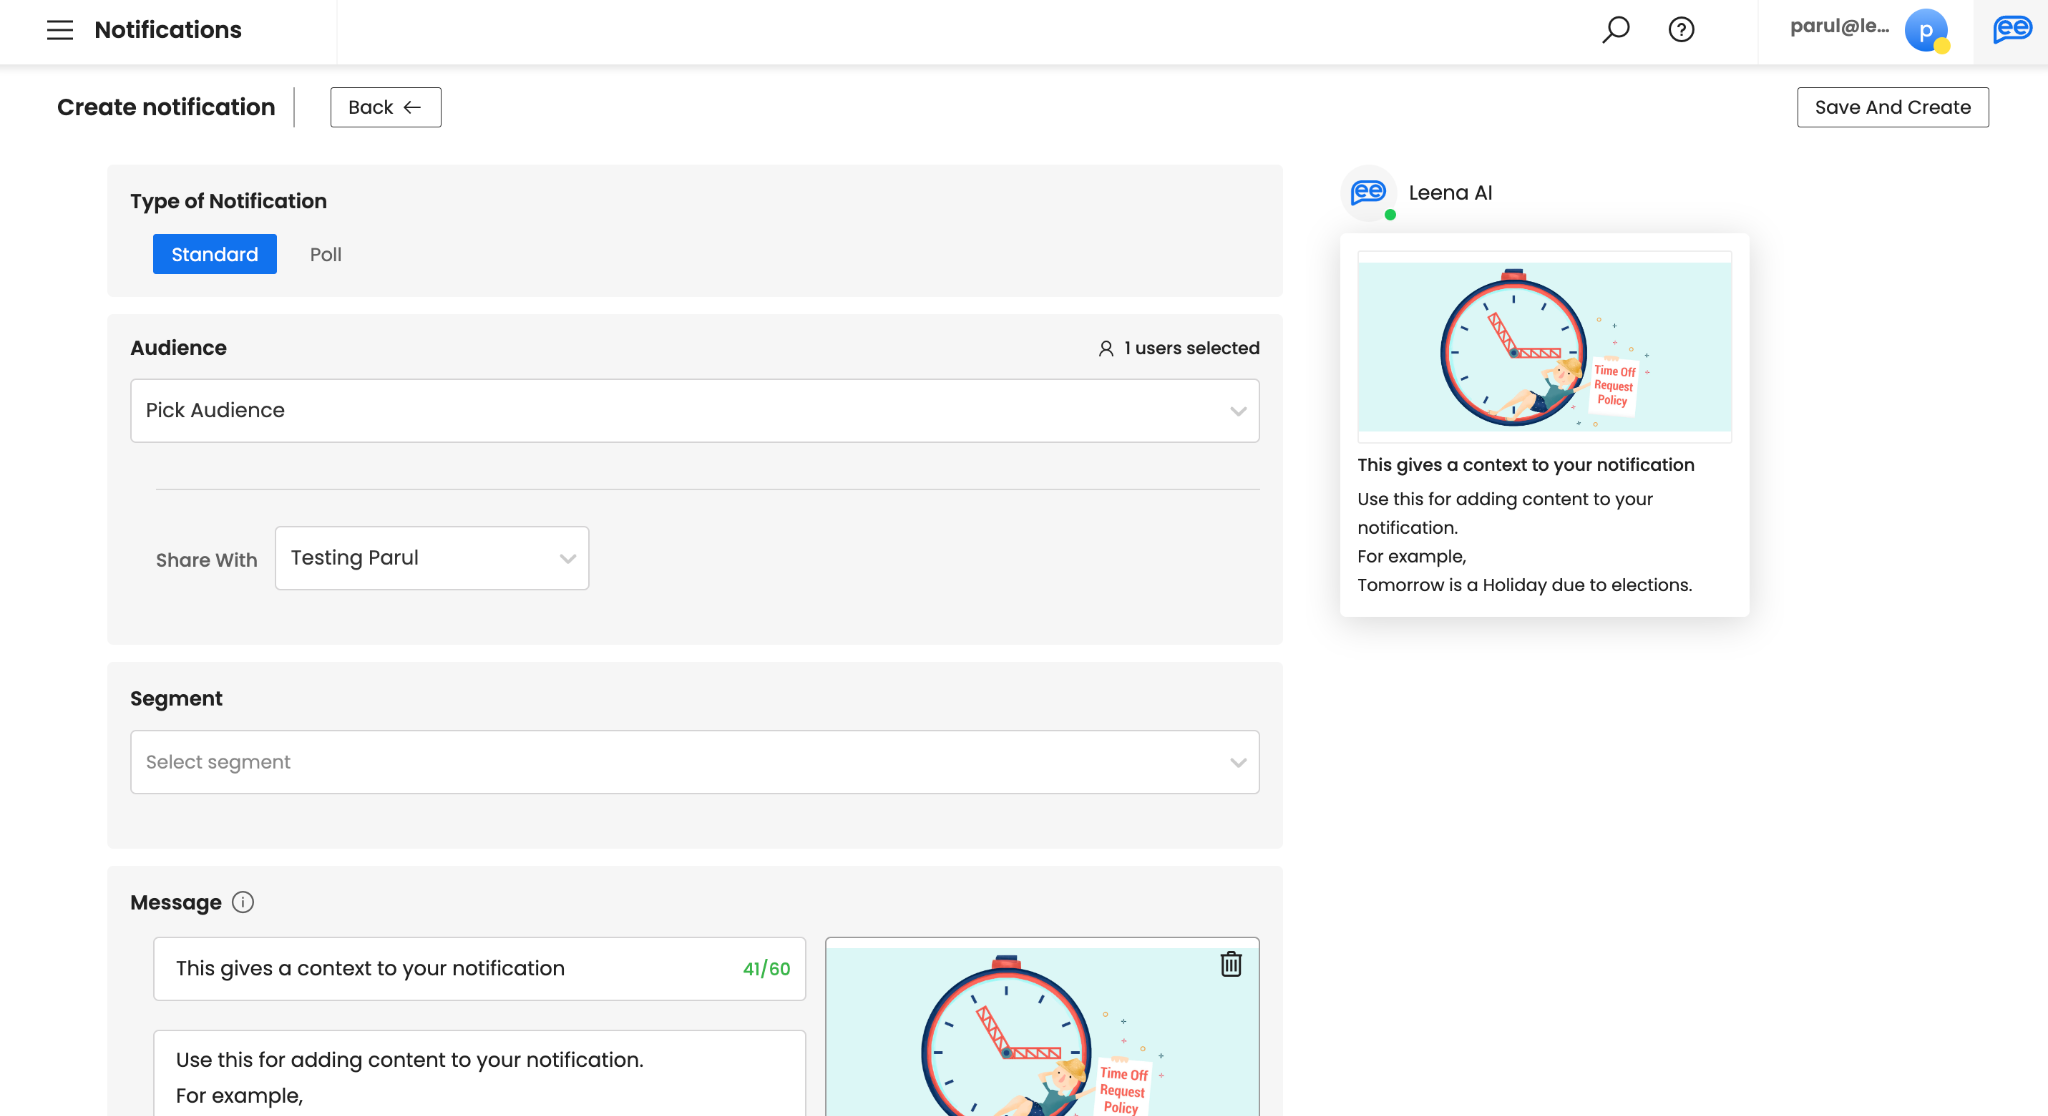
Choose between on Standard or Poll
-
Standard is the default selection.
-
Choose Poll only when you want to take gauge the opinions of your employees quickly.
-
-
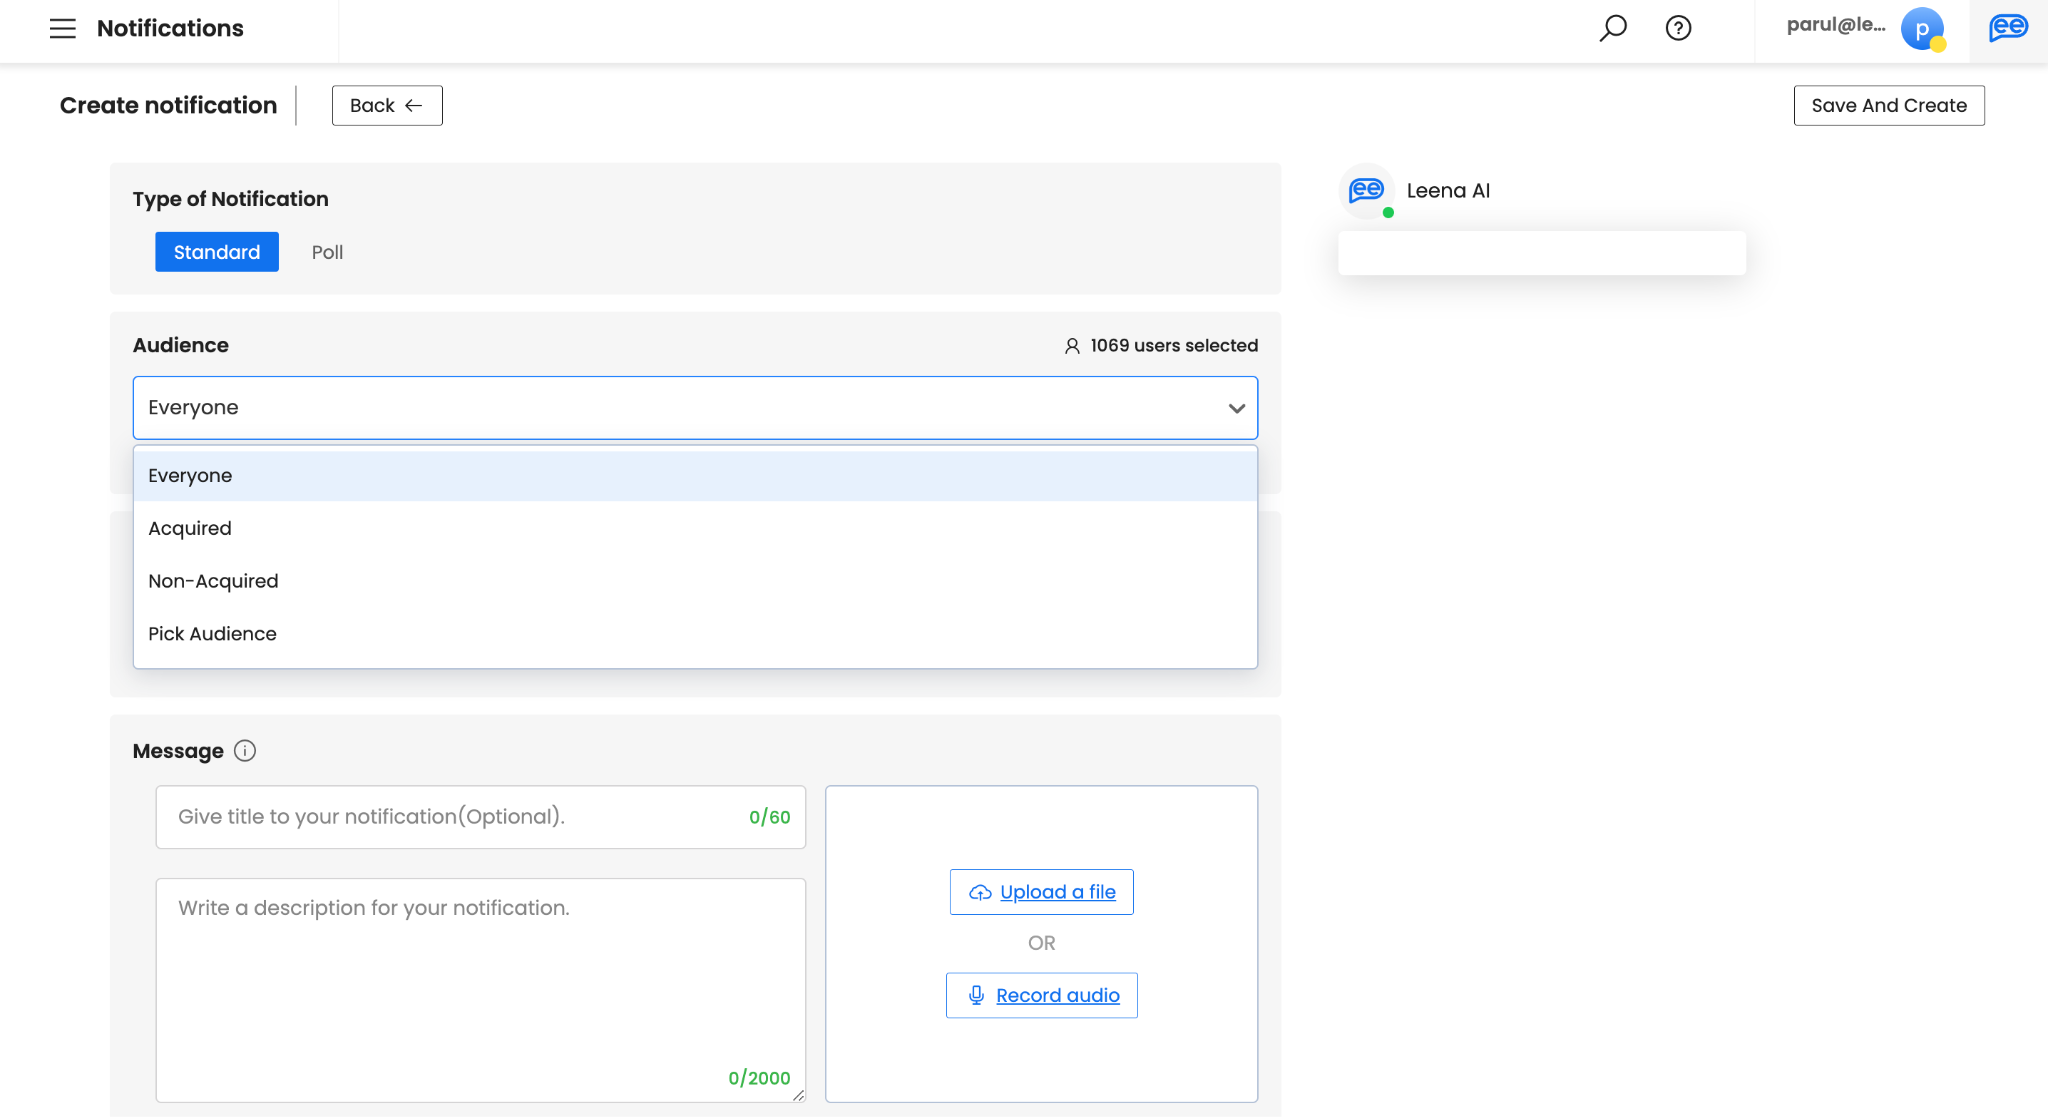
Select your Audience. There are 3 pre-defined audiences - Everyone, Acquired, Non-acquired. Everyone is the default. We will discuss them in detail in the Audience section.
-
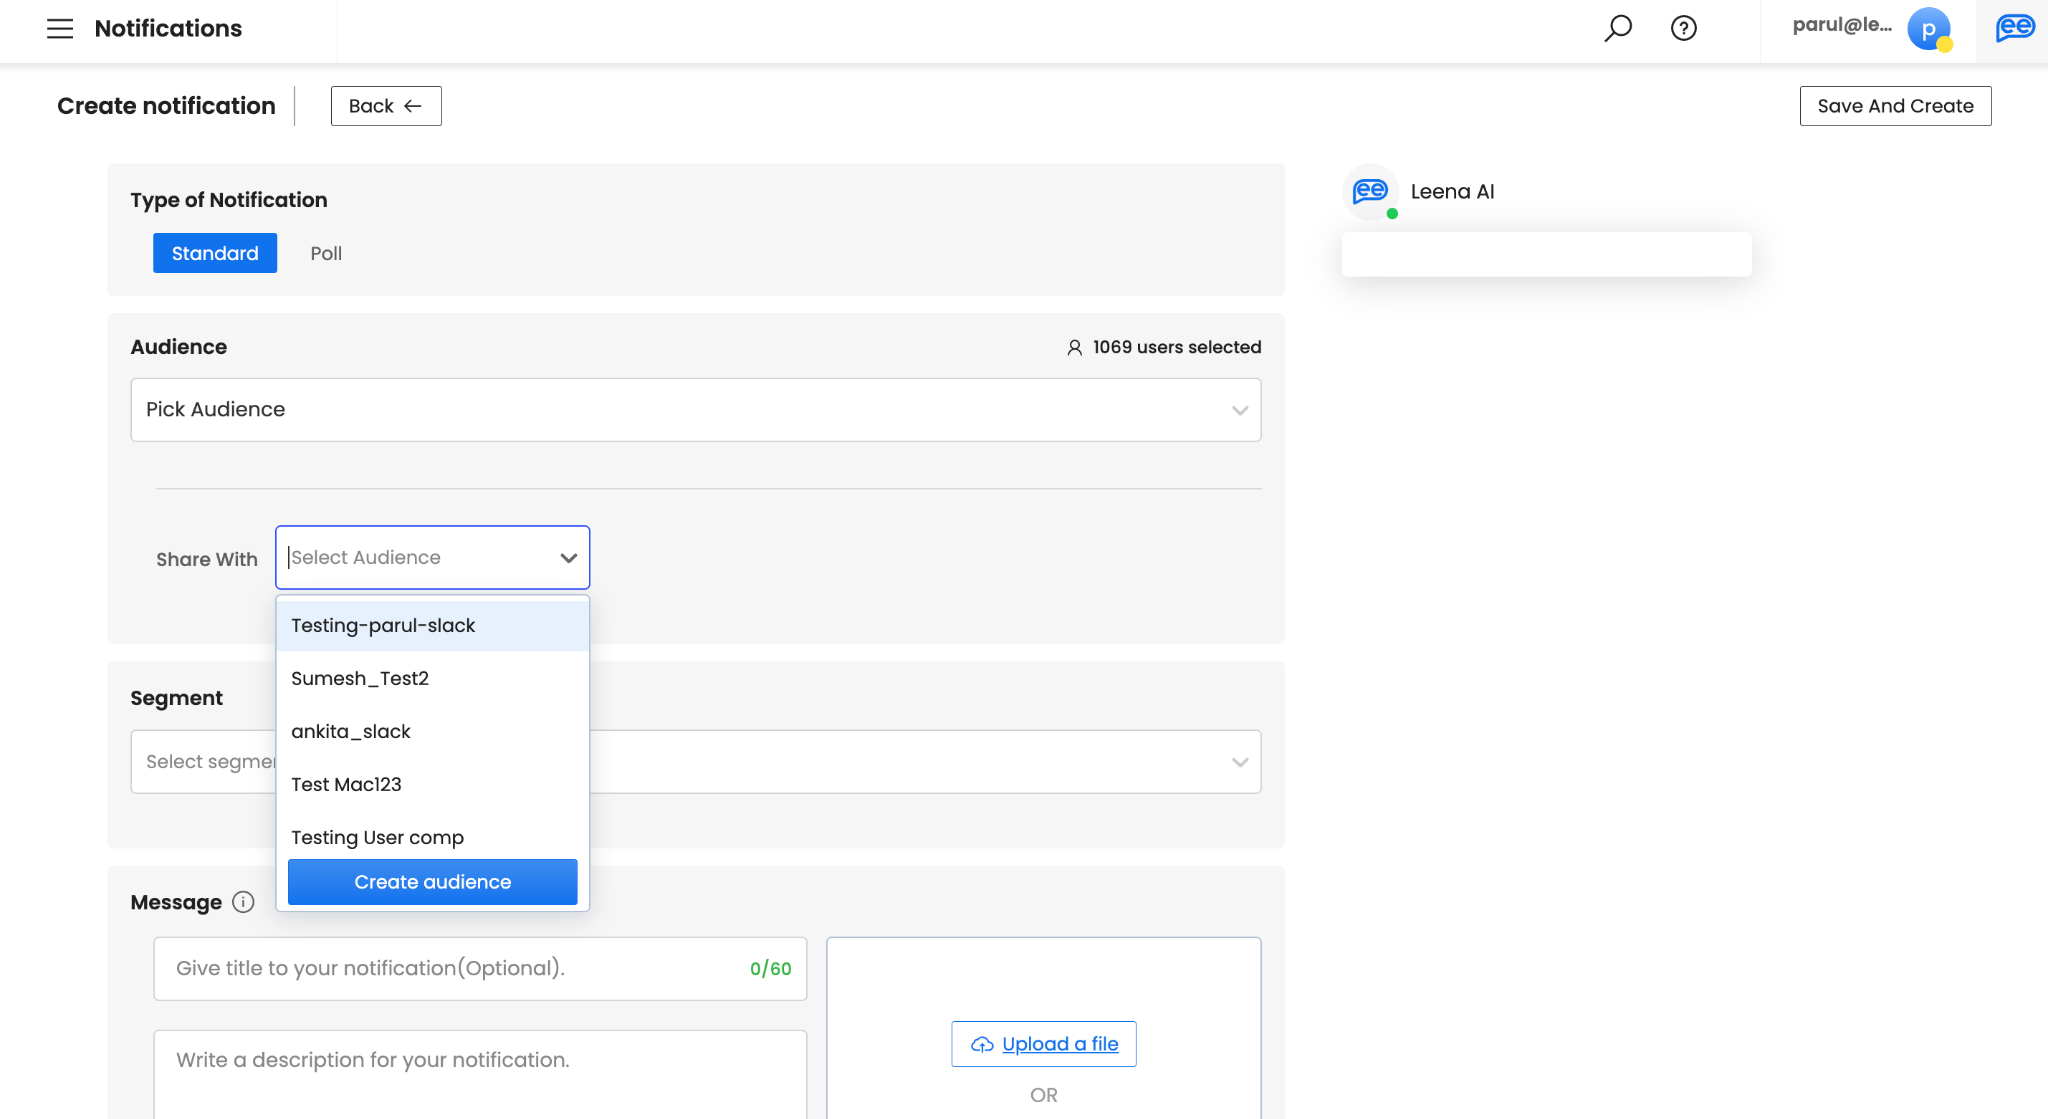
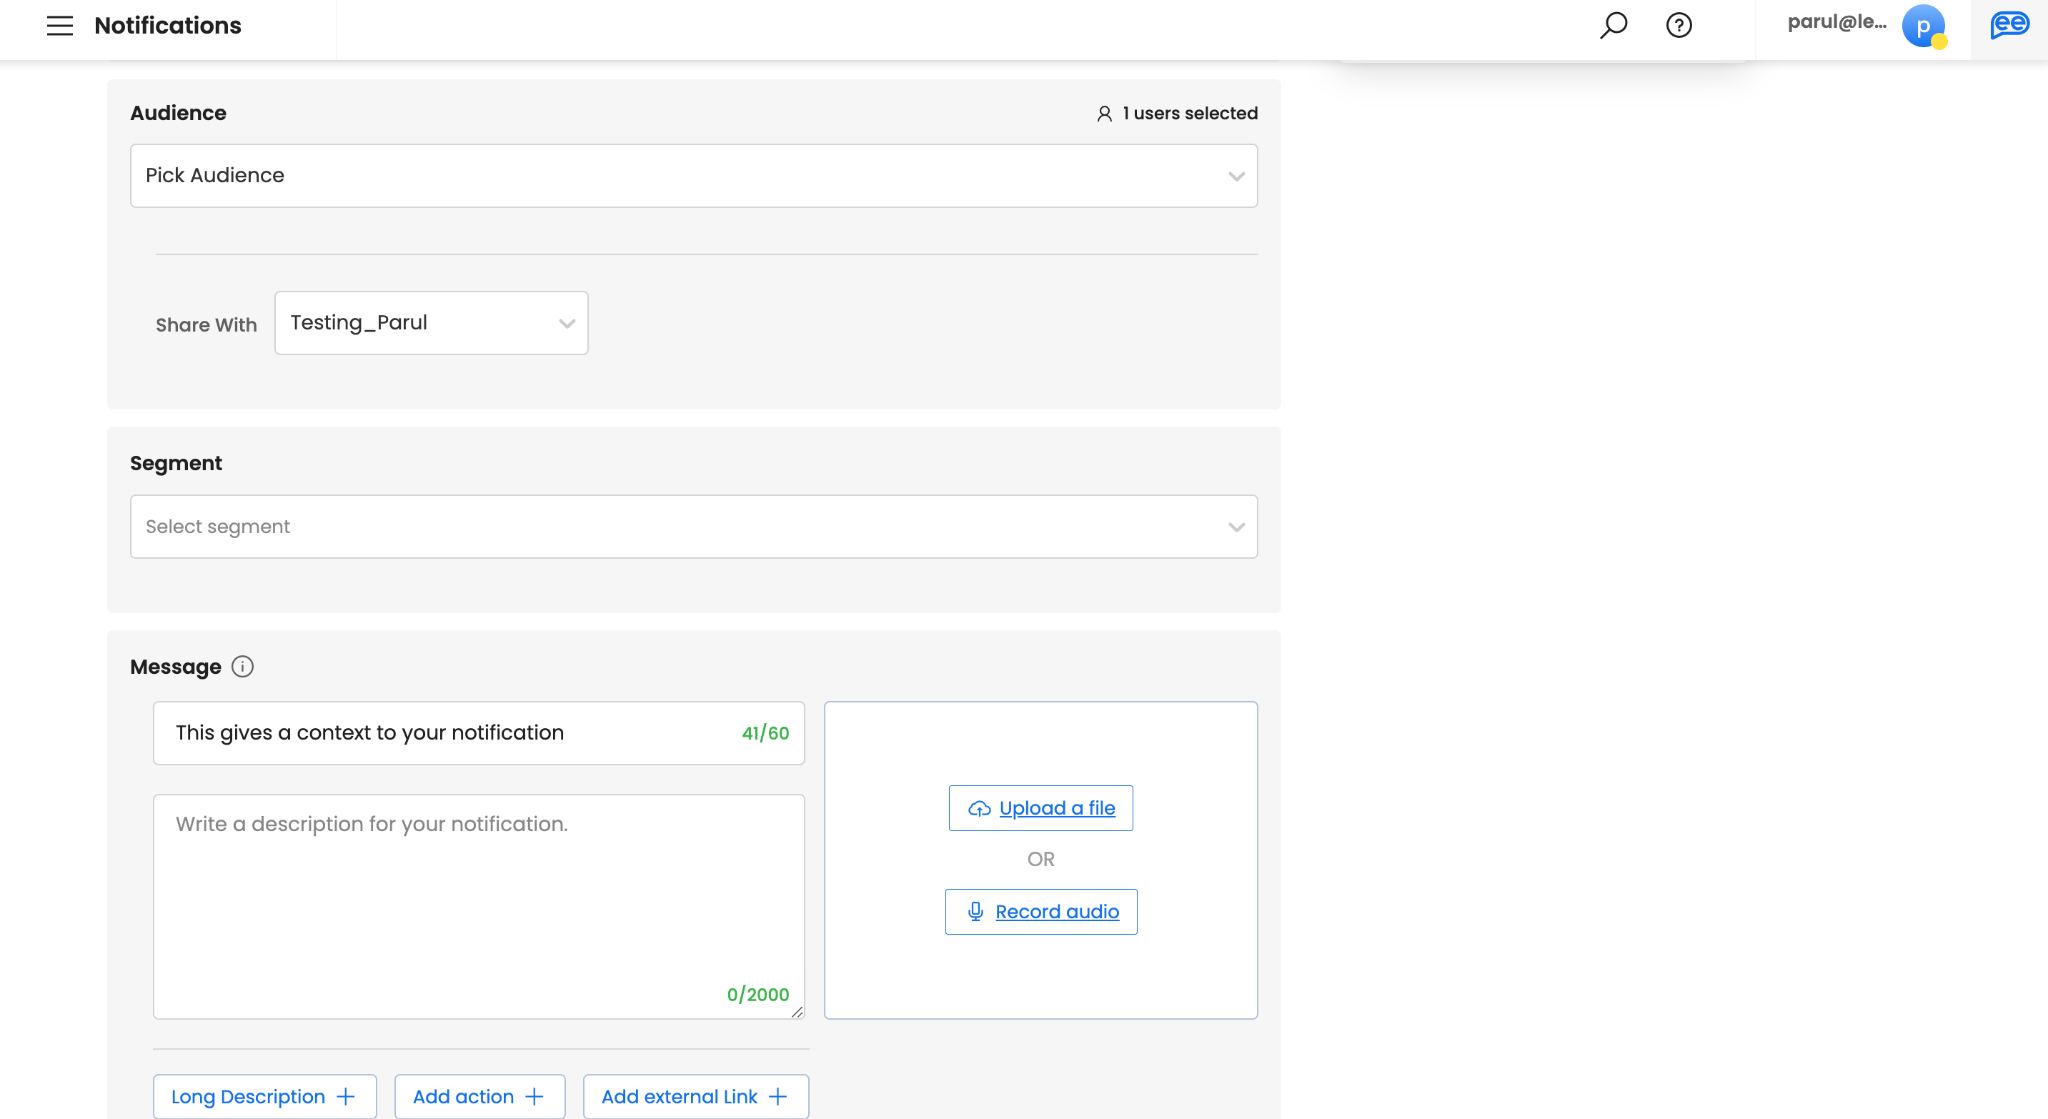
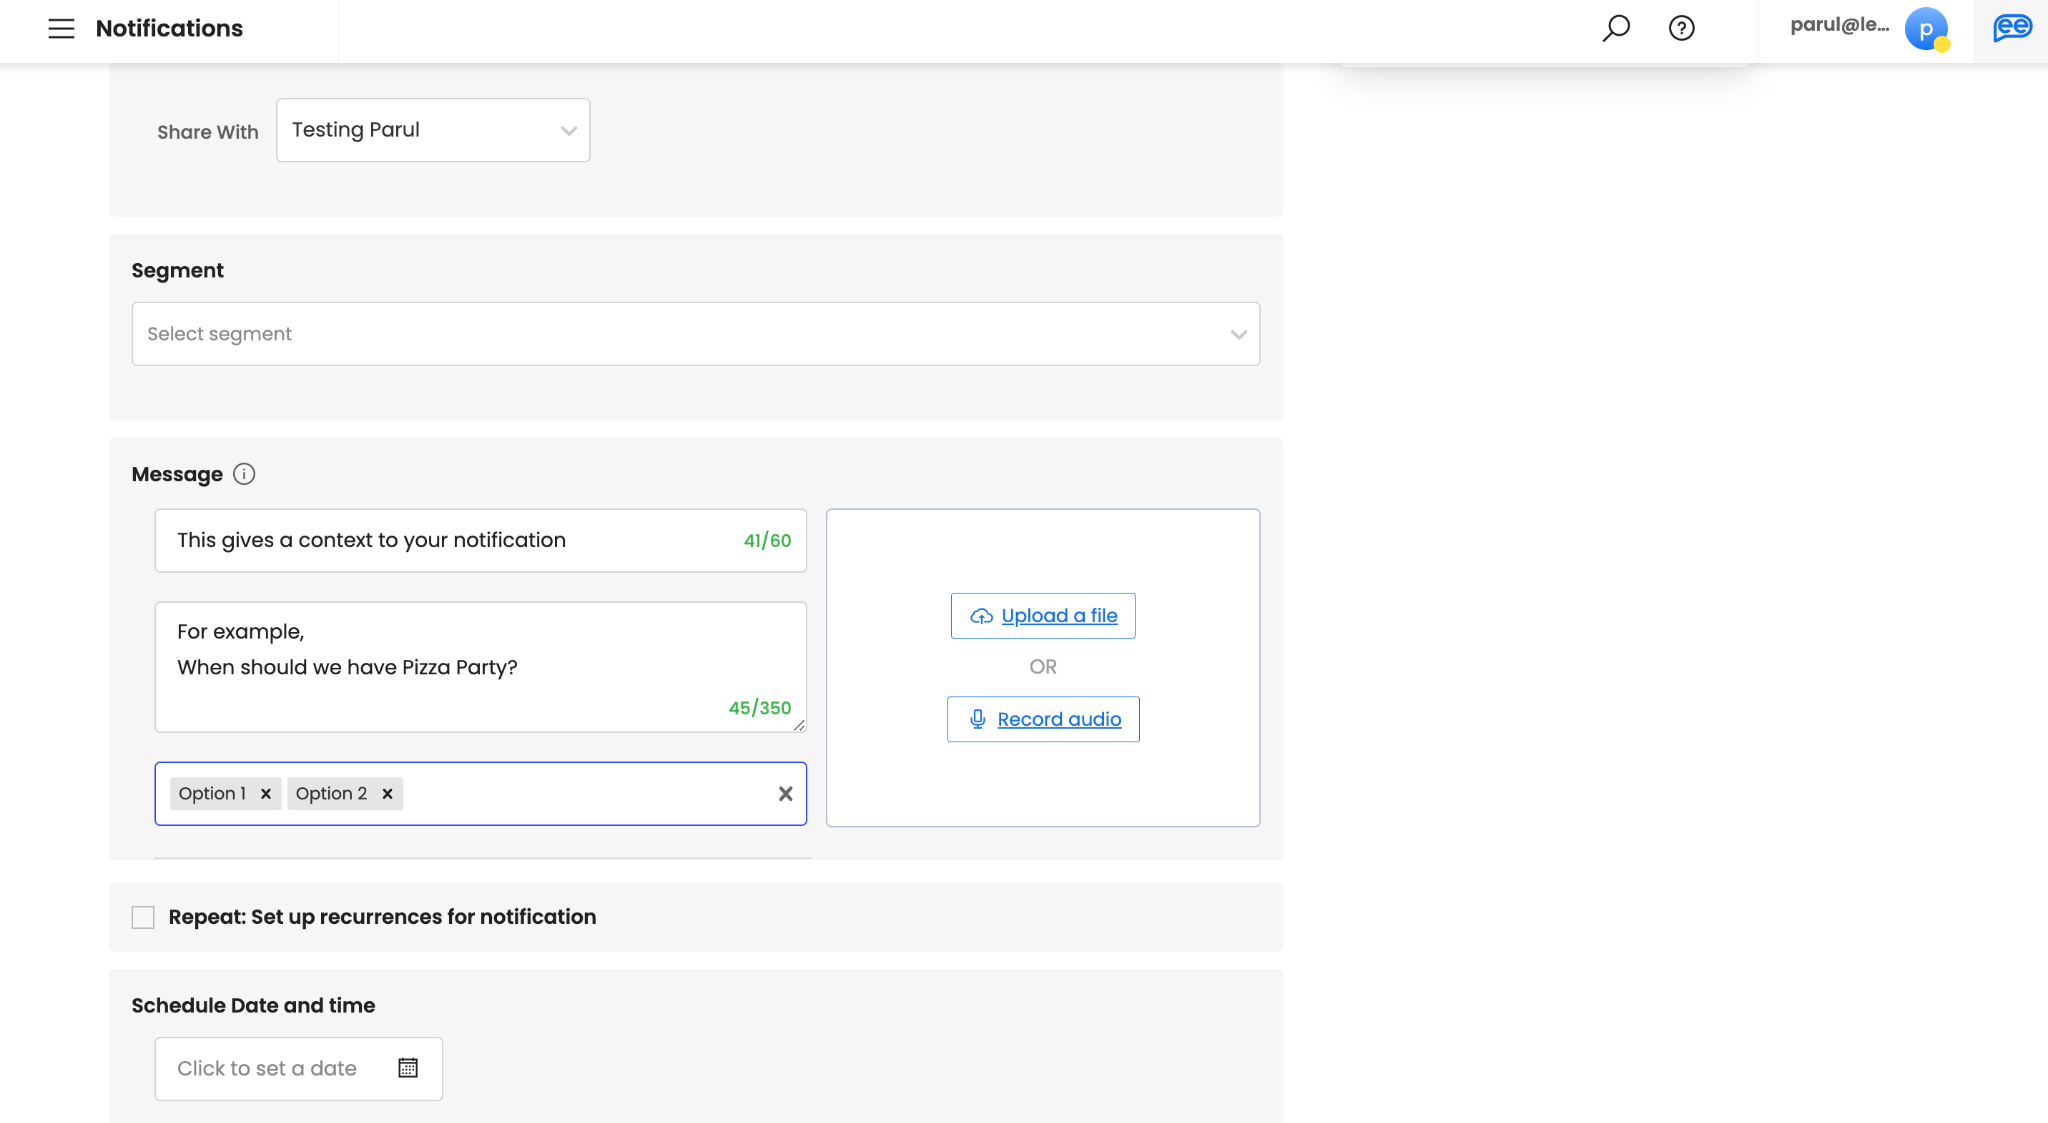
(Optional) For custom audiences, select Pick Audience. Once you click on Pick Audience, another option Share With will appear to choose your saved audiences. For creating a new audience, click on Create Audience. We will discuss Create Audience in the Audience section.
-
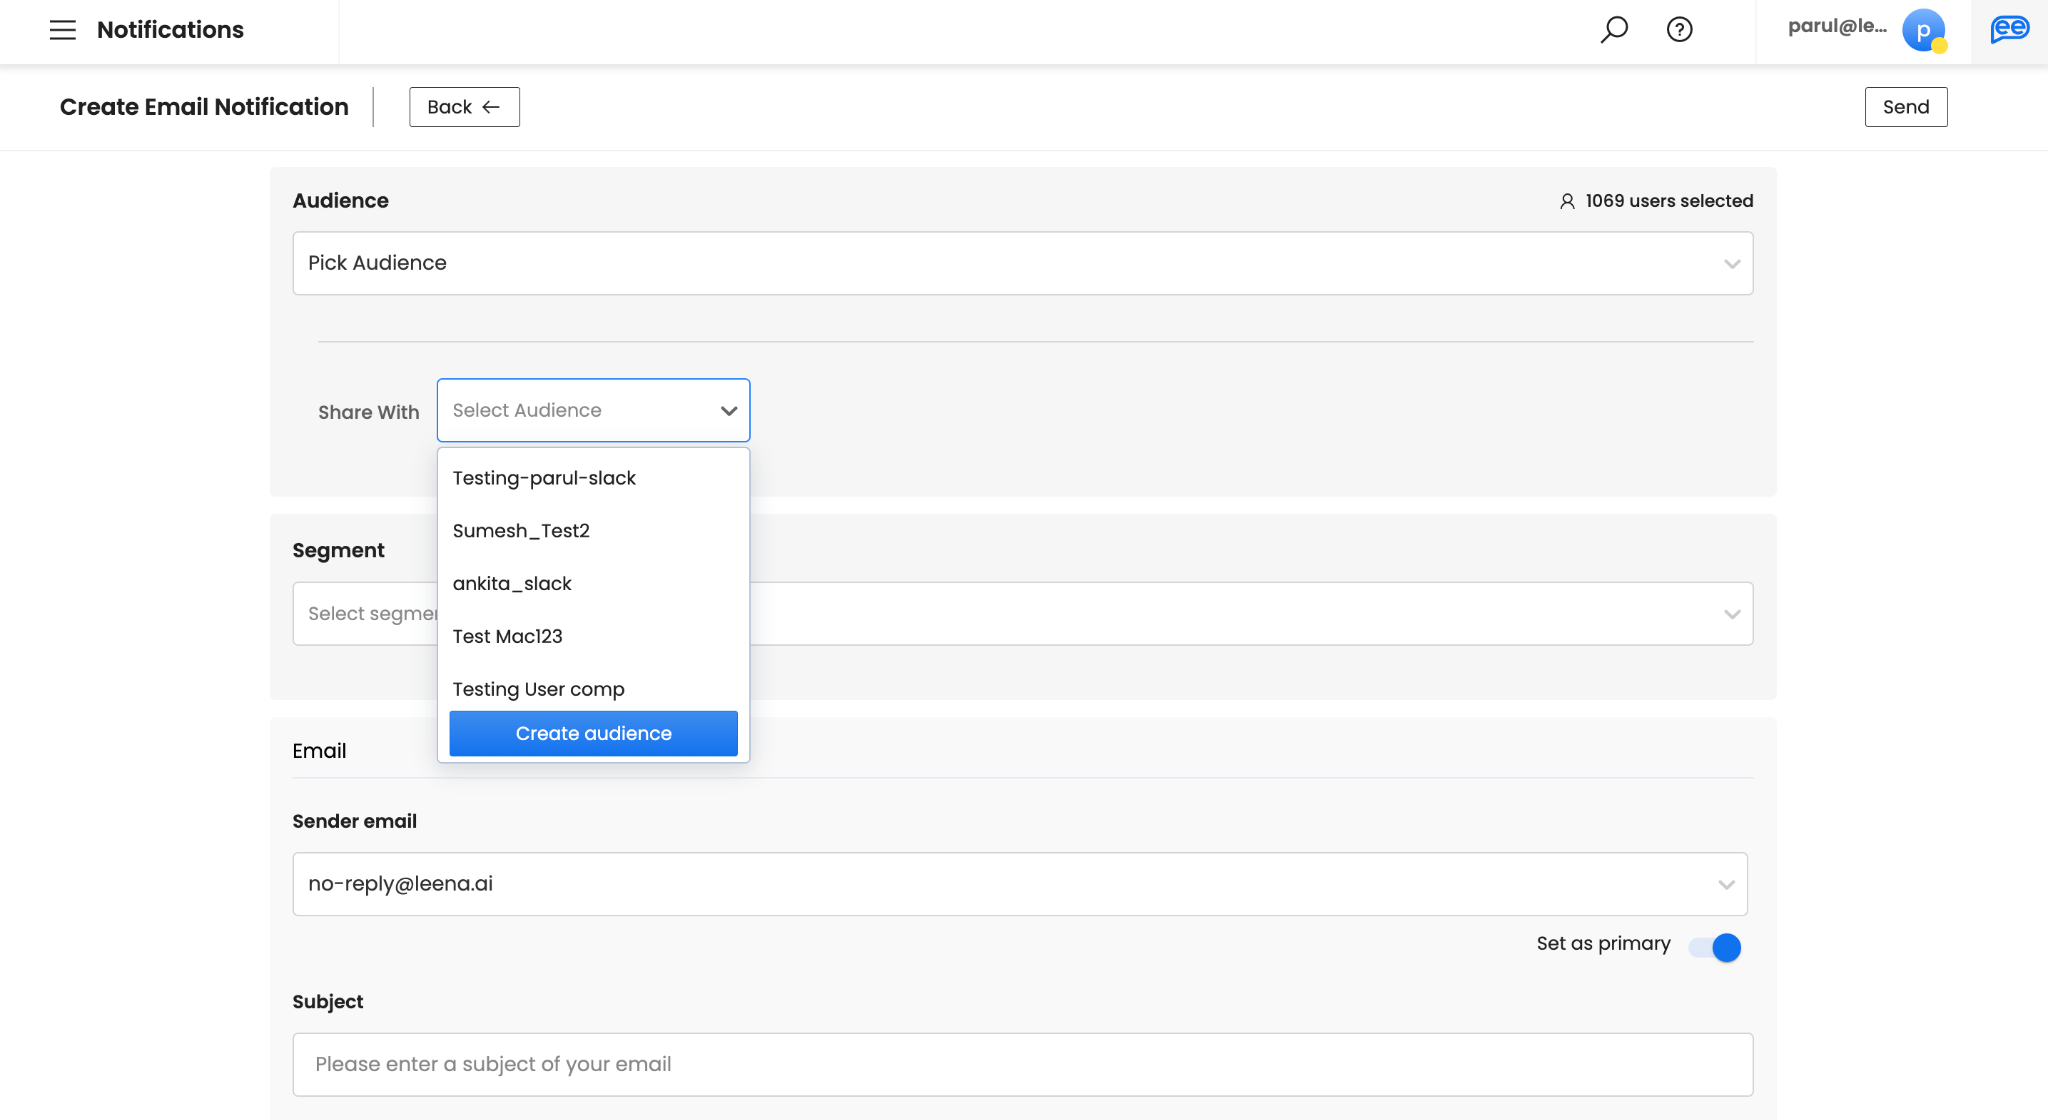
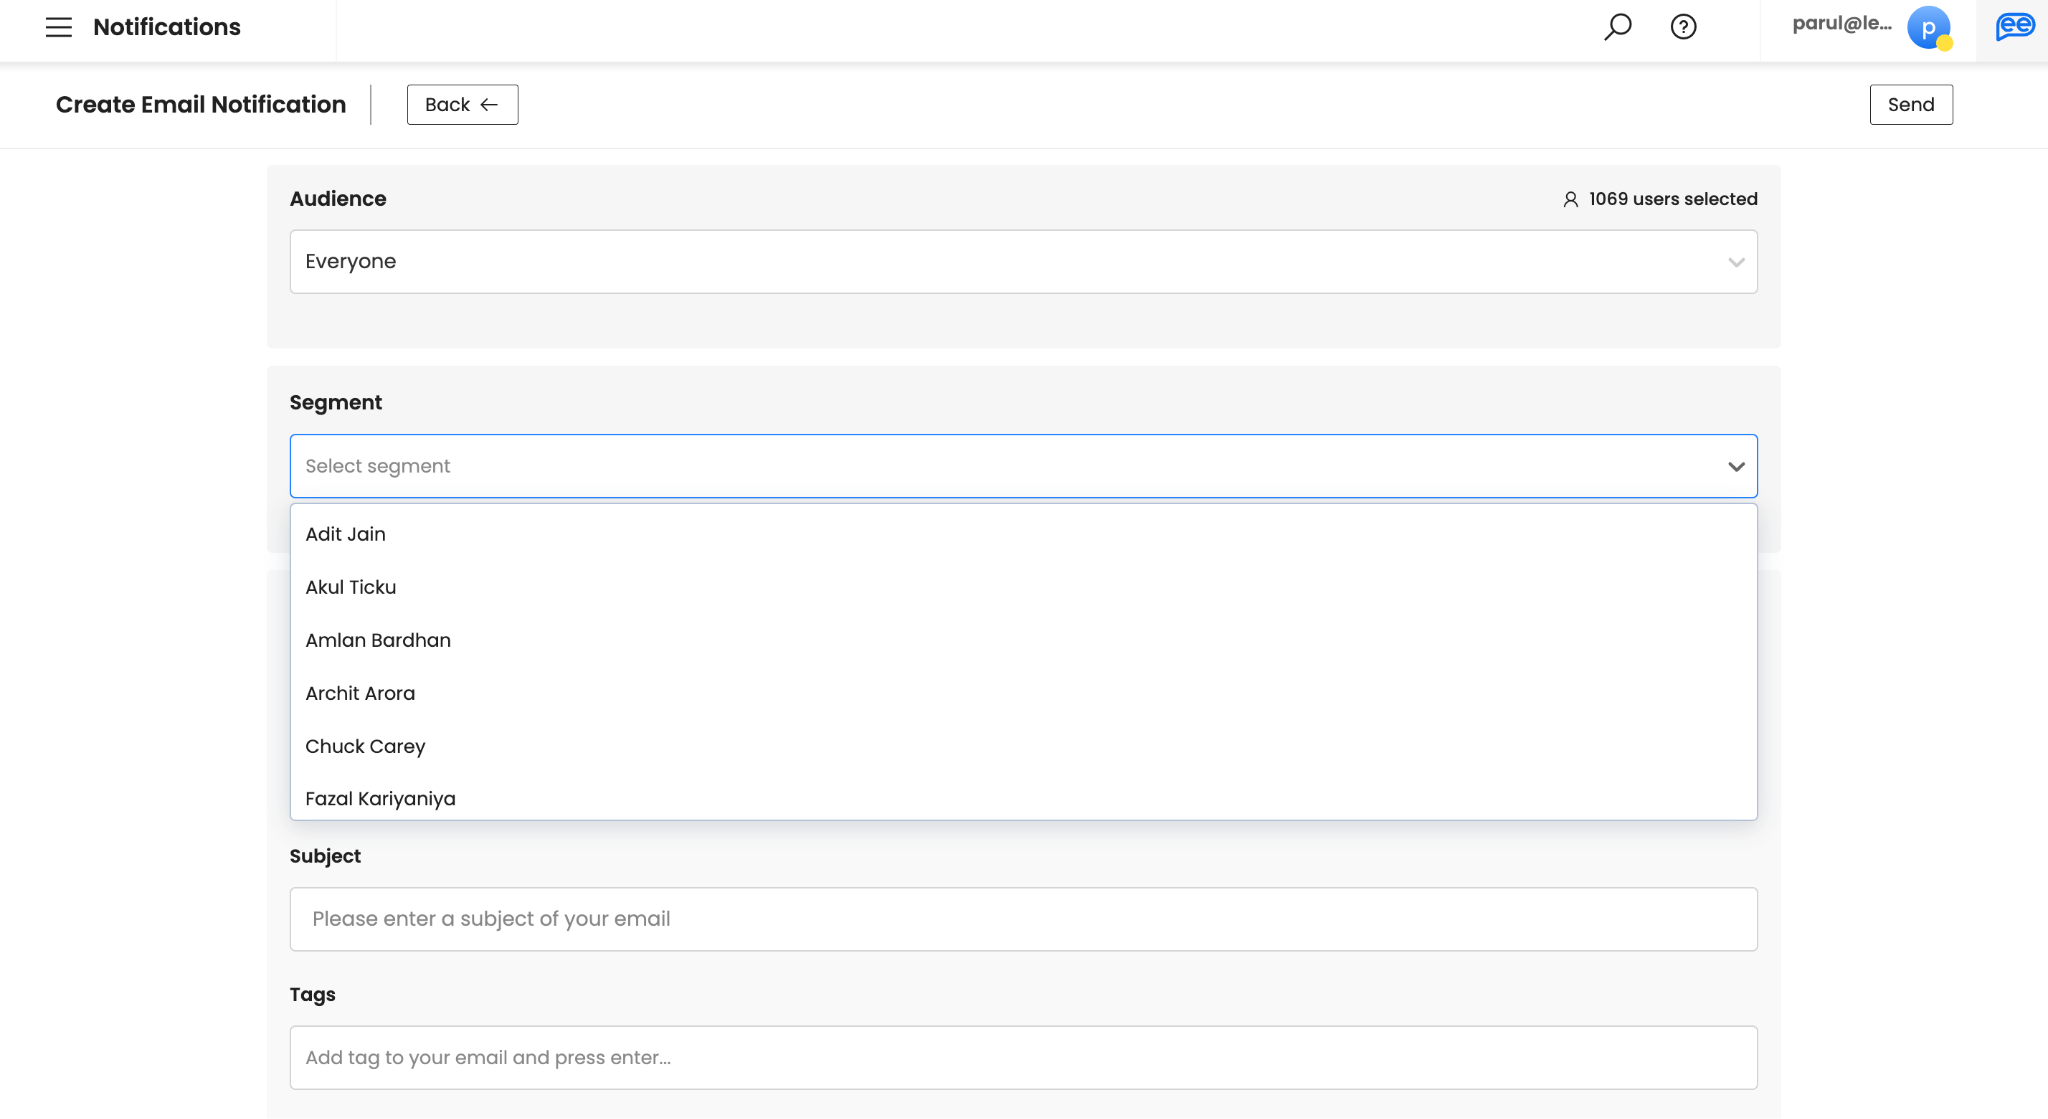
Choose your Segment. A segment is bifurcation of Leena AI’s knowledge for different sections of your employees. It can be defined on various parameters while setting up for Leena AI virtual assistants. It is disabled unless segments are enabled. For more information, connect with your Leena AI project team. If you select a Segment only the employees in that particular segment will be picked. If left unselected all the employees (users) based on Audience selection will continue.
-
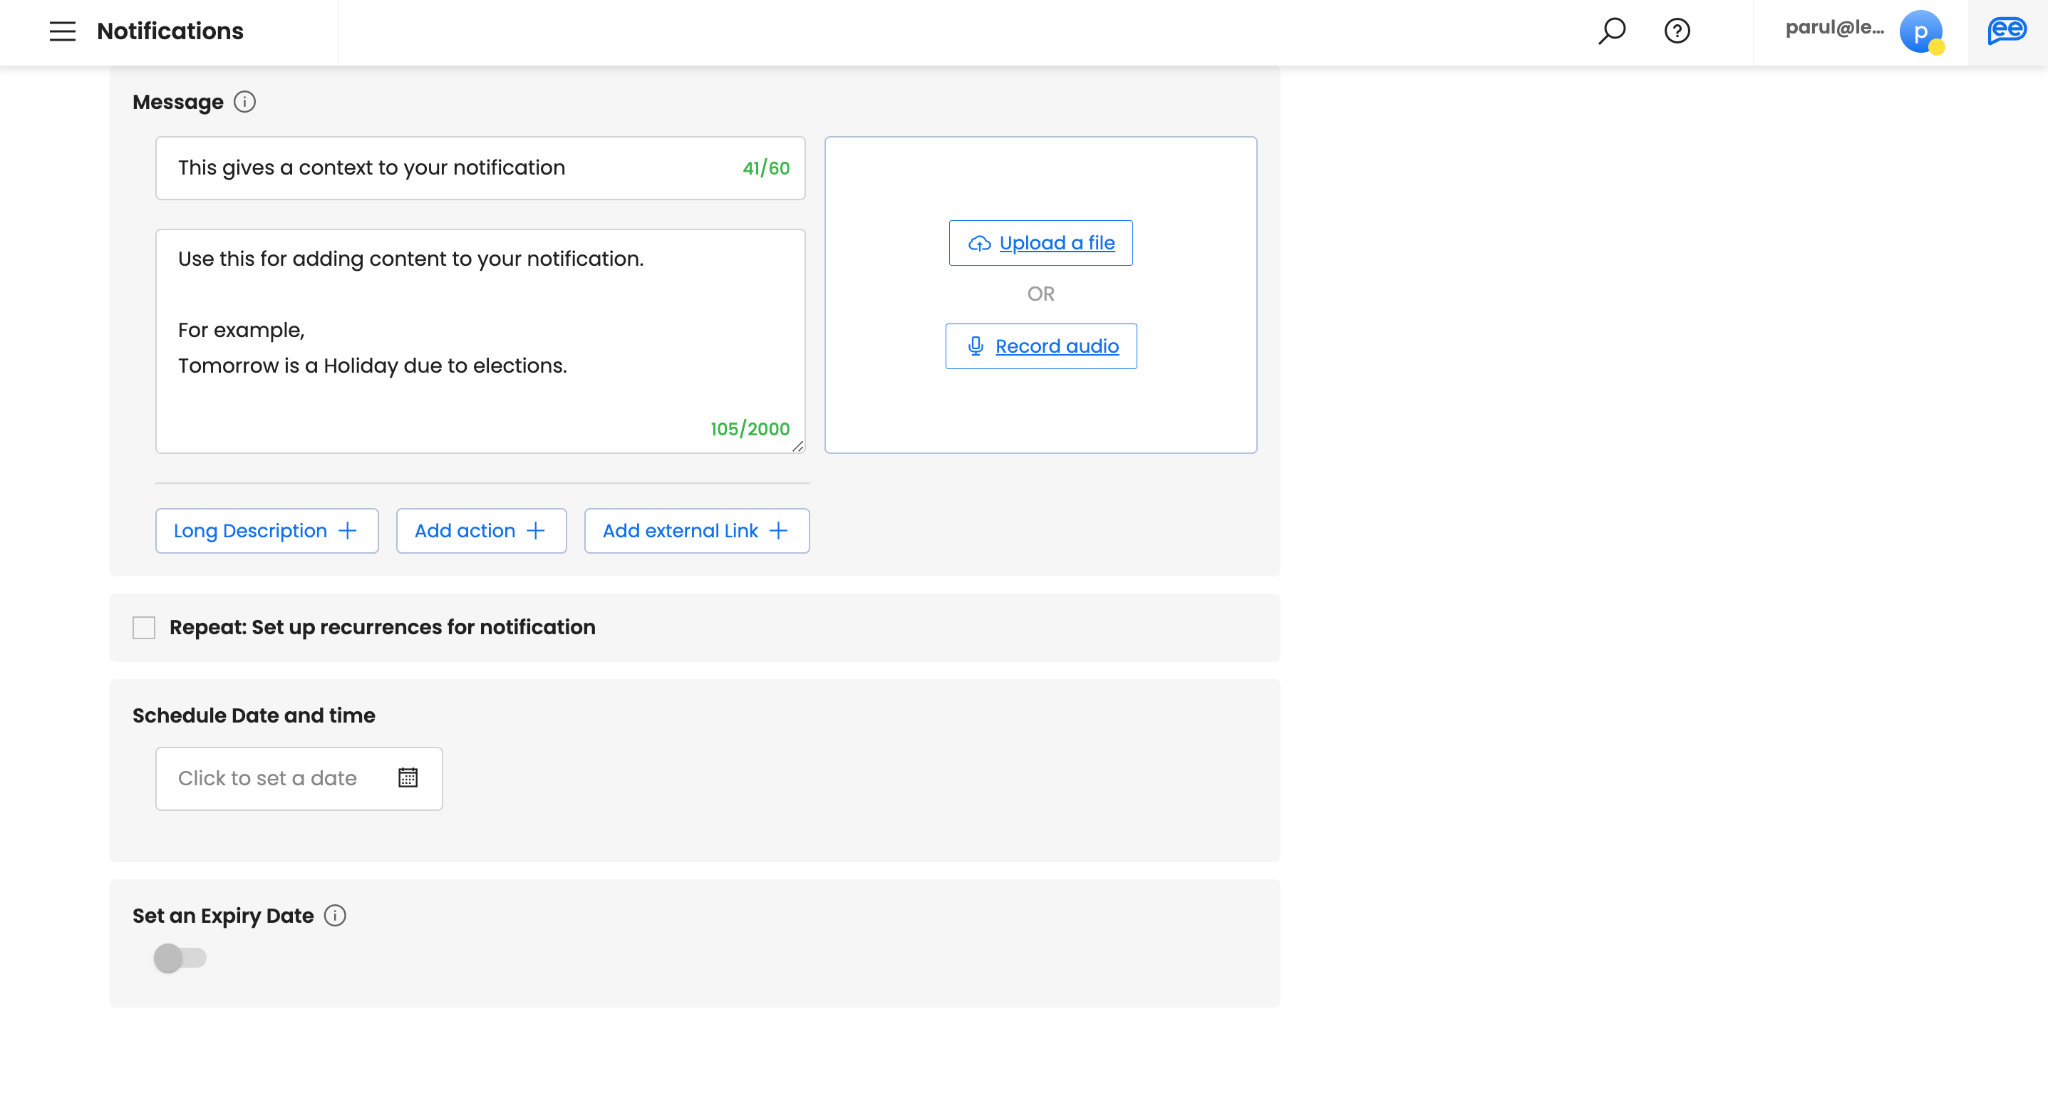
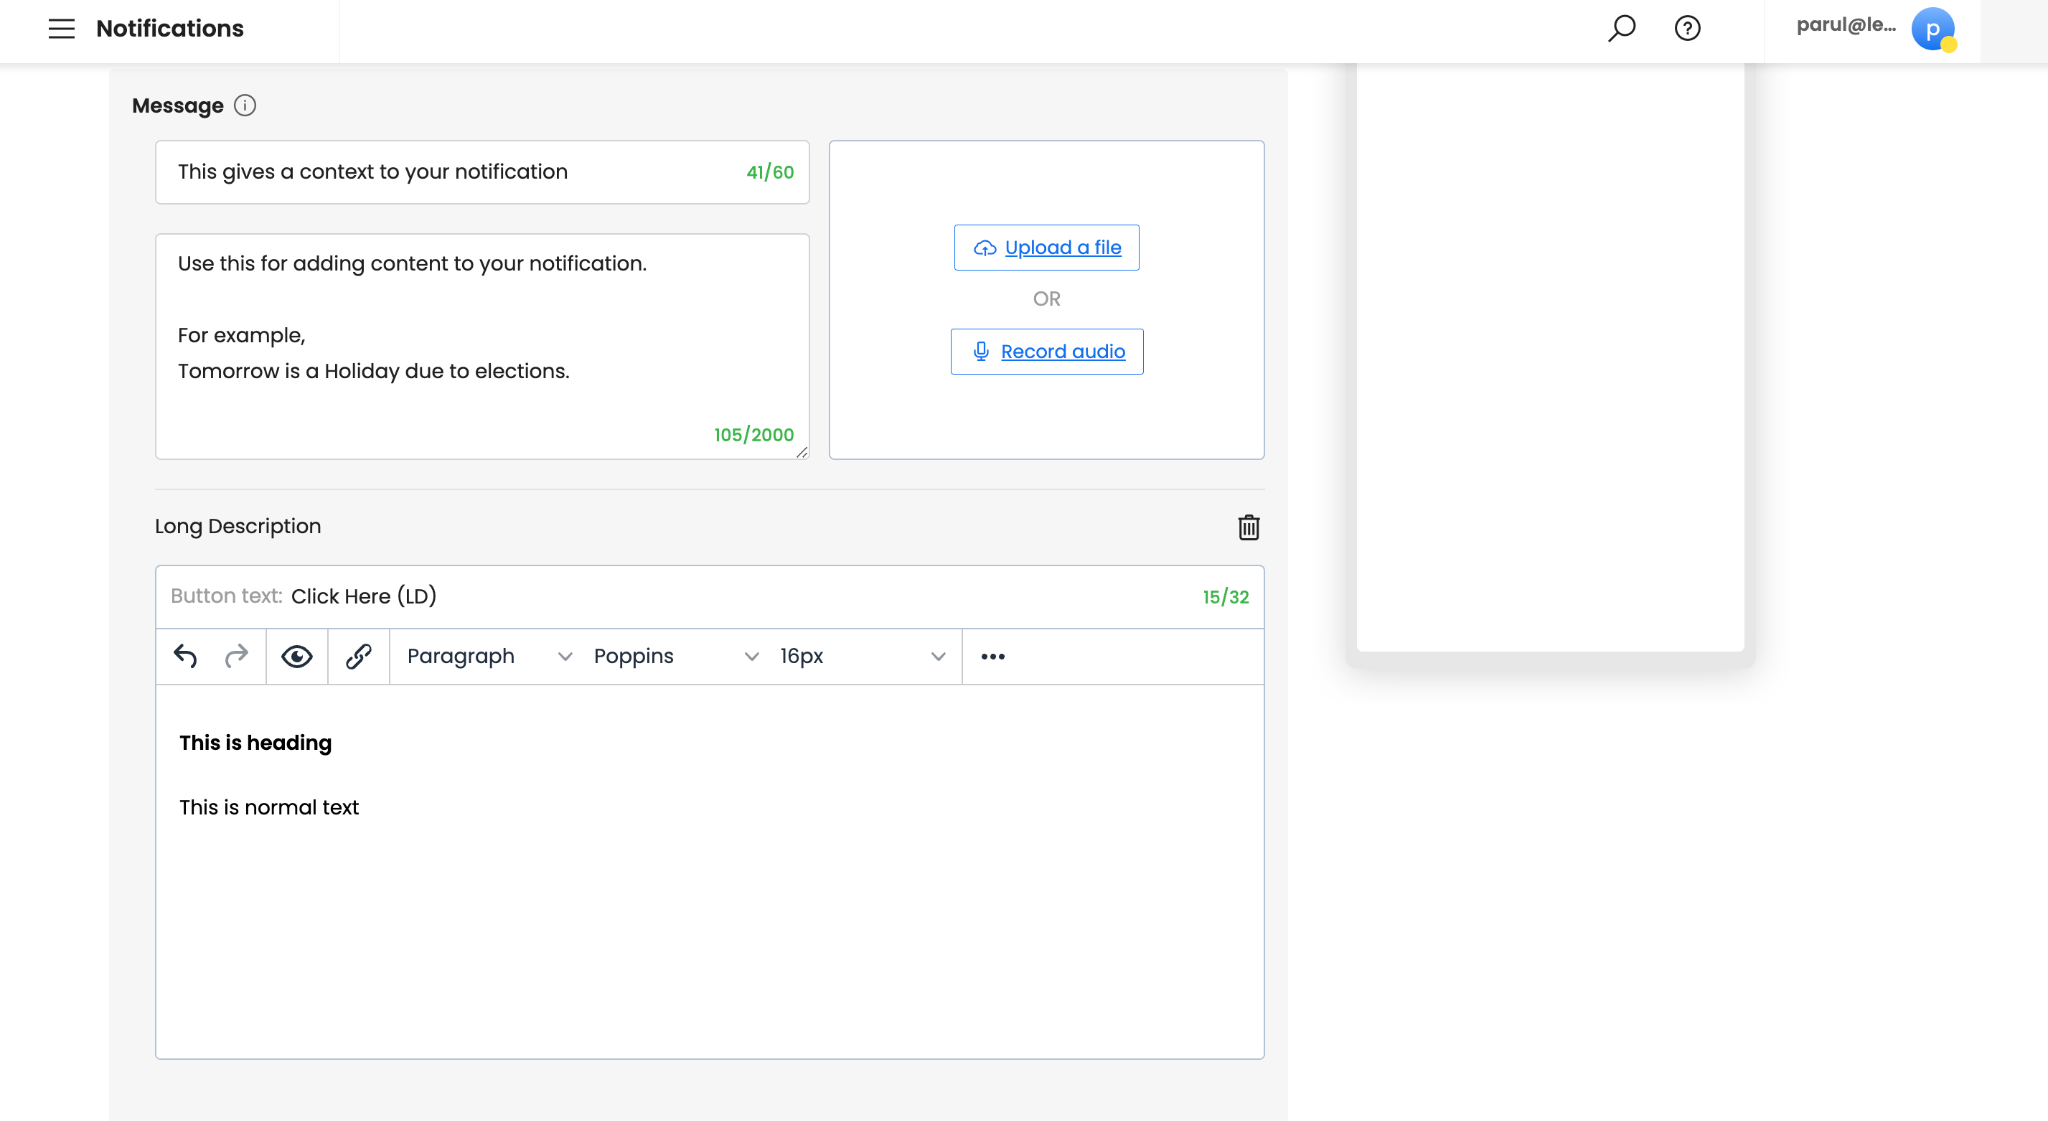
Create your Message. Subject can be a maximum of 60 characters. It is recommended to add a subject to give context to your notification. However, if you want to make this optional, connect with your Leena AI Project Team. Description of your message is used for adding content to your notification and hence, is mandatory. Please note default and recommend limit is 350 characters. However, you can get this increased up-to 2000 characters by connecting with your Leena AI Project Team.

-
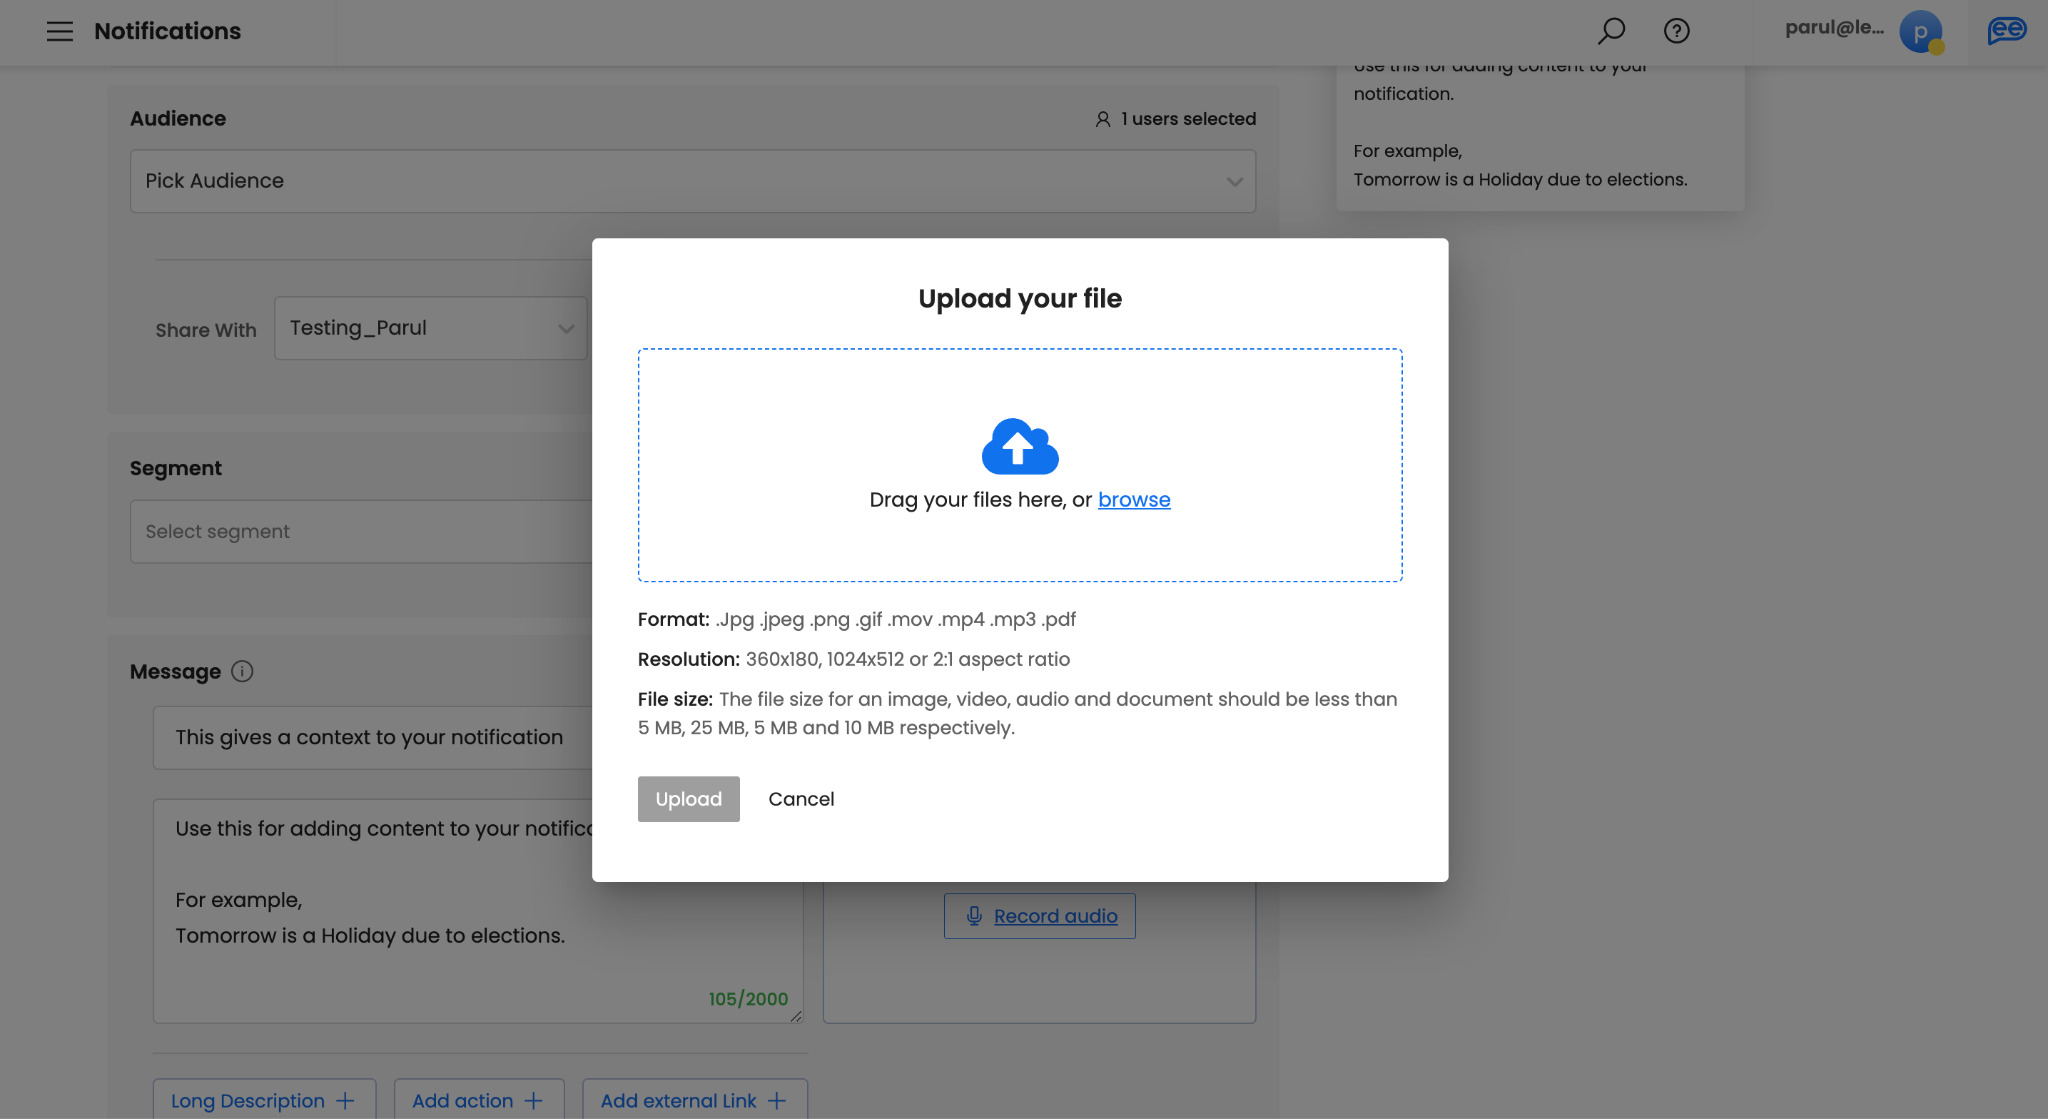
Add supporting Attachments, if any. Attachments are optional. It makes your notifications more engaging. You can either record a live “Audio” or upload any existing file. For uploading a file, images (.jpg, .jpeg, .png), gifs (.gif), videos (.mp4), audio (.mp3), and documents (.pdf) are supported.
-
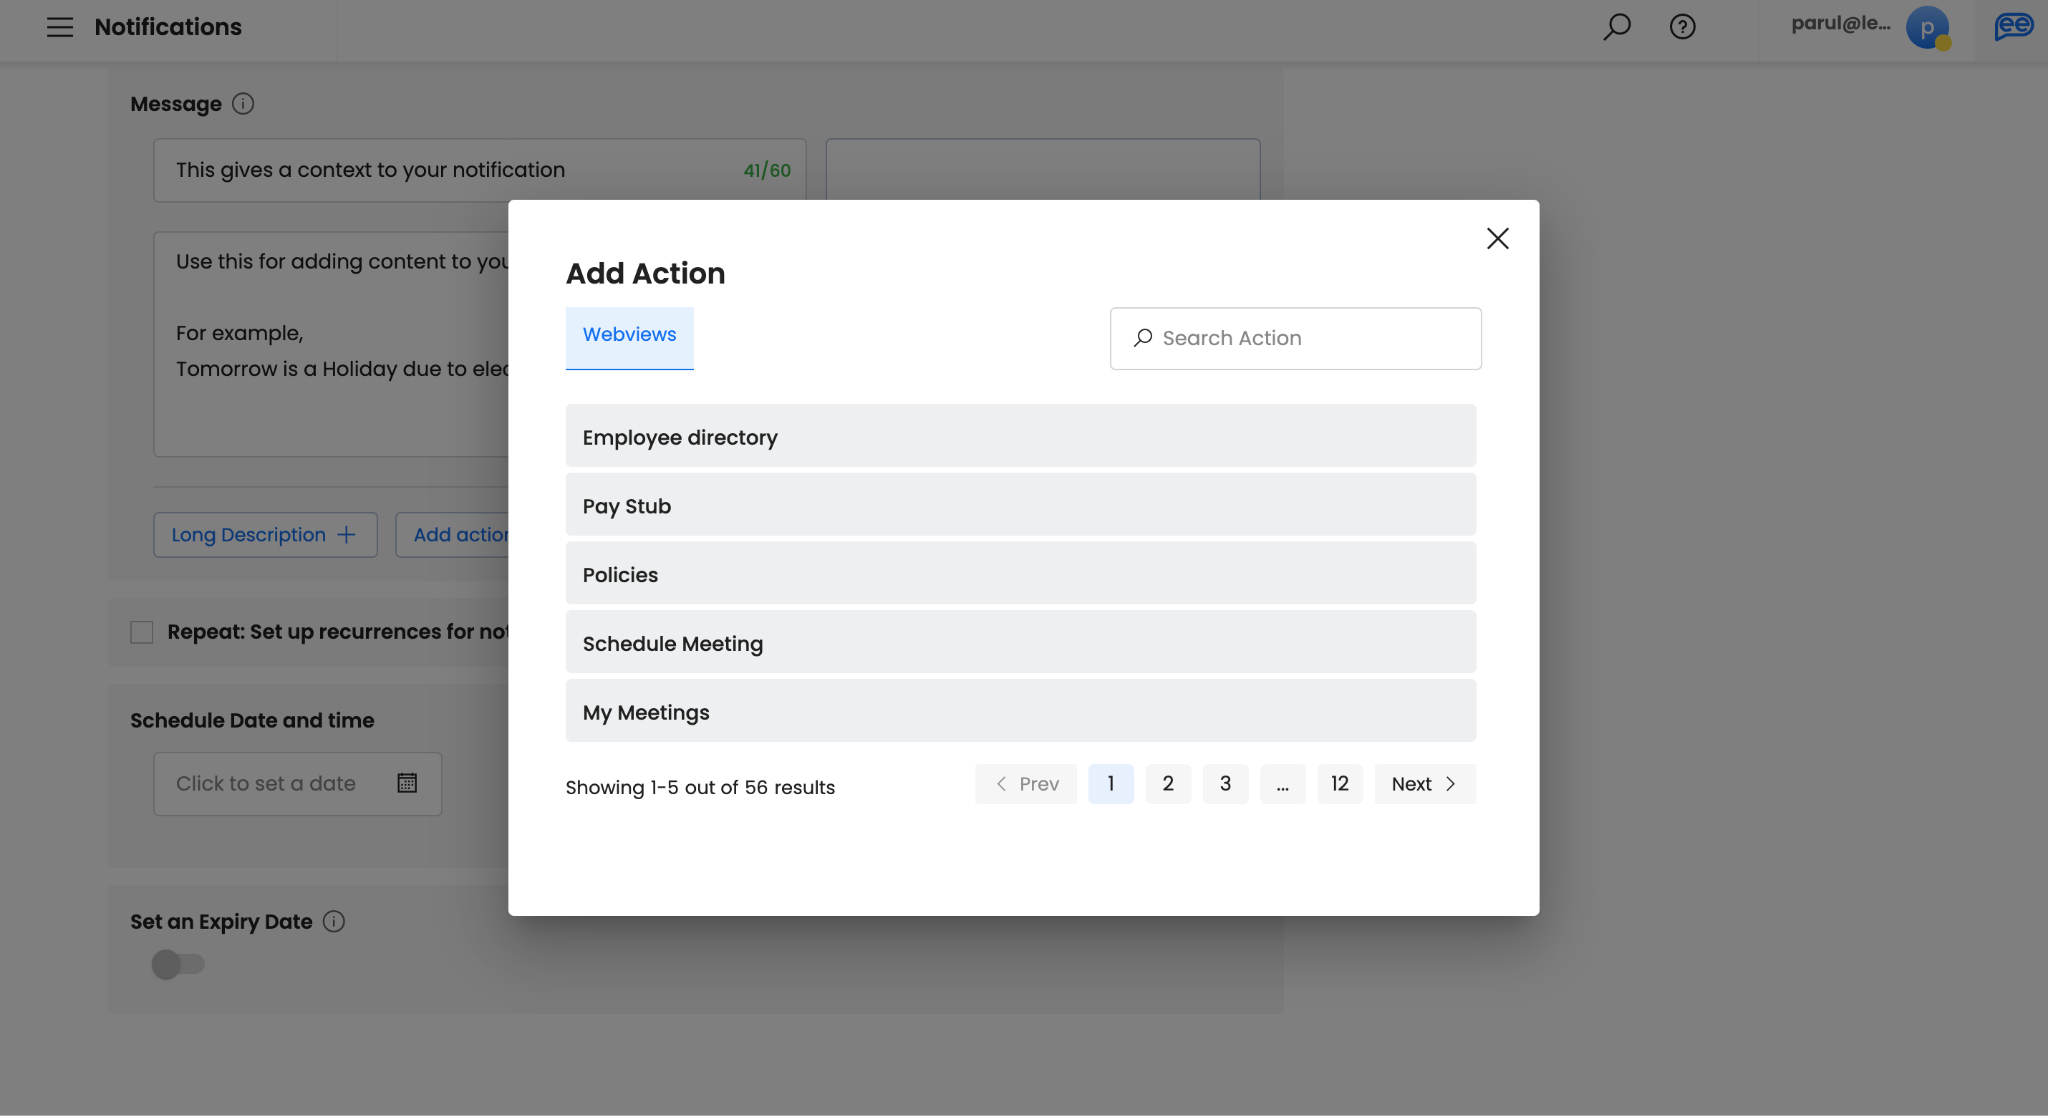
Define Call to Actions, if any.
-
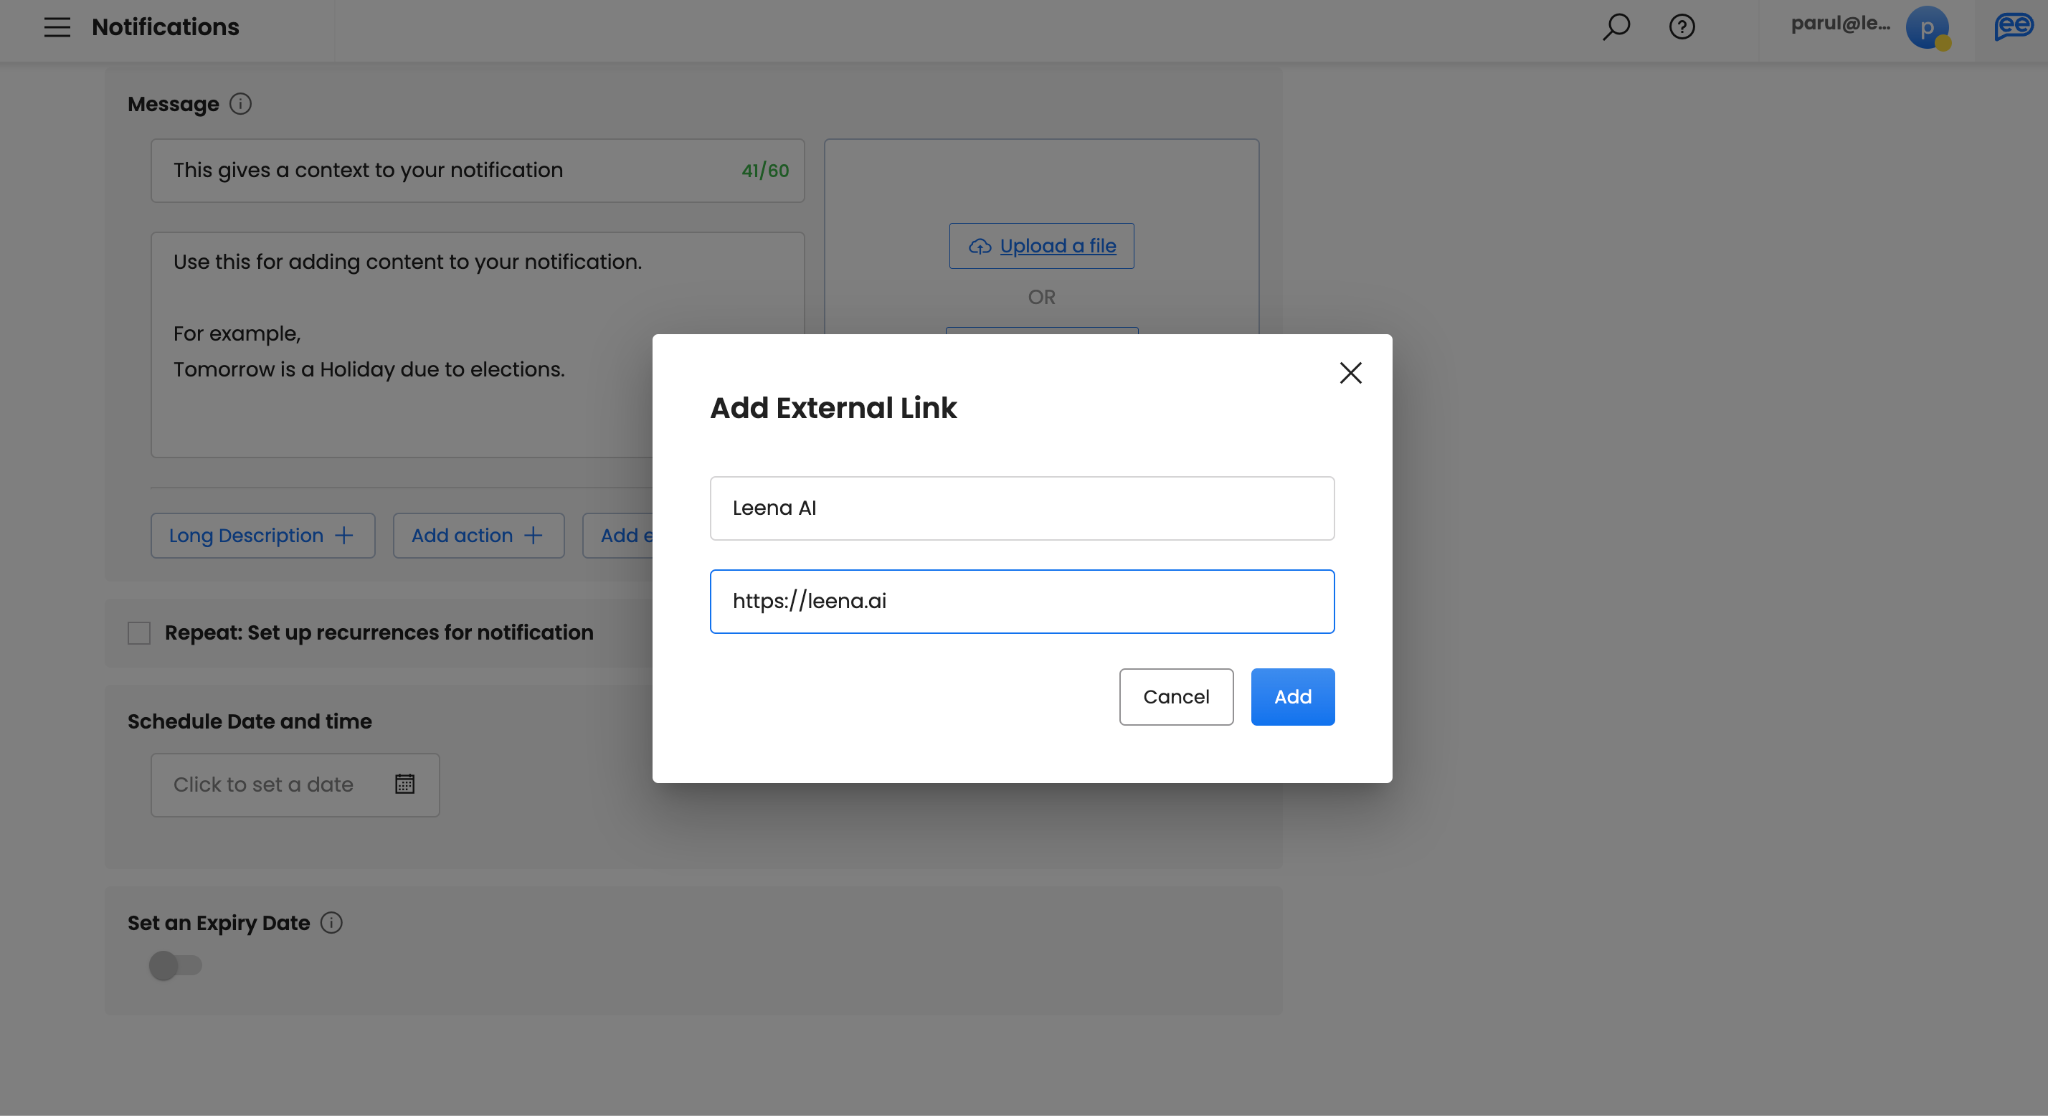
Call-To-Actions (CTAs) are optional. There are 3 different CTAs - Long Description (to publish longer and rich-text contents), Action (for adding Leena AI virtual assistant actions), and External links (to append a website). Please note, you can add a maximum of 3 CTAs and minimum of 0 CTAs.
-
Selecting Long Description will open a rich text editor and there is no limit of content here. It will be shown as clickable button (label is defined in Button Text) to your audience and will open a web view to show your content. Please note you can add a maximum of 1 long description per notification.
-
With Actions, you can choose Leena AI virtual assistant CTA. You can search for the action in the pop-up. You can choose a maximum of 3 actions. However, it is not mandatory to choose “action”. It is recommended when you notification promotes or requires a Leena AI virtual assistant action.
-
For External Links, you can provide a title and the link starting with https://. For example, you can give title as “Leena AI” and link as [https://leena.ai]. This will redirect the audience to provided link. You can provide a maximum of 1 external link per notification. However, it is not mandatory to add external link.
-
In case you selected Poll as the type of notification, you can only give Poll Options as CTAs. You should give a minimum of 2 options and maximum of 6 options.
-
-
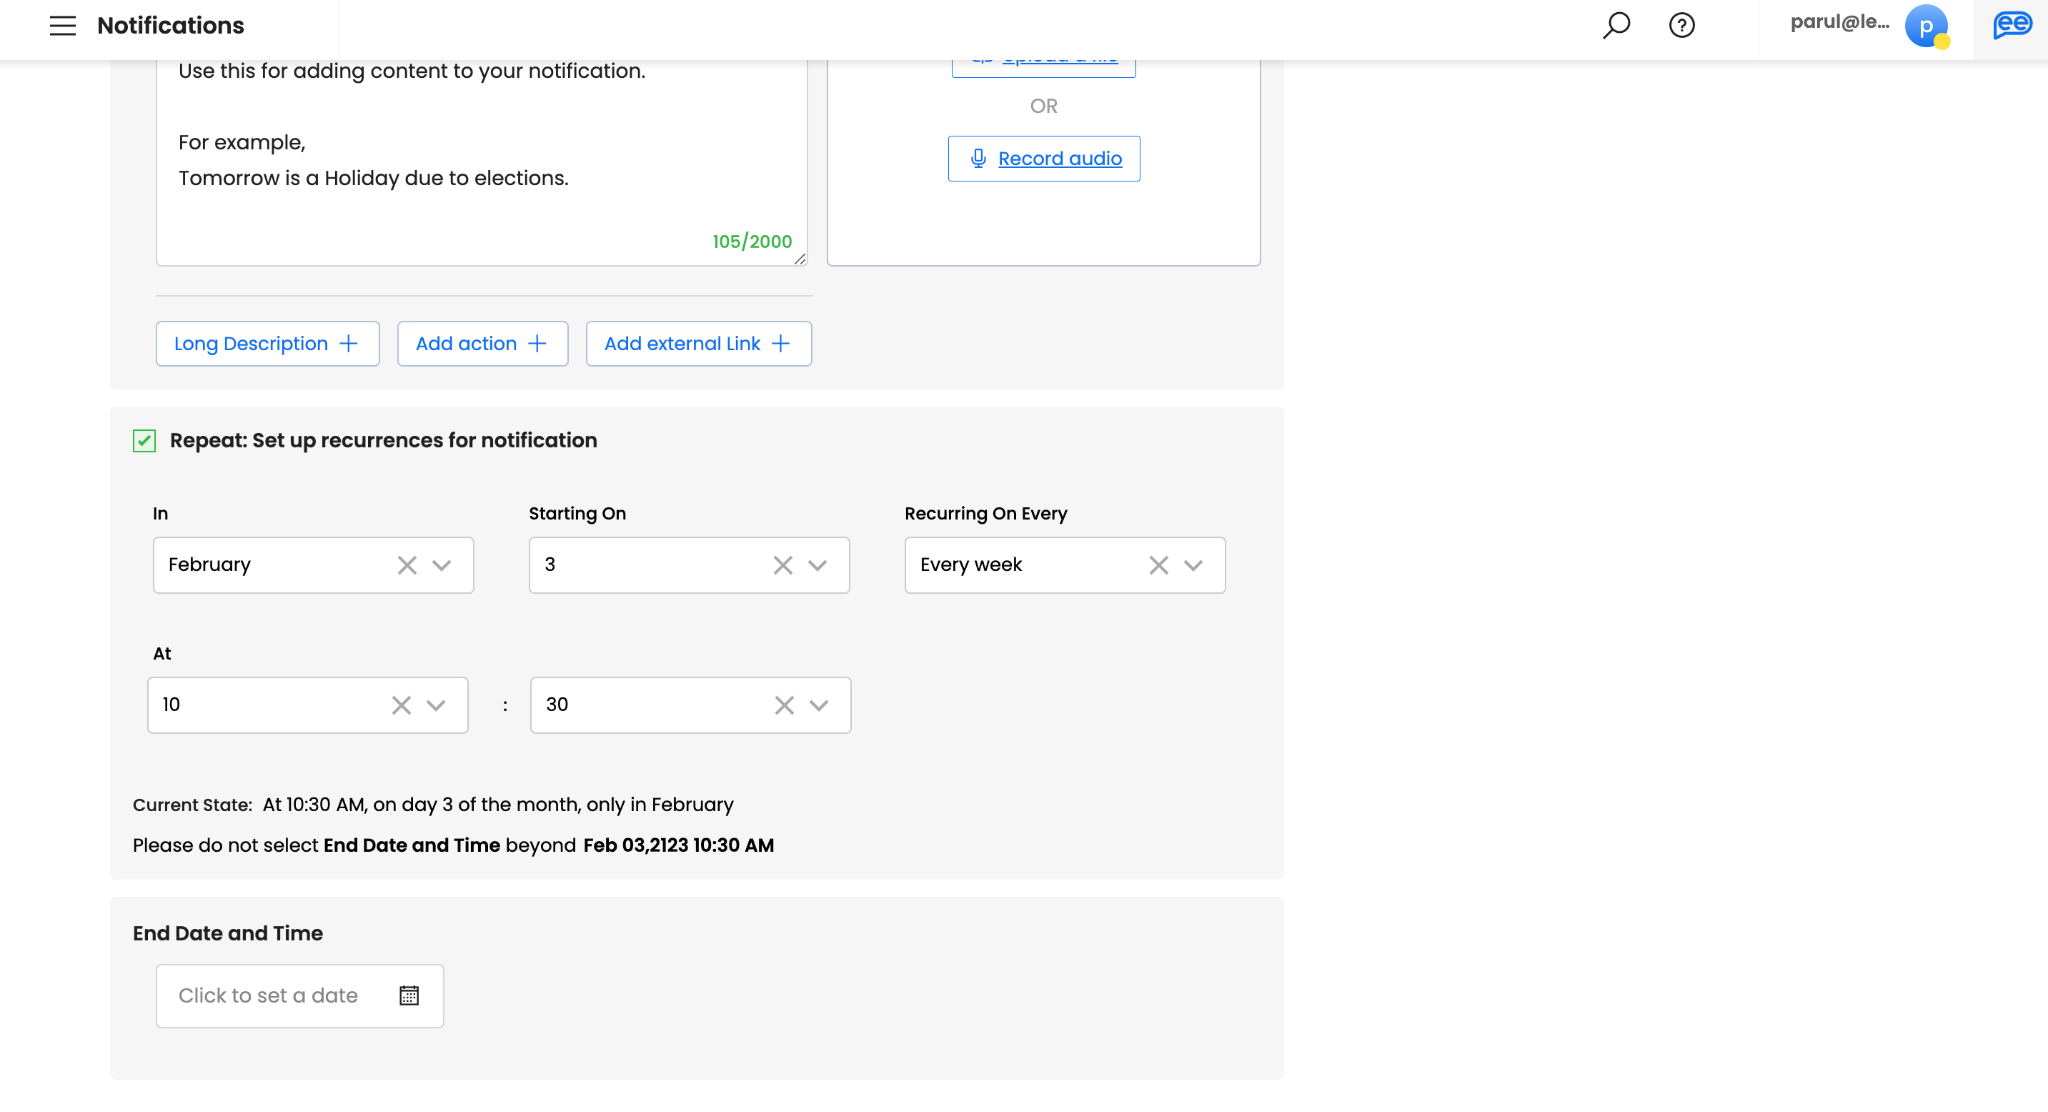
Select Repeat, if you want create a recurring notification. If not, you can skip this step.
-
You can define your recurrence pattern by selecting a particular month, date, day of the week, and time. A recurrence pattern will automatically identify the schedule for the notifications based on your inputs and give a suggested End Date and Time for the 100th instance.
-
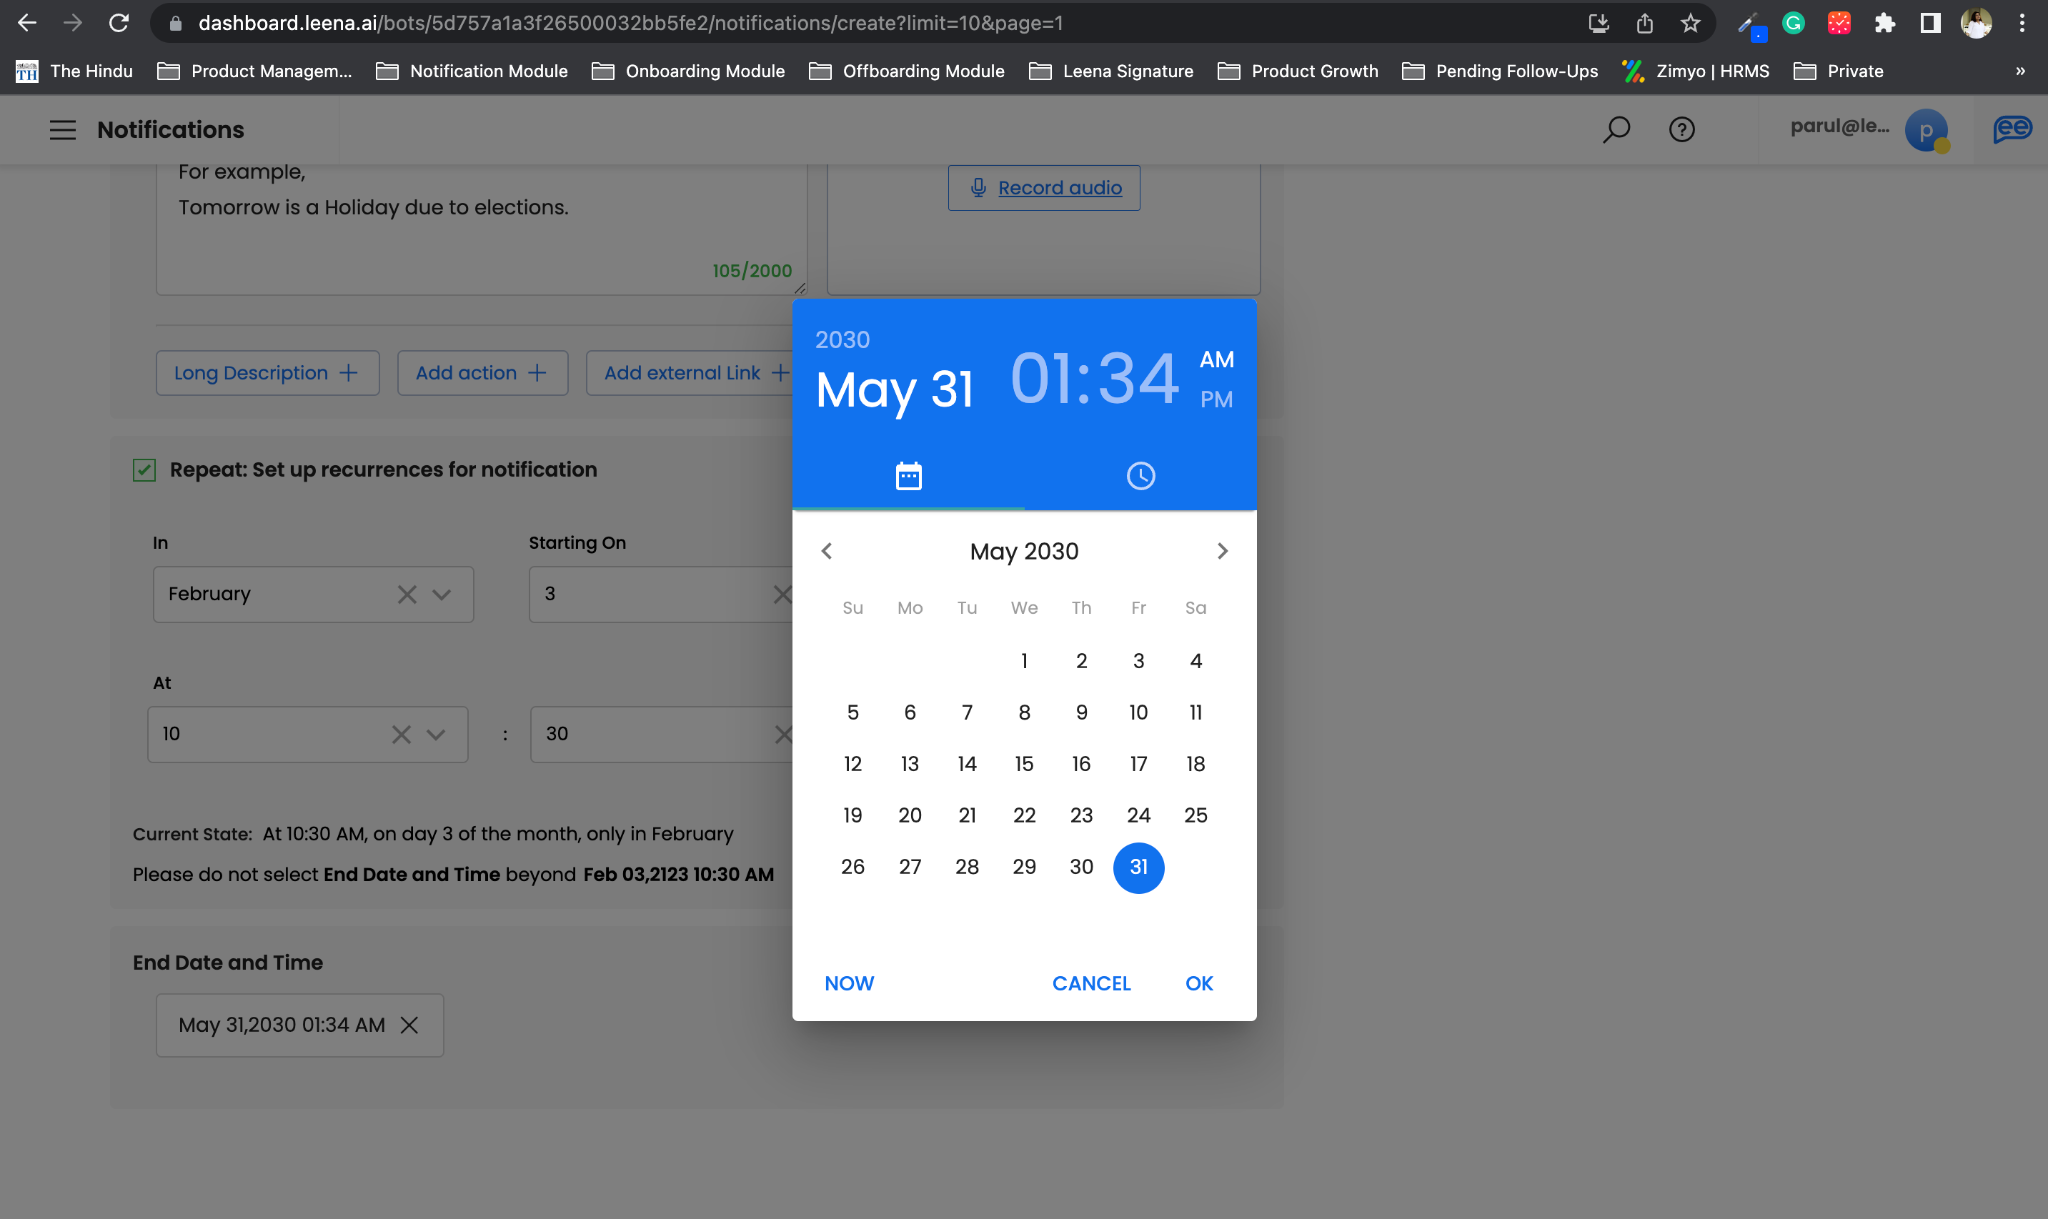
Provide End Date and Time for your schedule to define the number of instances you want to create. You can choose the suggested date or a date of your choice based on your requirements. You can create a recurrence notification for minimum of 2 instances and maximum of 100 instances.
-
-
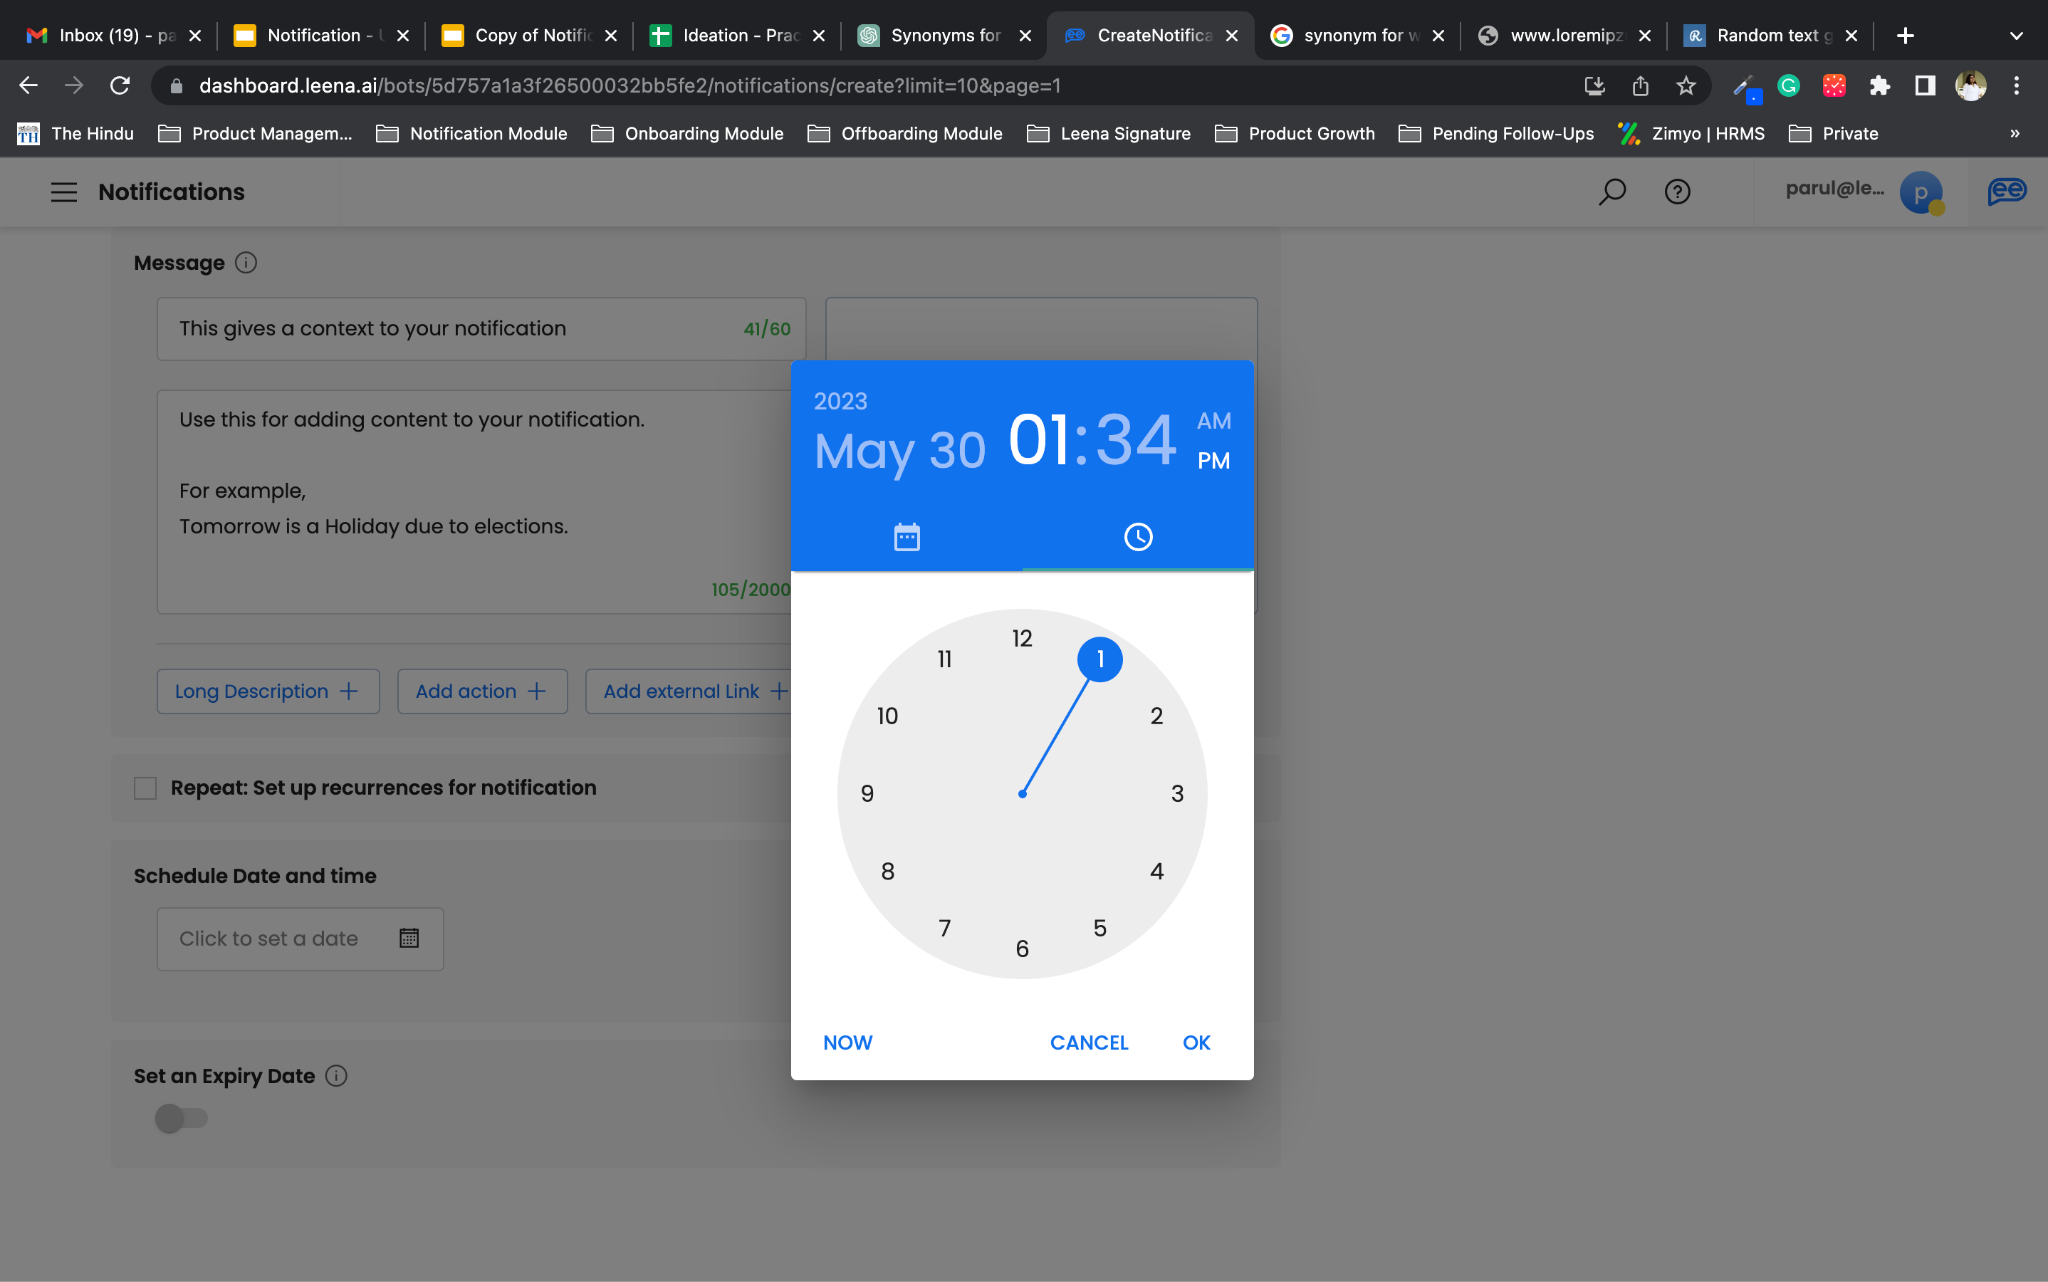
If you skipped STEP 10, define a Scheduled Date and Time of your Single Send Notification
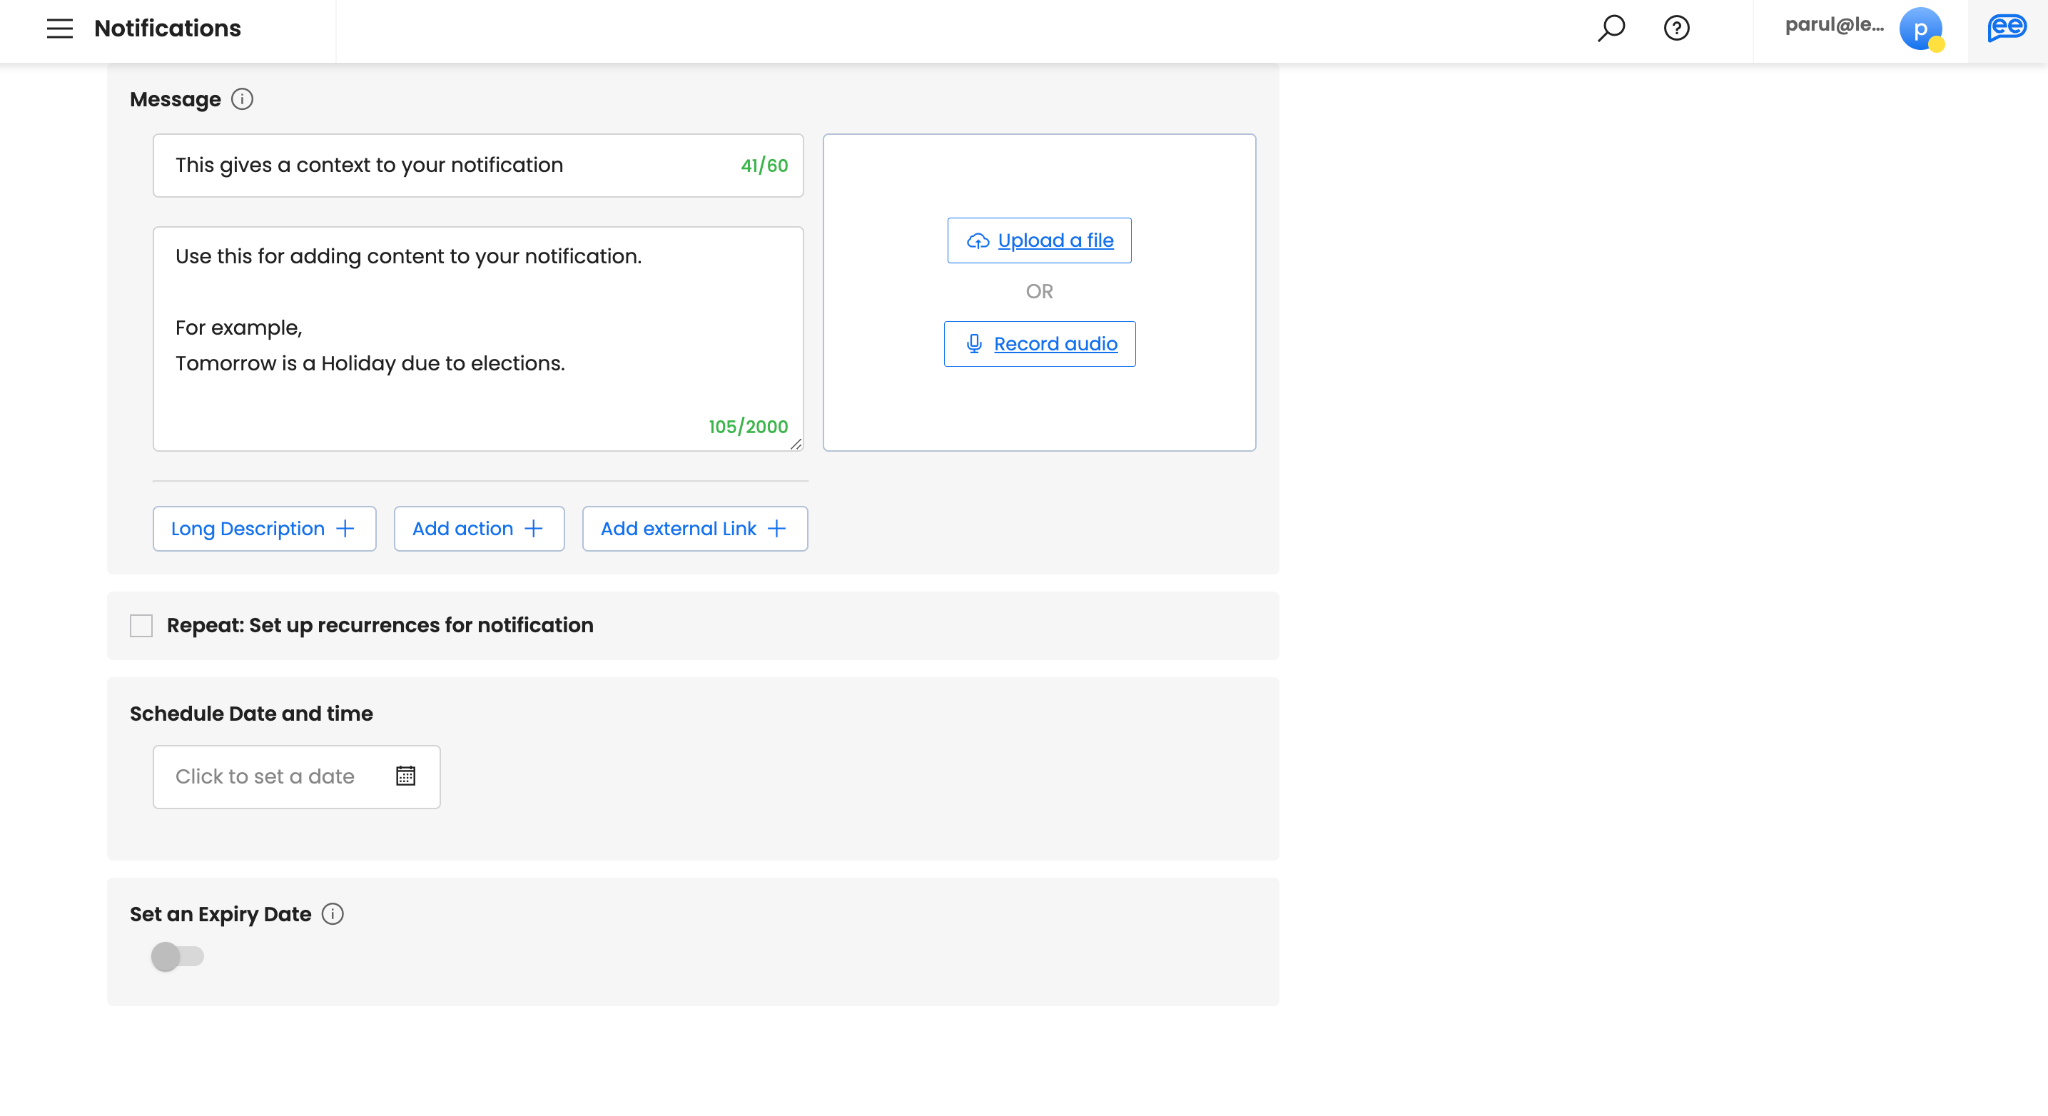
Please note, Schedule Date and Time is only applicable for Single Send Notifications. You can schedule your notification upto 1 year in advance. For sending immediately you can choose “NOW”.
-
Review your notification for any typos or errors in all element of your notification
-
Once reviewed, click on Save and Create
Creating Email Notifications
-
Click on Create Notification

-
Select Email Notification
-
Select your Audience. There are 3 pre-defined audiences - Everyone, Acquired, Non-acquired. Everyone is the default. We will discuss them in detail in the Audience section. For custom audiences, select Pick Audience
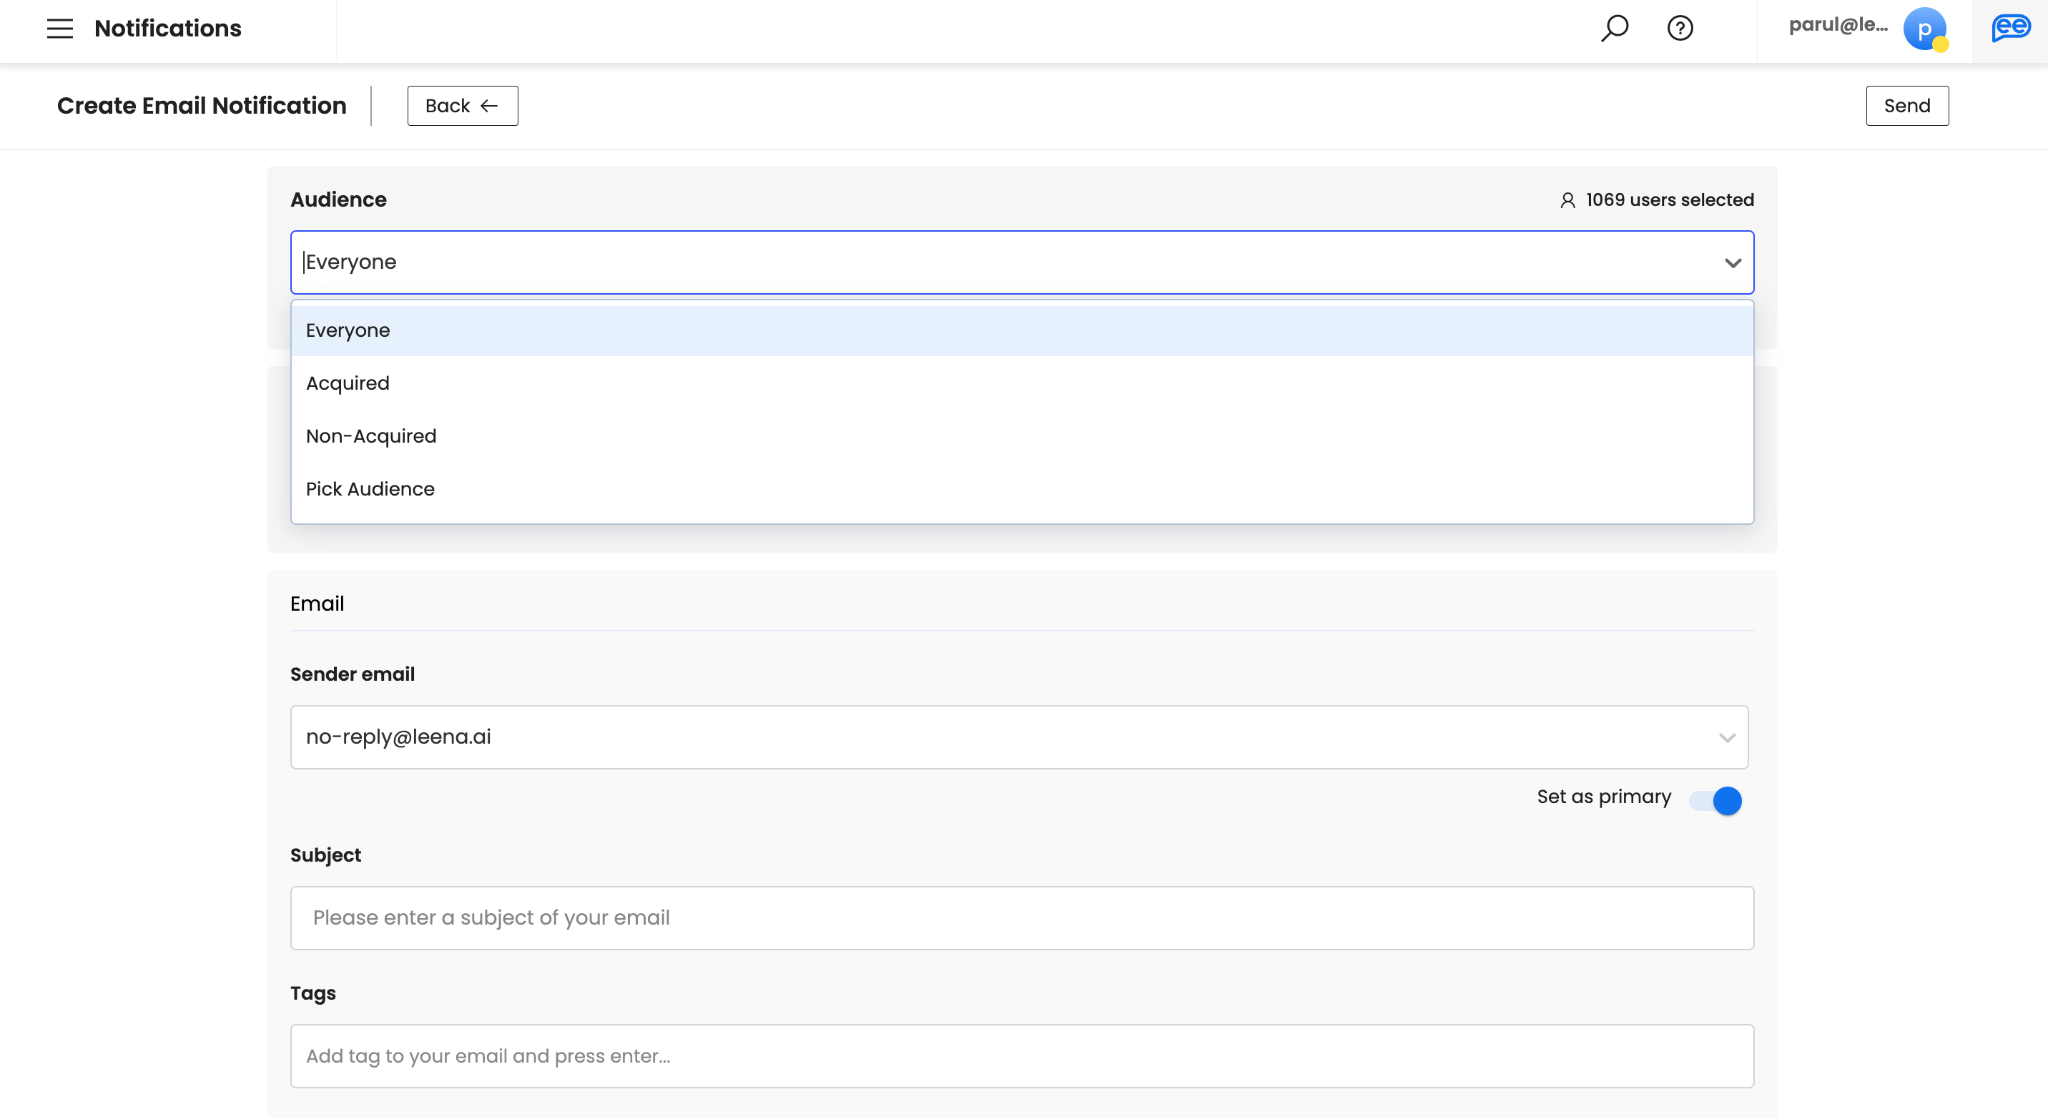
Once you click on Pick Audience, another option Share With will appear to choose your saved audiences. For creating a new audience, click on “Create Audience”. Refer Audience section for more details.
-
Choose your Segment. A segment is bifurcation of Leena AI’s knowledge for different sections of your employees. It can be defined on various parameters while setting up for Leena AI virtual assistants. It is disabled unless segments are enabled. For more information, connect with your Leena AI project team. If you select a Segment only the employees in that particular segment will be picked. If left unselected all the employees (users) based on Audience selection will continue.
-
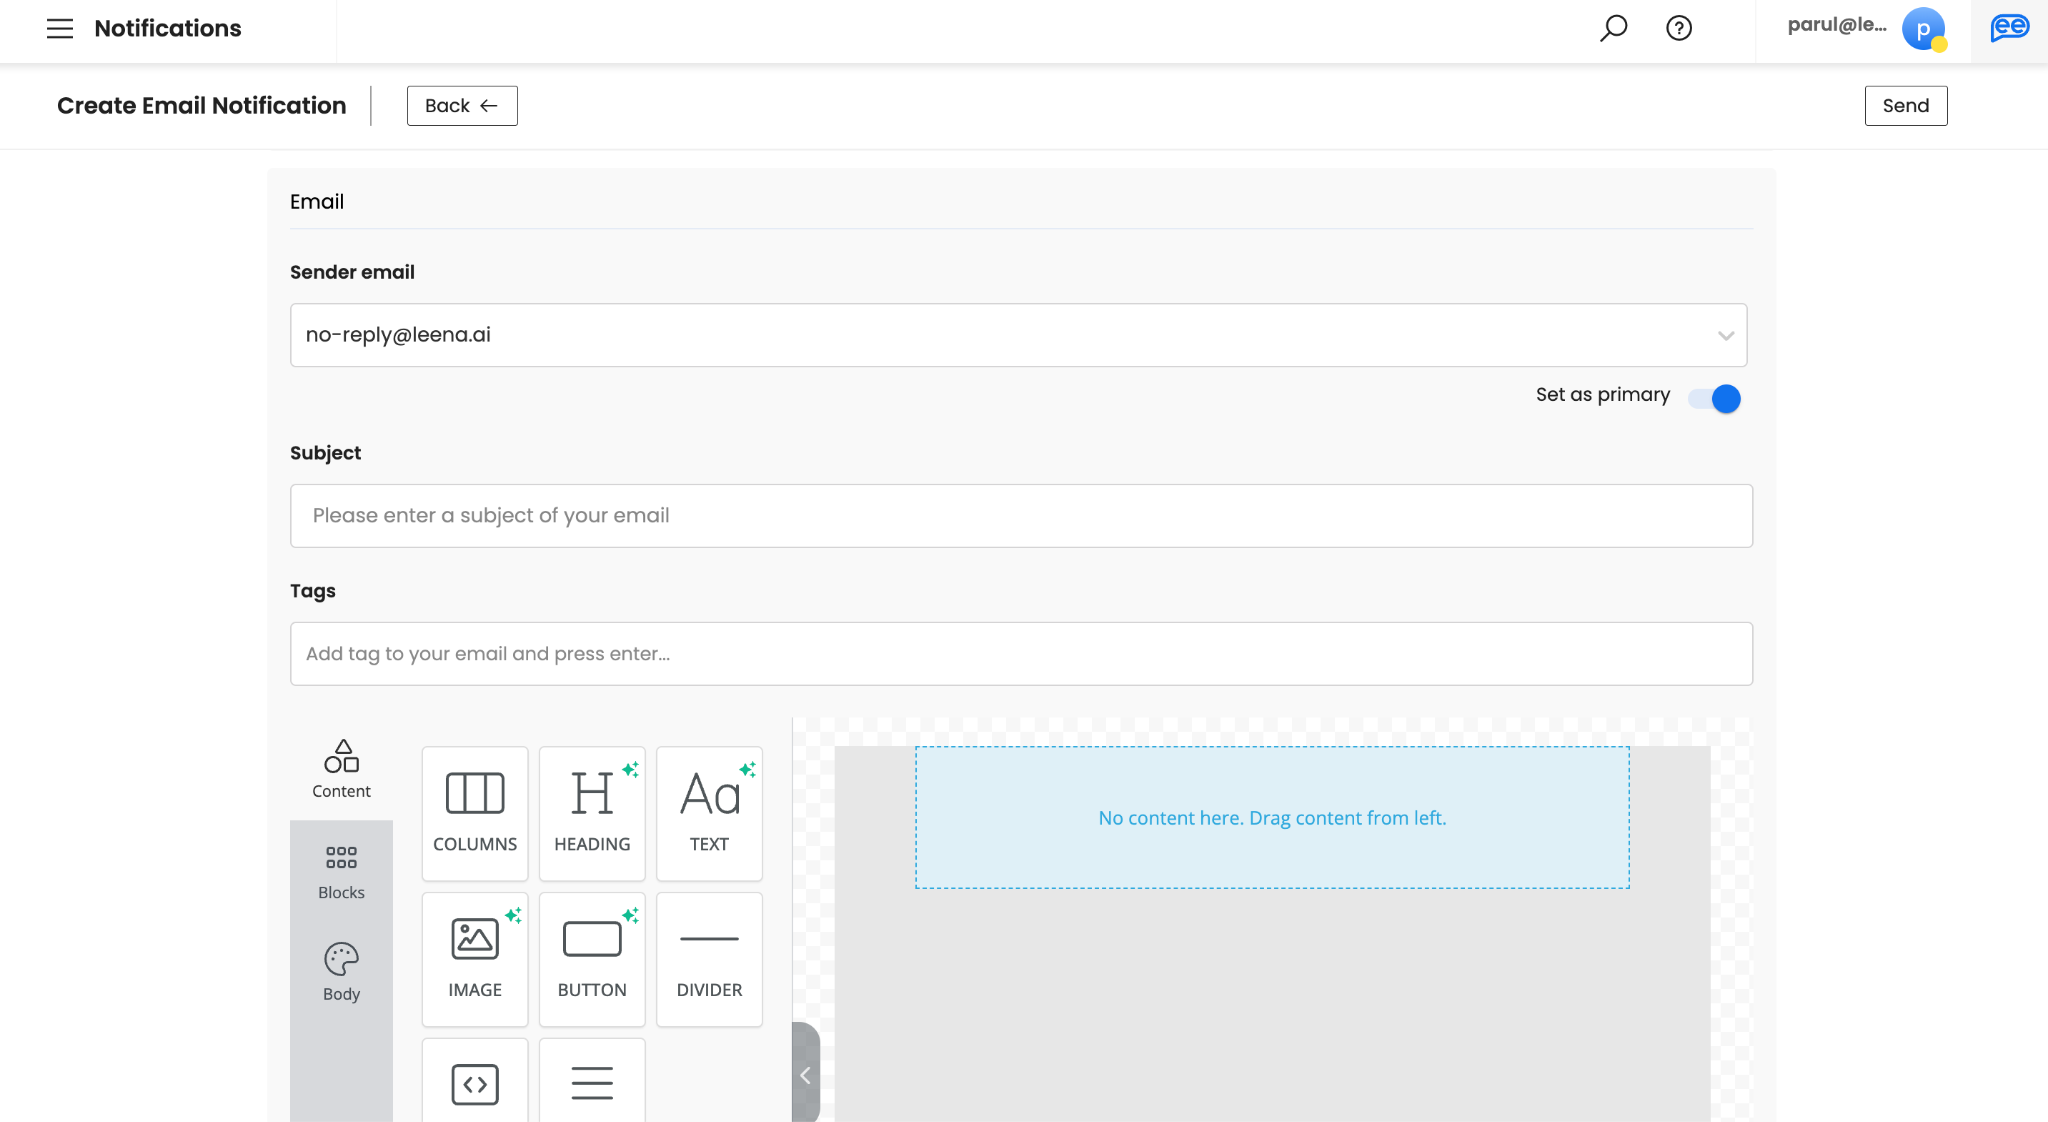
Select your Sender Email. Sender Email will list down all the configured email senders (authorized email IDs for sending your emails). To add more, please connect with your Leena AI Project Team. You can define a preferred Email Sender by opting for “Set as Primary”. However, you can always send your email notifications from any of the sender emails available in the drop down menu.
-
Add the Subject for your email. Subject should ideally be short and engaging to ensure your audience opens their emails. Please note, adding Subject is mandatory.

-
Add the Tags for your email. Adding at least 1 Tag is mandatory and should identify the intent of the email. Please note, tags are not visible to your audience.

-
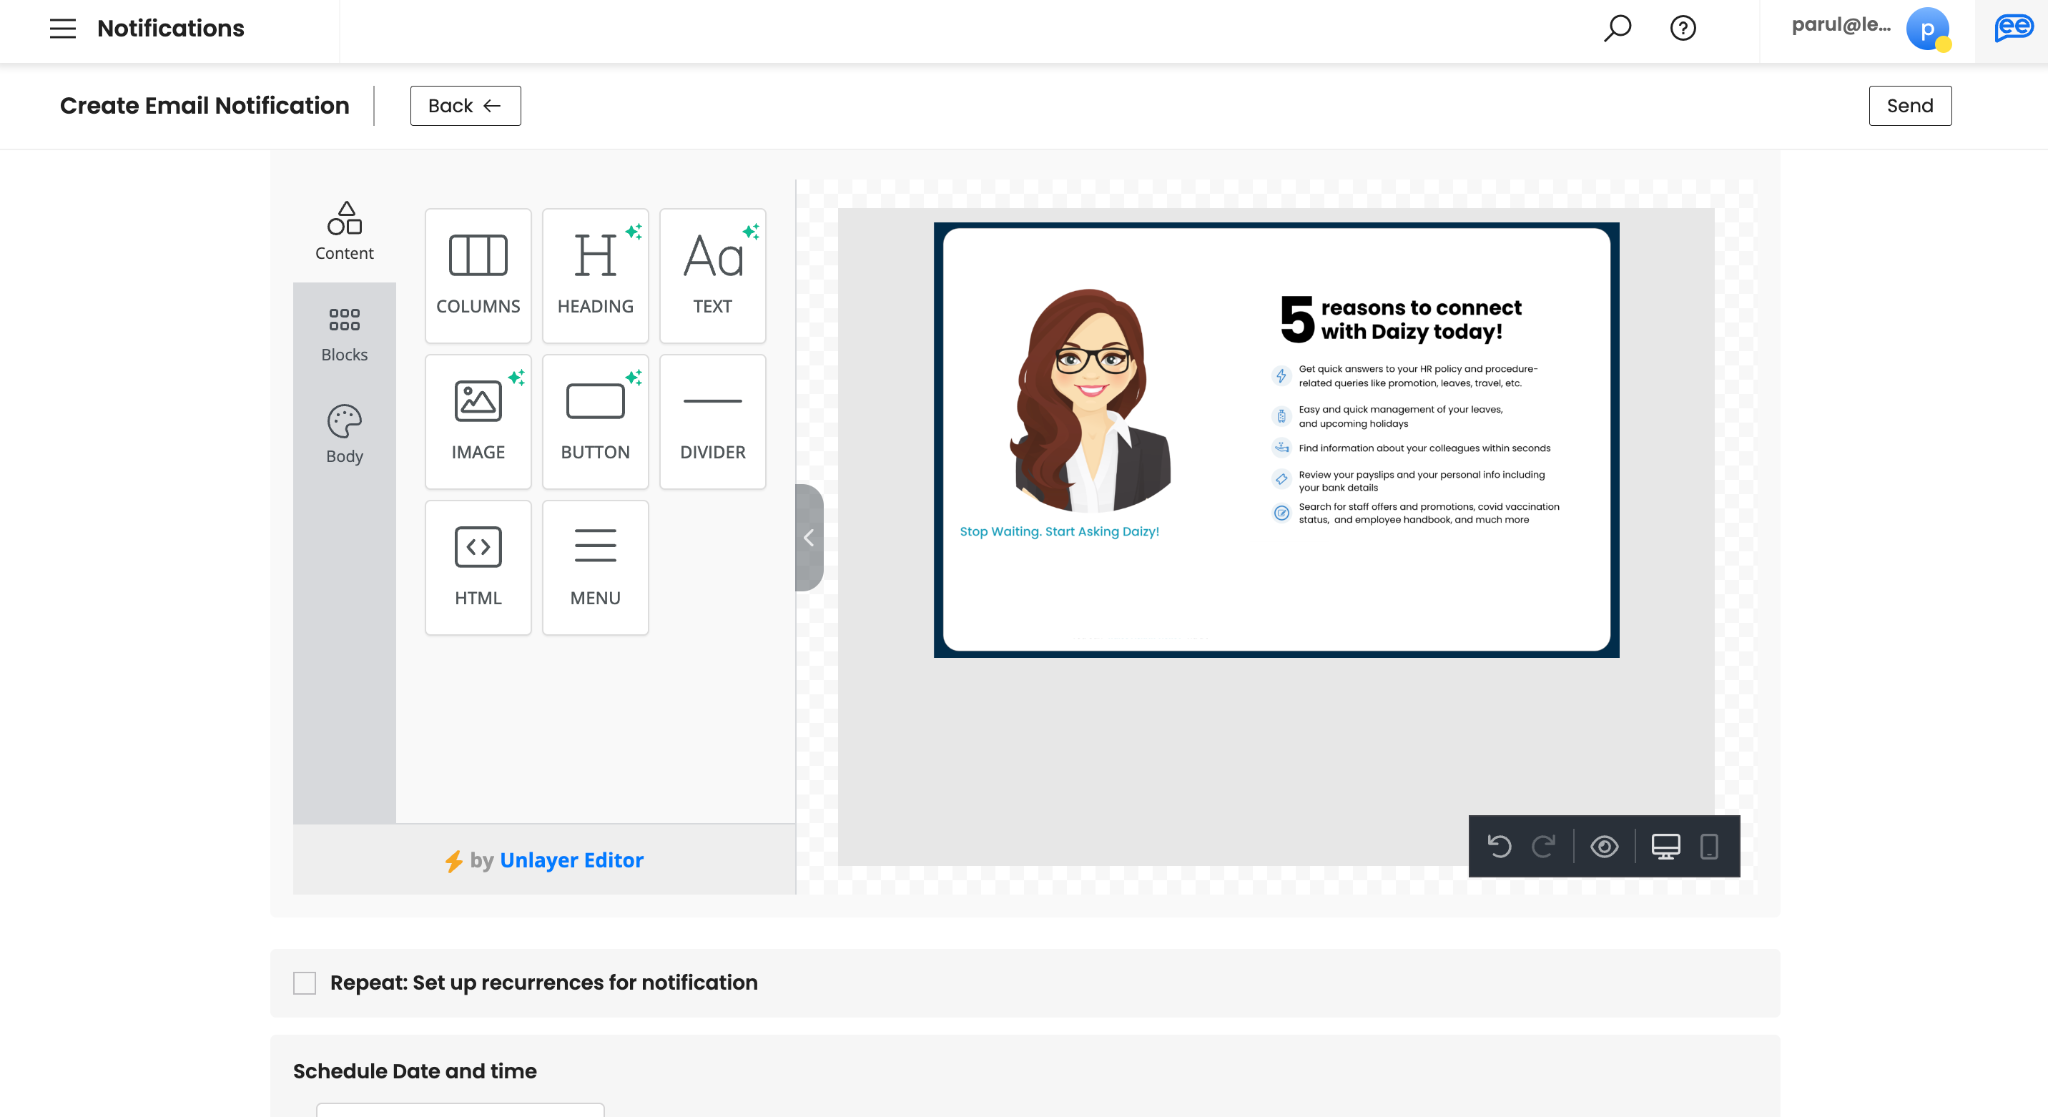
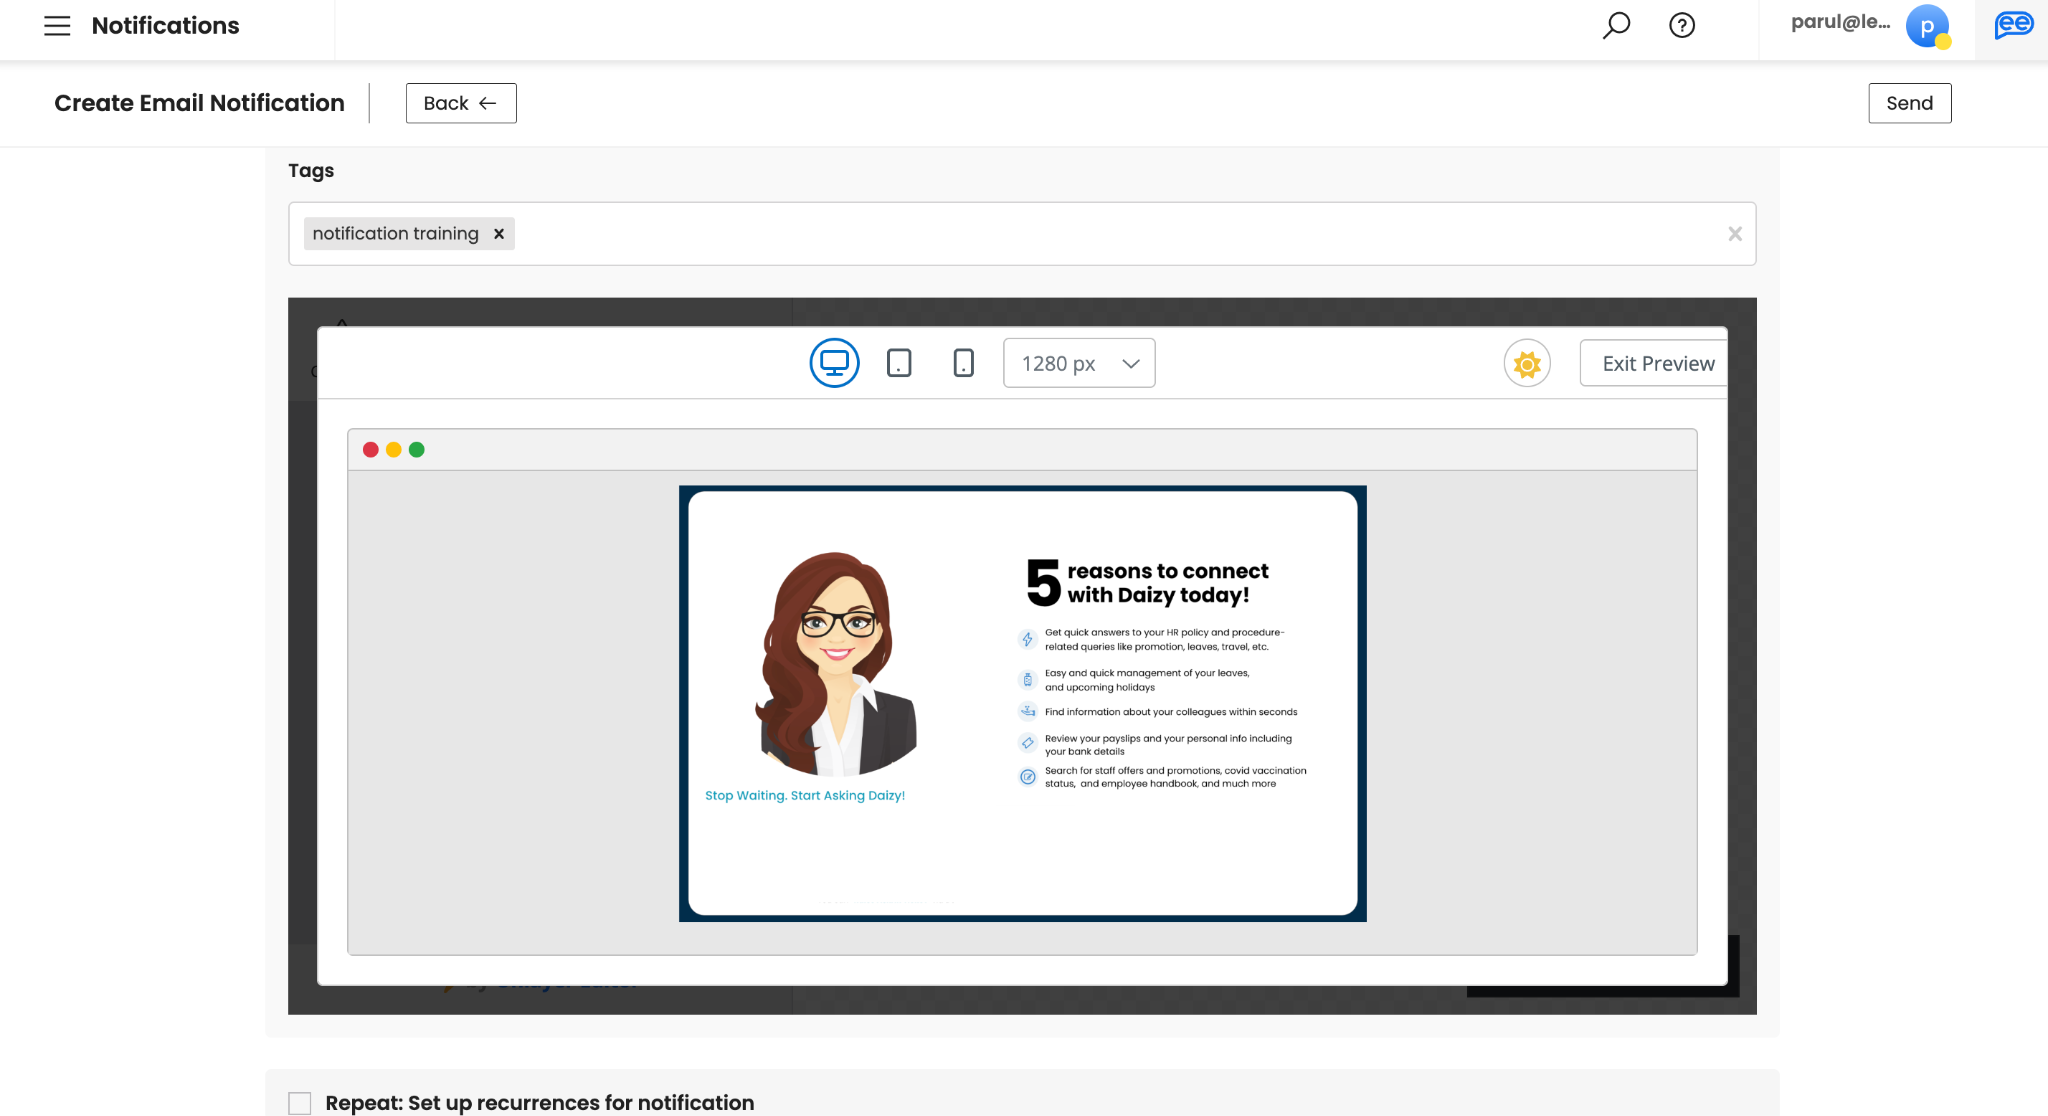
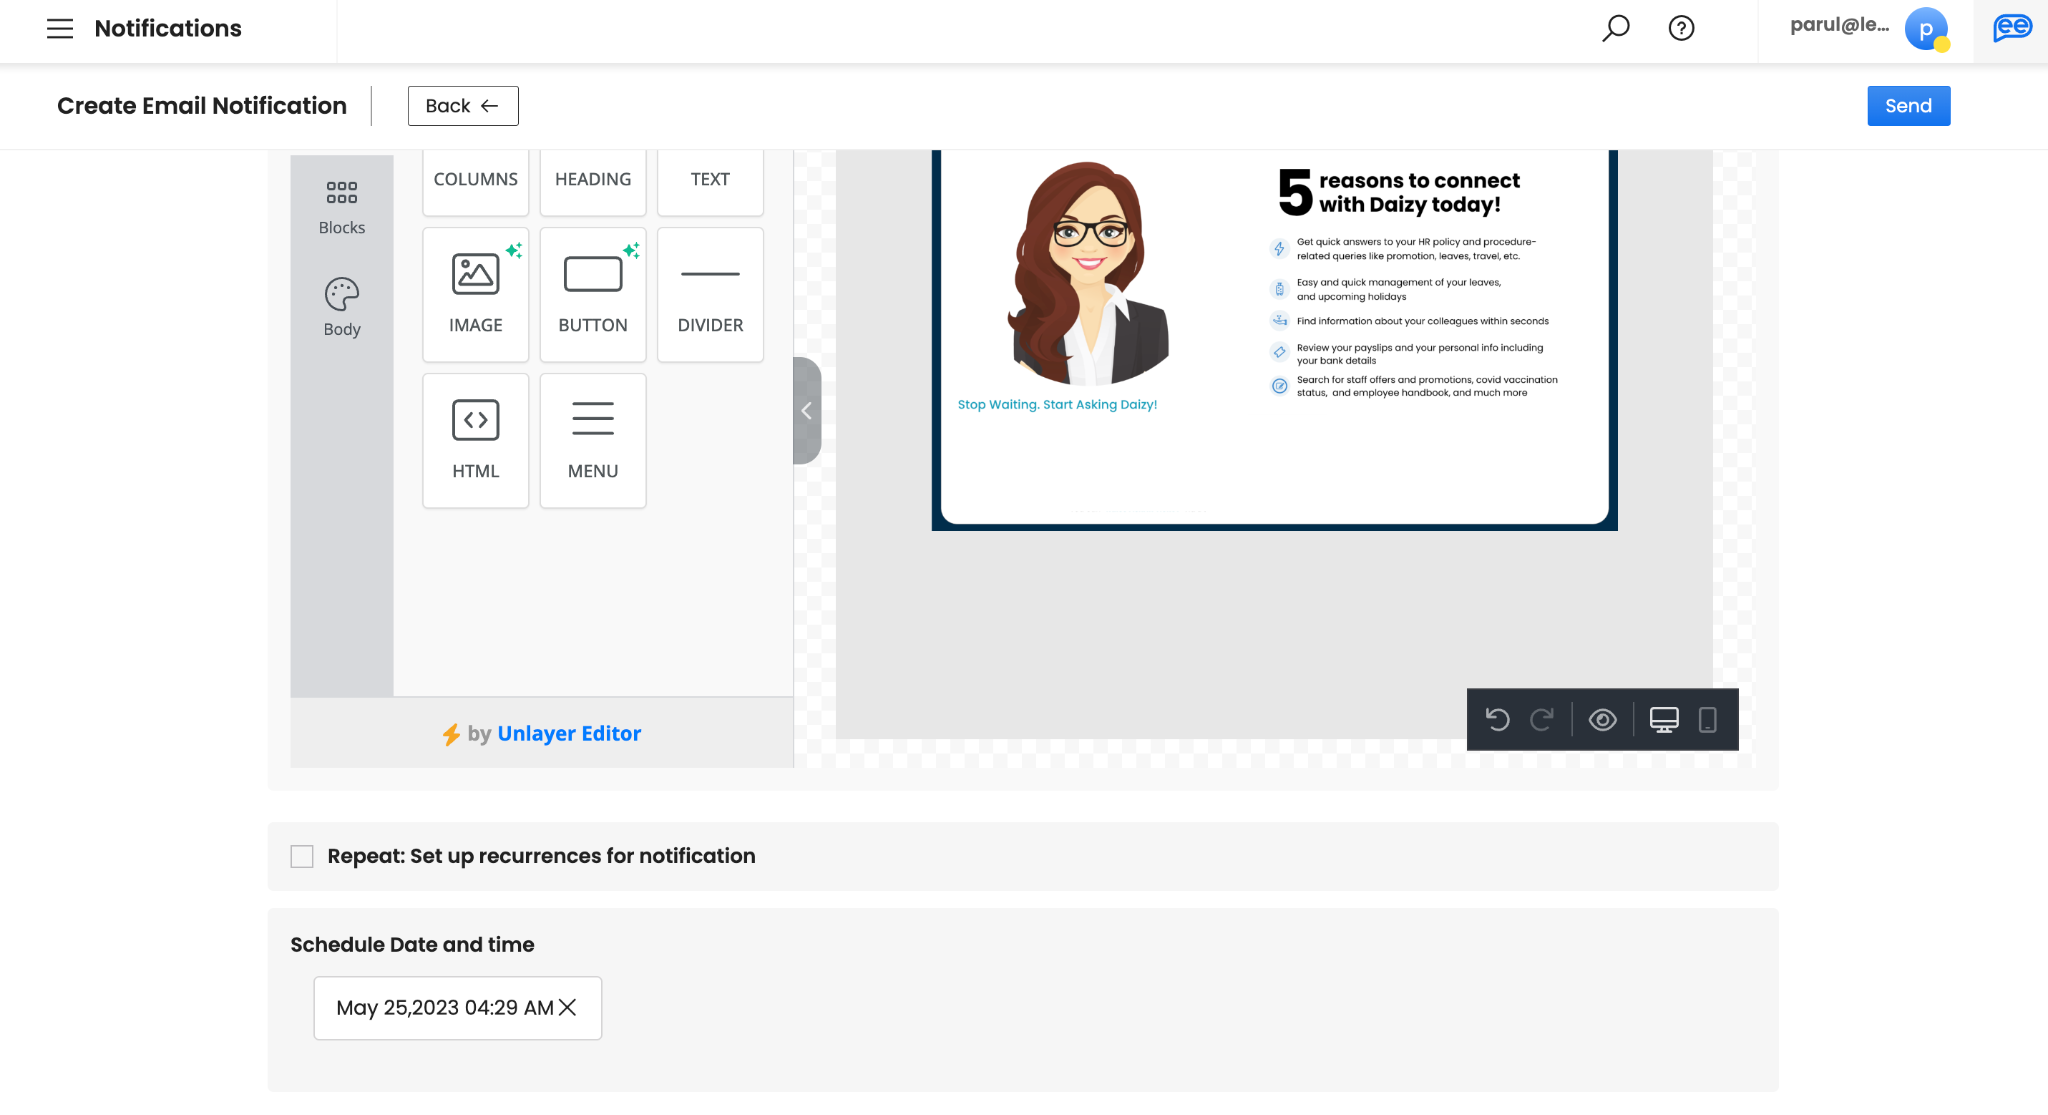
Create your Email via our editor. You can a variety of drag-n-drop elements to design a rich HTML email. There is no limit on text. However, shorter emails with less than 2 minutes reading time are recommended.
-
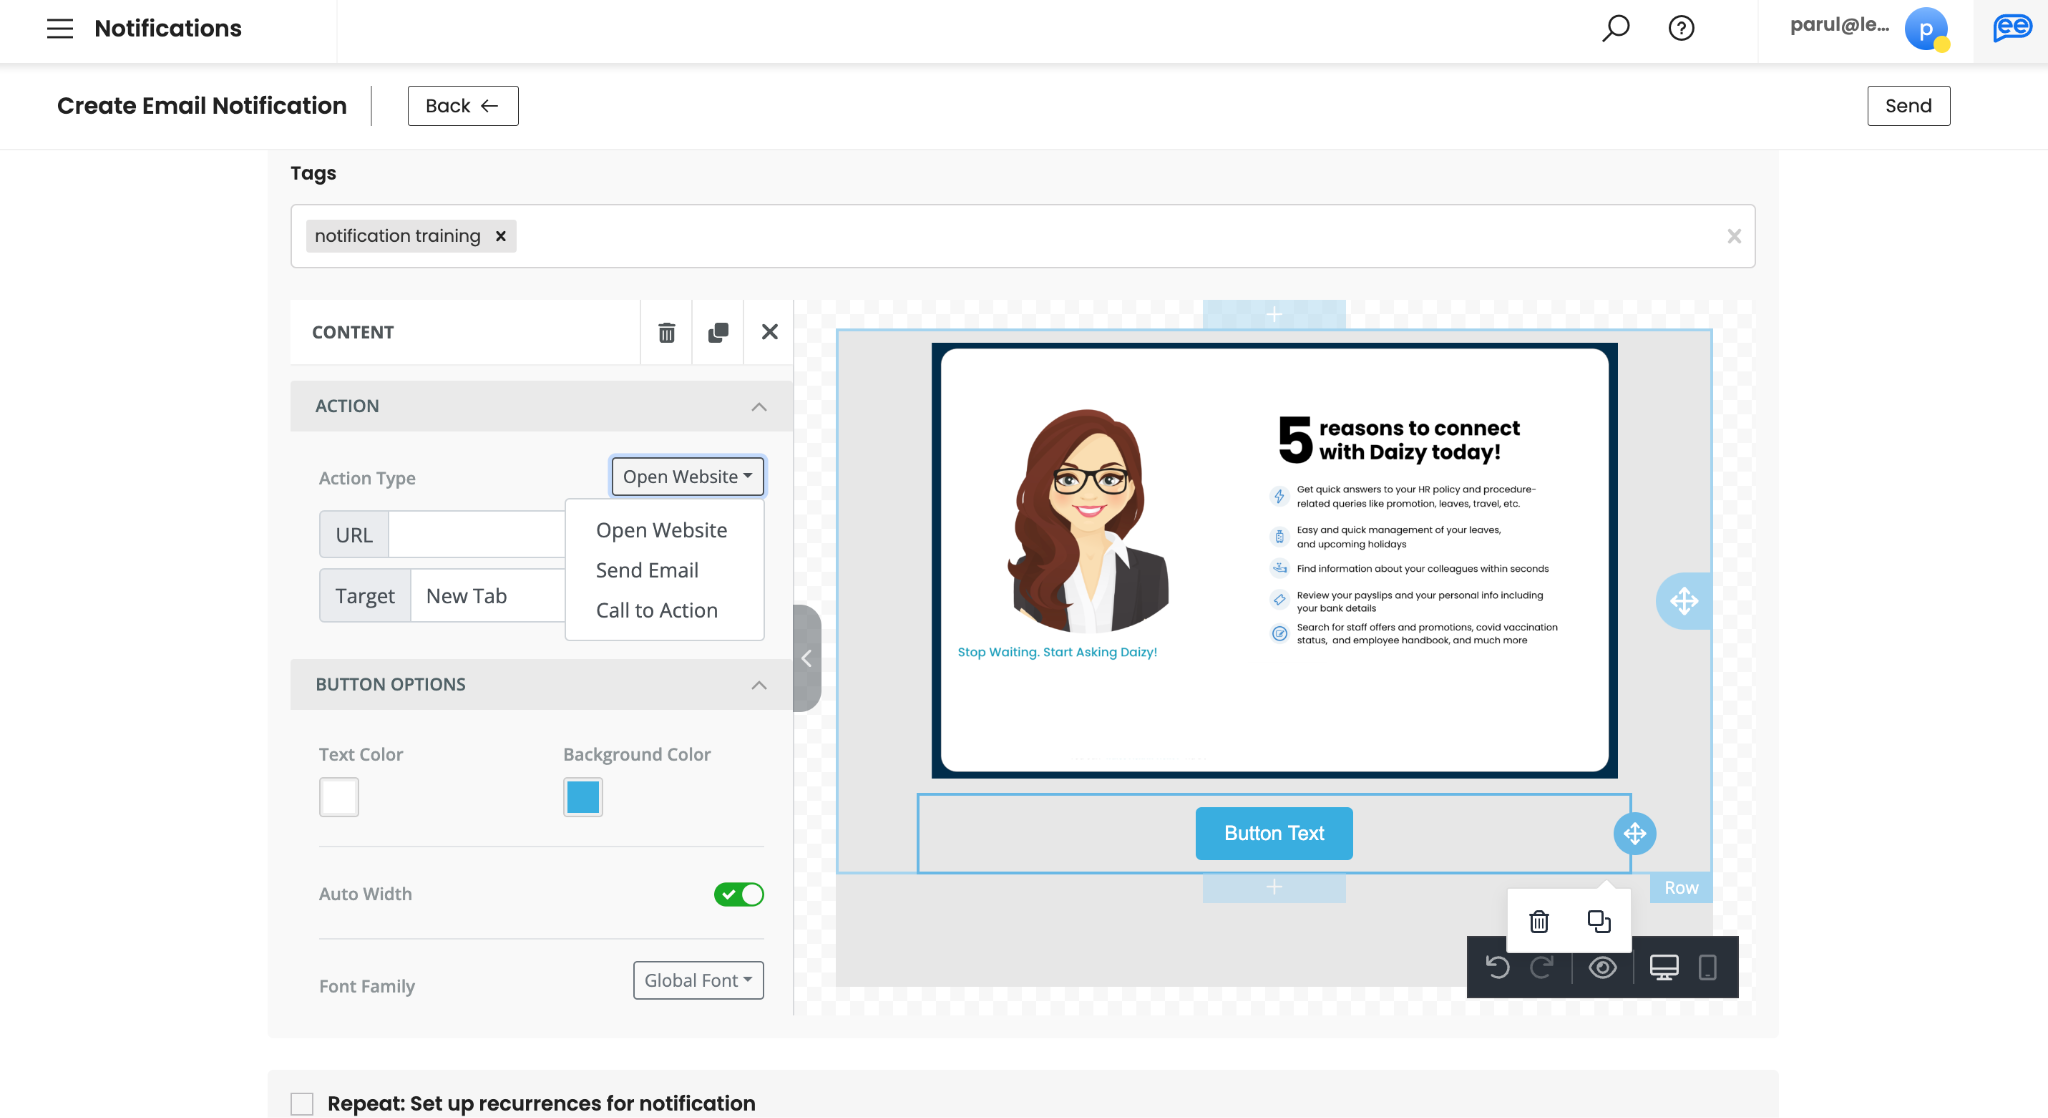
Define Call to Actions, by adding buttons or hyperlinks. There are 3 types of actions - Open Website (to add external links), Call to Action (for adding Leena AI virtual assistant actions), and Send Emails (to create a draft email).
-
Select Repeat, if you want create a recurring notification. If not, you can skip this step. You can define your recurrence pattern by selecting a particular month, date, day of the week, and time. A recurrence pattern will automatically identify the schedule for the notifications based on your inputs and give a suggested End Date and Time for the 100th instance.
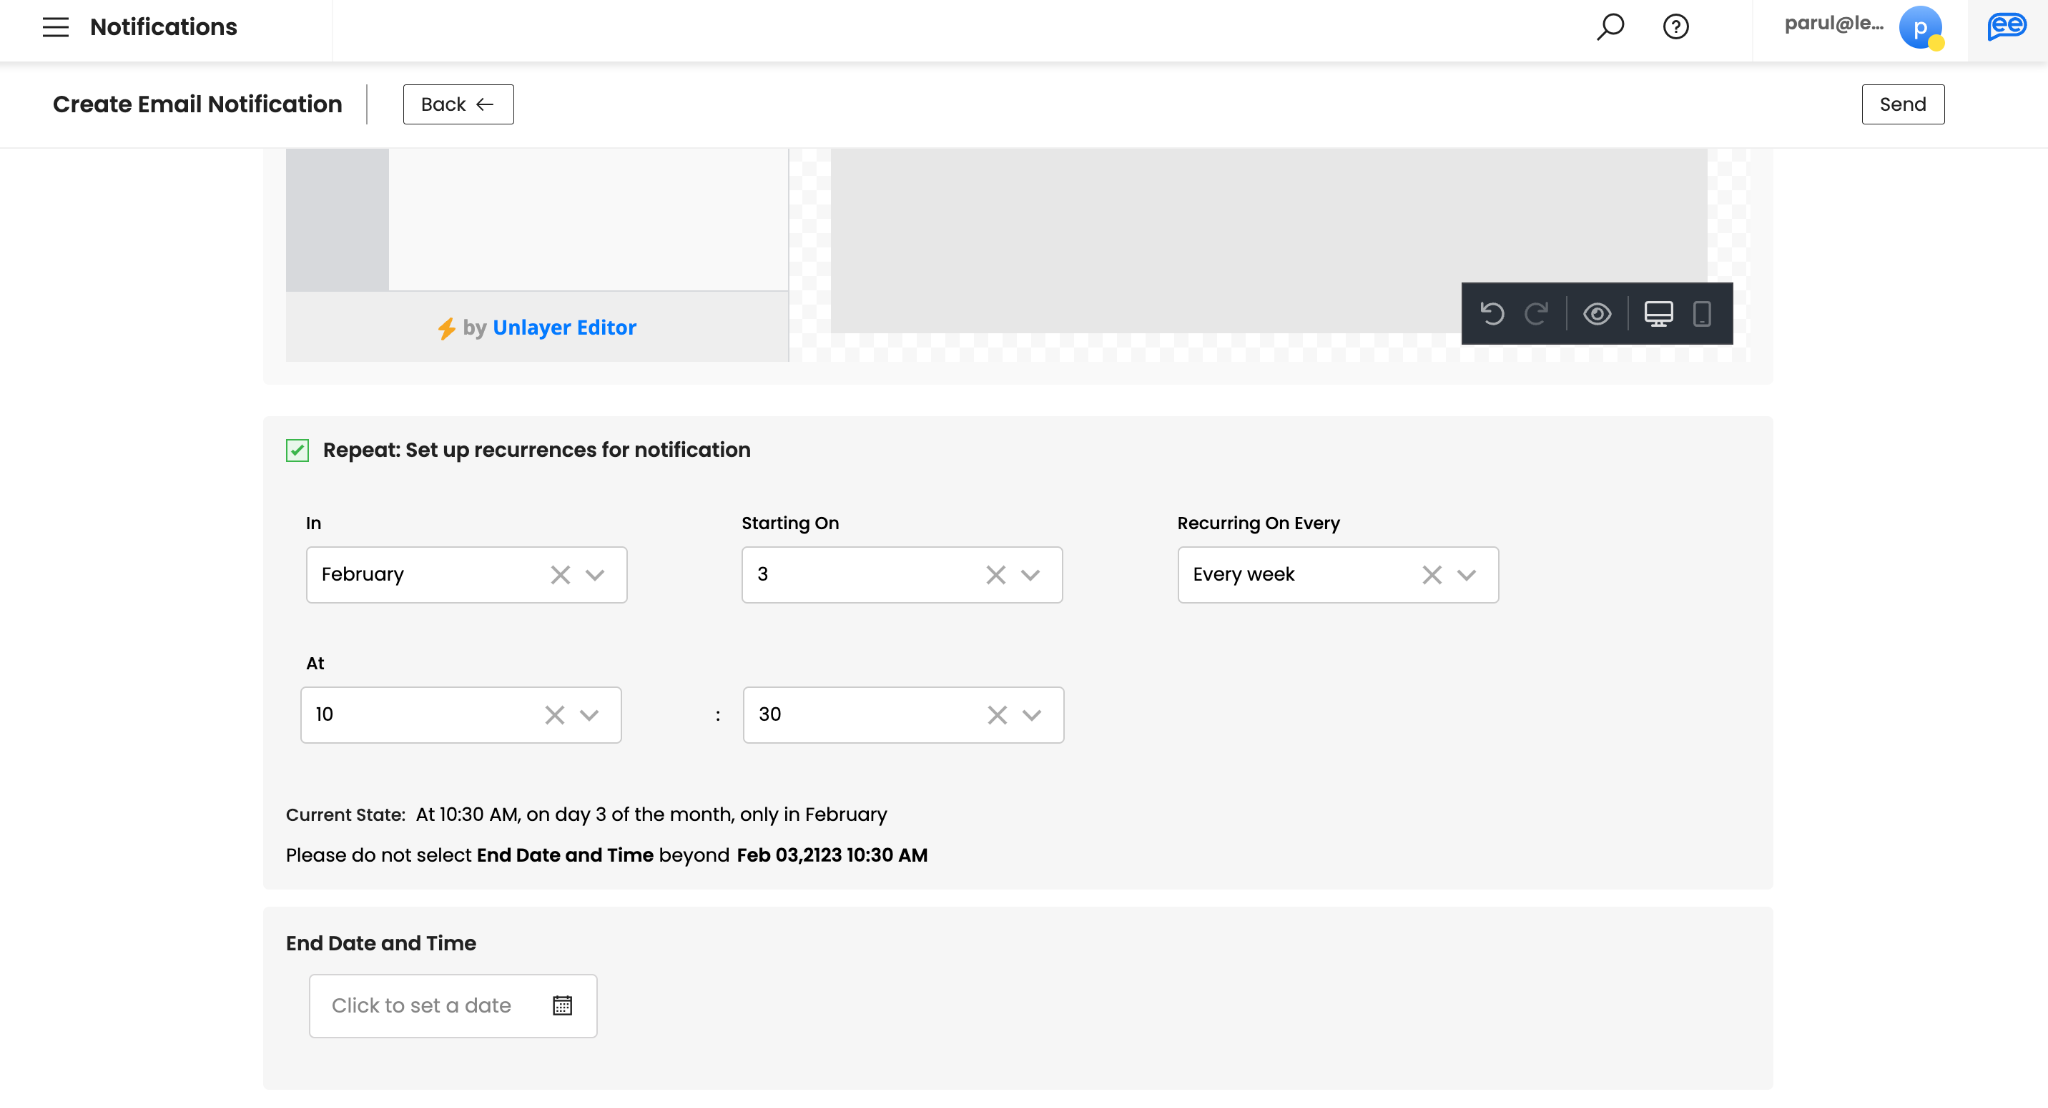
Provide “End Date and Time” for your schedule to define the number of instances you want to create. You can choose the suggested date or a date of your choice based on your requirements. You can create a recurrence notification for minimum of 2 instances and maximum of 100 instances.
-
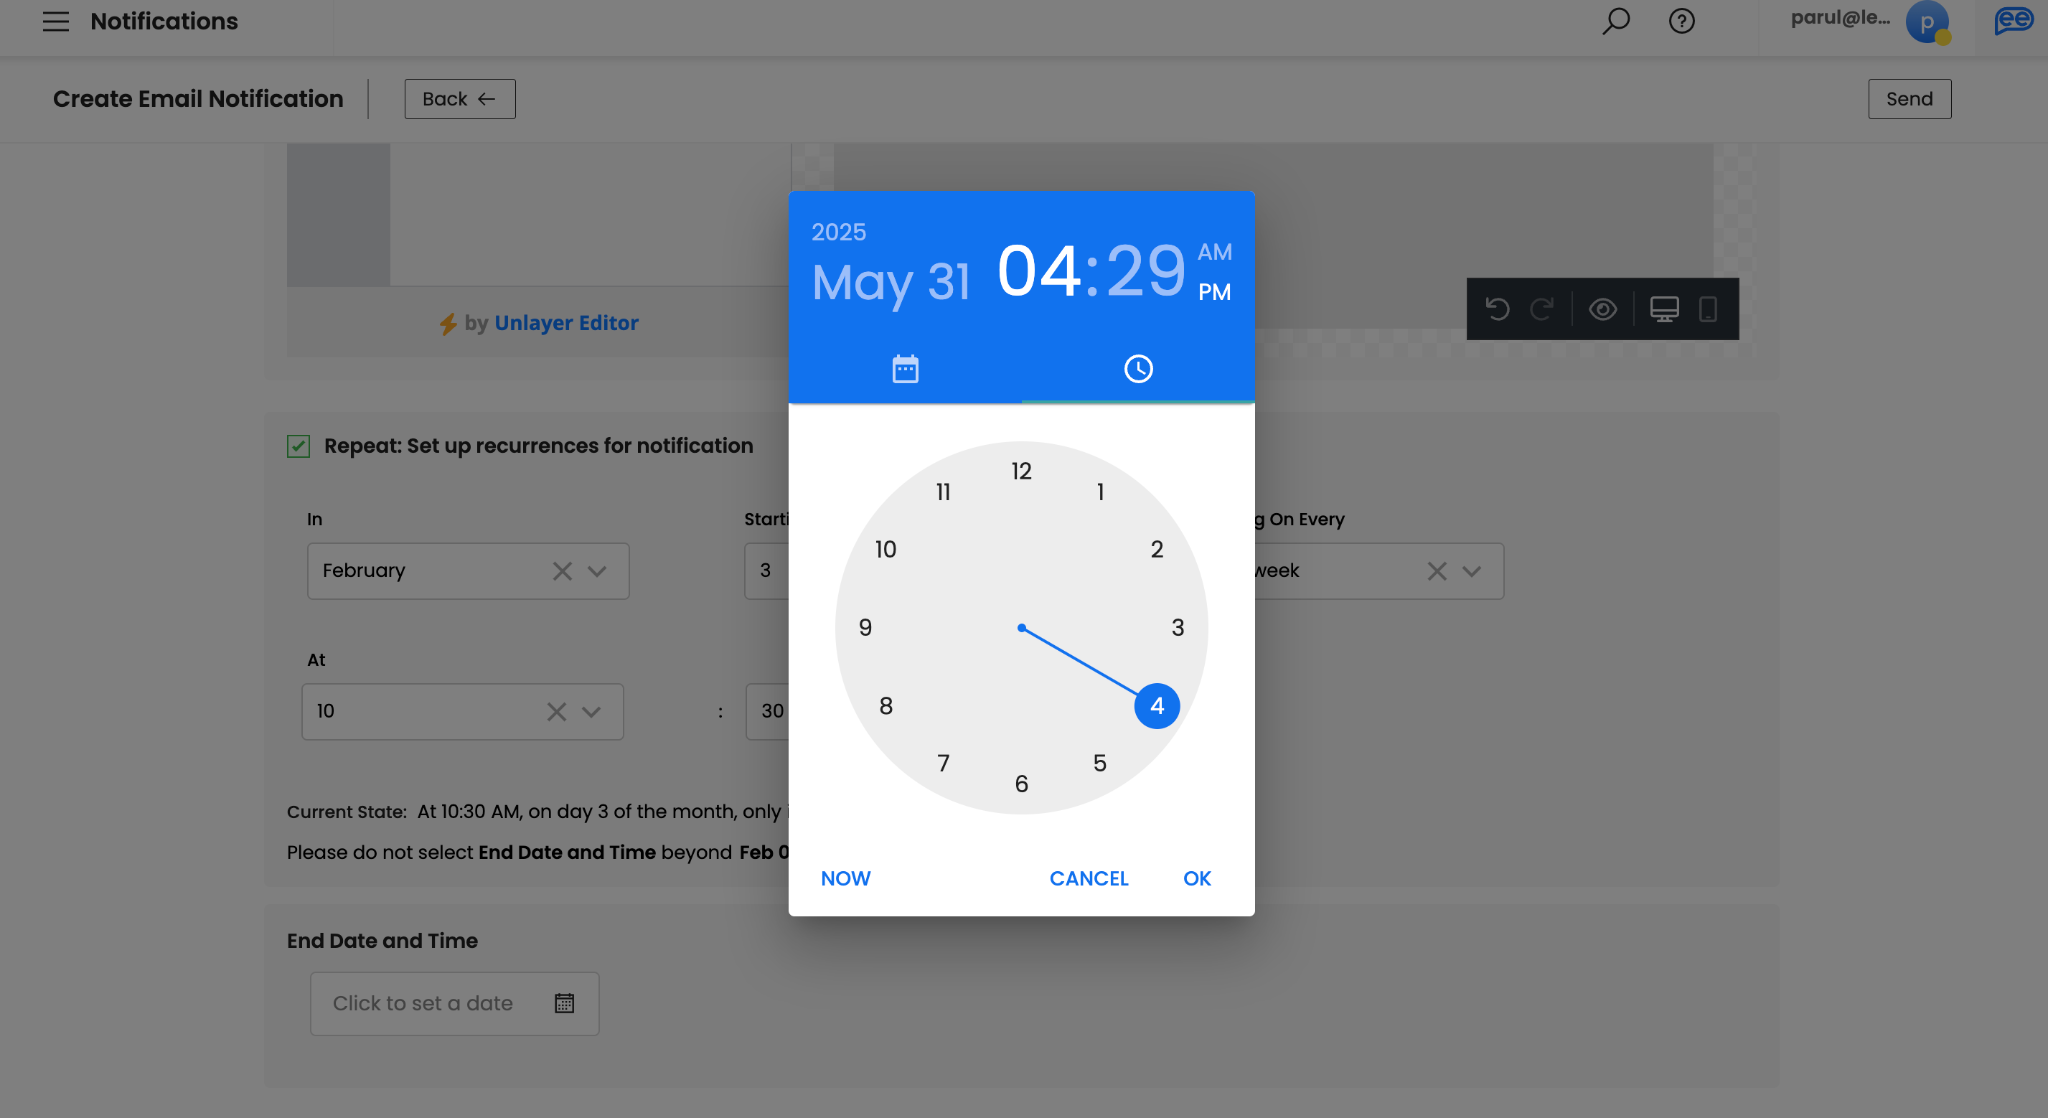
If you skipped STEP 10, define a Scheduled Date and Time of your Single Send. Please note, Schedule Date and Time is only applicable for Single Send Notifications. You can schedule your notification upto 1 year in advance.
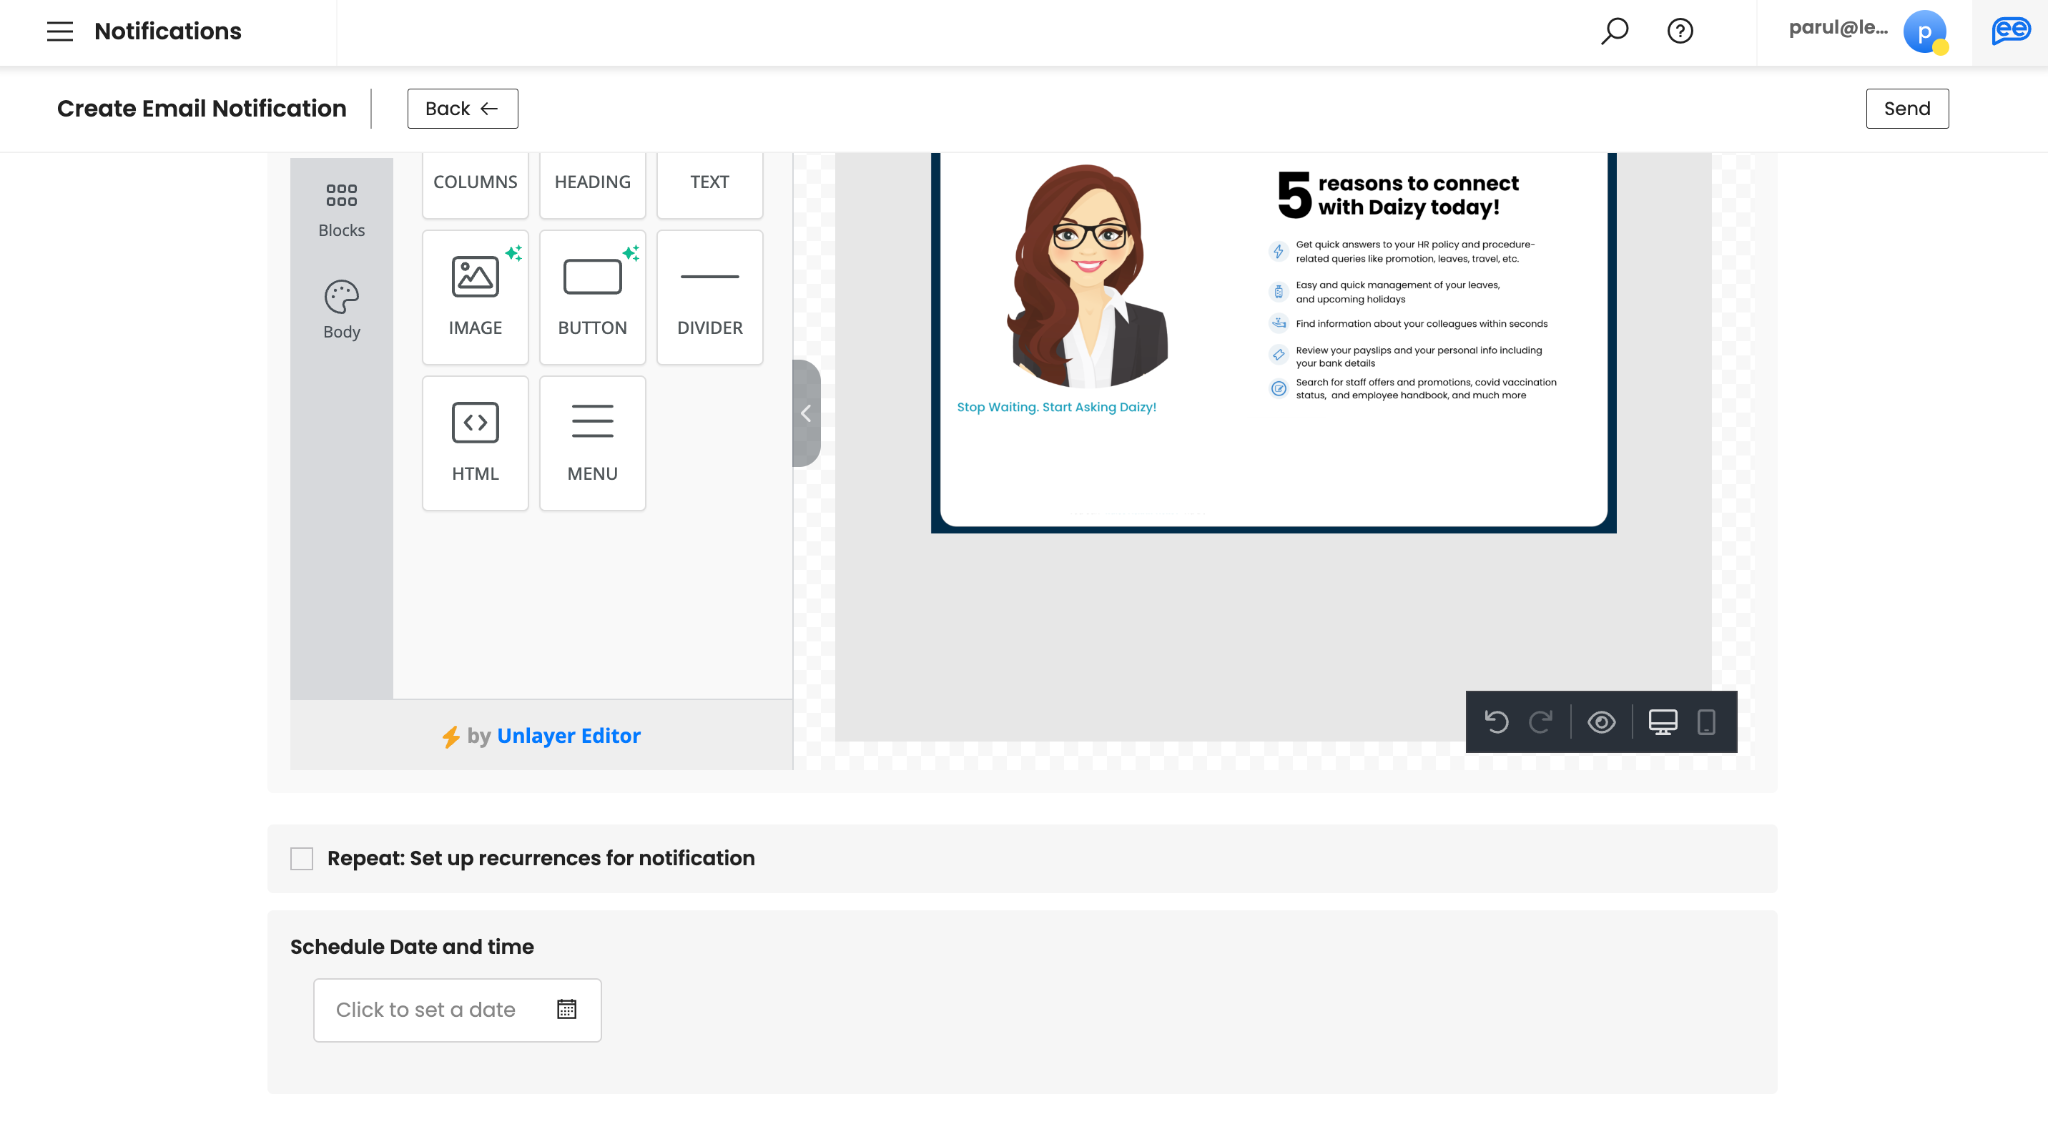
For sending immediately you can choose “NOW”.

- Review your notification for any typos or errors in all elements of your notification.
- Once reviewed,, click on Send. It is recommended that you test your notifications by yourself or in a smaller group before sharing it to your larger audience.
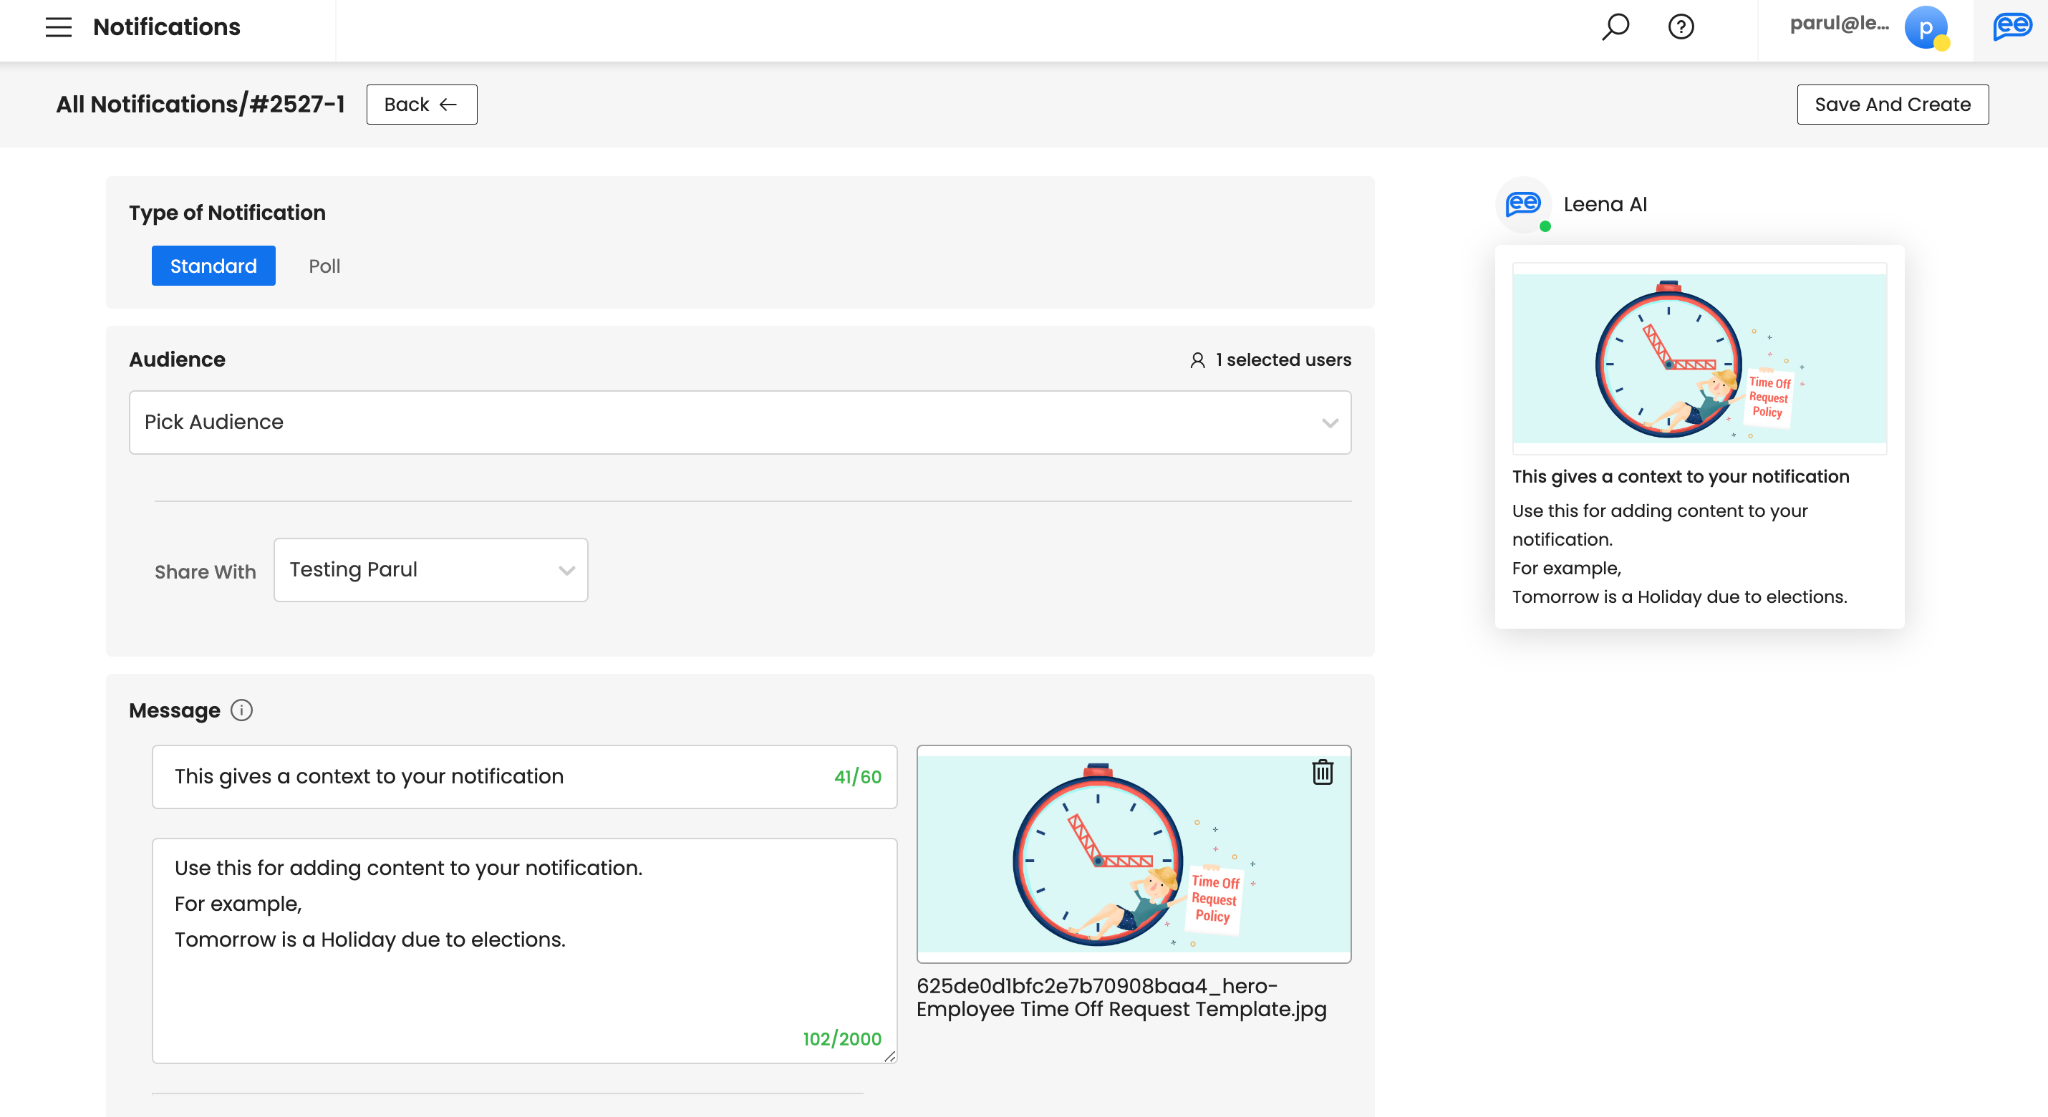
Duplicating a Single Send Notification
Additionally, you can duplicate a pre-existing Single Send Notification. Click "Duplicate" on the top-right section.
Once duplicated, it will open in edit mode. You can make changes, if required.
Best Practices
- Before sending a notification, always test it with smaller audience.
- Send smaller content for more effective engagement from employees.
- Double check on selected audience, content, scheduled date and time.
- Analyze your notifications regularly.
- Ideal frequency of notifications is 1-2 notifications every week. Sending too many or too less notifications may be counter productive.
- Create personalized notifications as much as possible i.e. share relevant information with relevant users.