
Searches and Filters
Watch the tutorial
Smart search
Smart search feature is used to find a specific metric on the dashboard. Clicking on the metric from the recommended list will filter and show just that panel which the user is interested in.
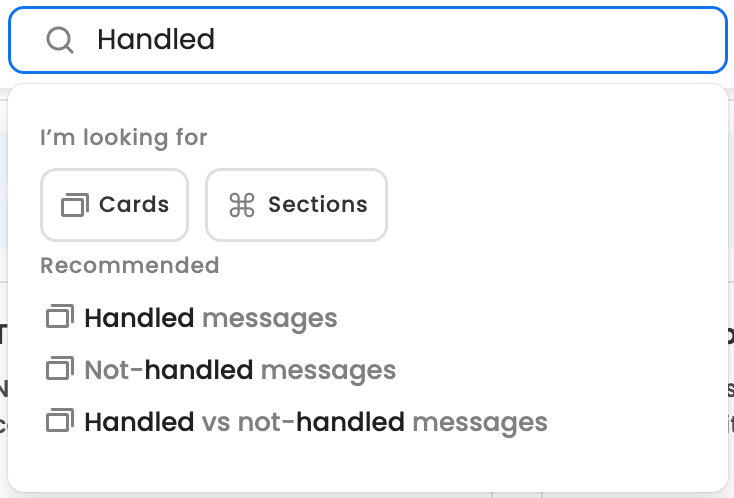
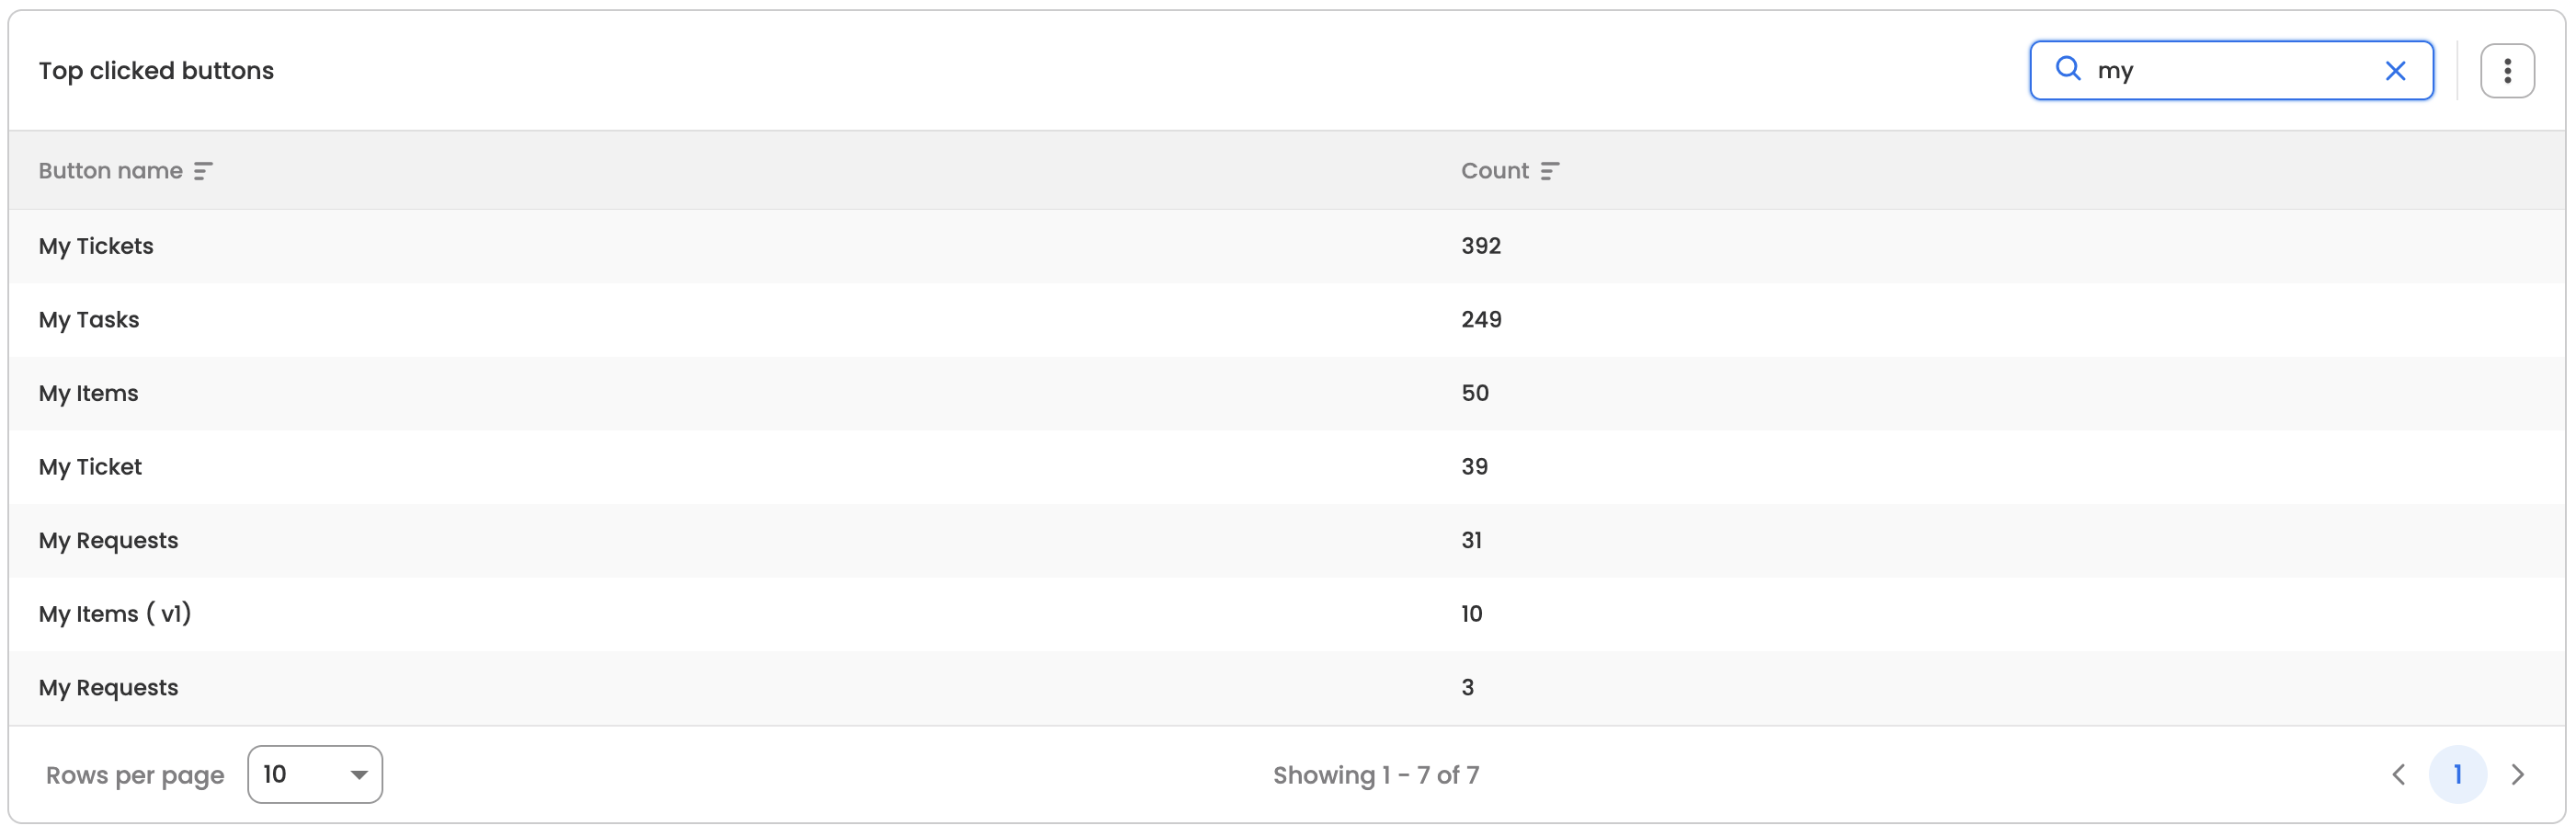
Table search
Use the search feature within drill-down or custom dashboard tables to quickly find the specific data points you're looking for.
Filters
Filter the data based on different parameters. This is configurable based on the user requirement.
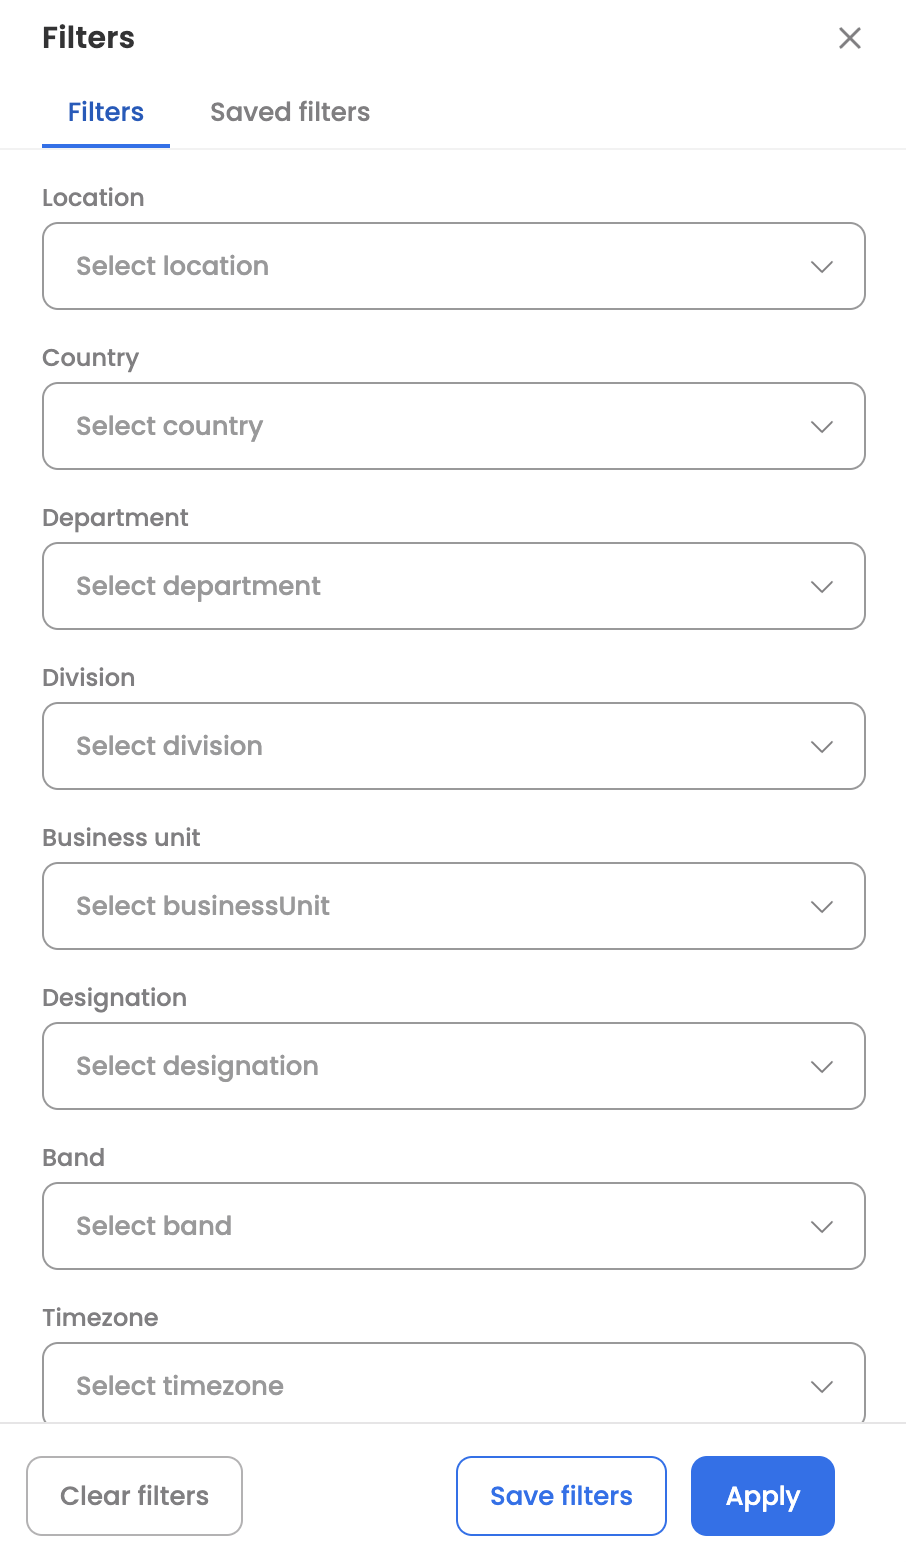
You can save and quickly reapply your most-used filters with just a few clicks. Here is how it works:
Saving Filters:
- Open the filters menu from the top right corner of any analytics dashboard.
- Select your desired filters.
- Click "Save filter" and provide a name for it.
- Optionally, set a filter as the default to apply it automatically whenever the dashboard loads.
- Save your filters.
Applying Saved Filters:
- Open the filters menu.
- Click on the "Saved filters" button at the top.
- Select the filter you want to apply.
- Apply the filters.
Editing or Deleting Saved Filters:
- Open the filters menu.
- Click on the "Saved filters" button at the top.
- Choose the filter you want to modify.
- Select "Edit" or "Delete" icons to perform the desired action.
- You can also set or remove default filters from this menu.
Time Selection
- Quick range: A series of time ranges that can be applied quickly to the data. Some of it includes ‘today, ‘previous month’, 'this week so far’.

Custom range: You can apply a custom time range if it is not available in quick range option. Chose the ‘From’ and ‘To’ dates from the date picker that gets opened when you click on the blue icon.