
Tasks Creation
Introduction
Tasks allow you to automate actions within the onboarding or offboarding journey, such as sending communications, creating tickets, generating documents, or integrating with external systems.
Add new task
Here's how to add a new task:
-
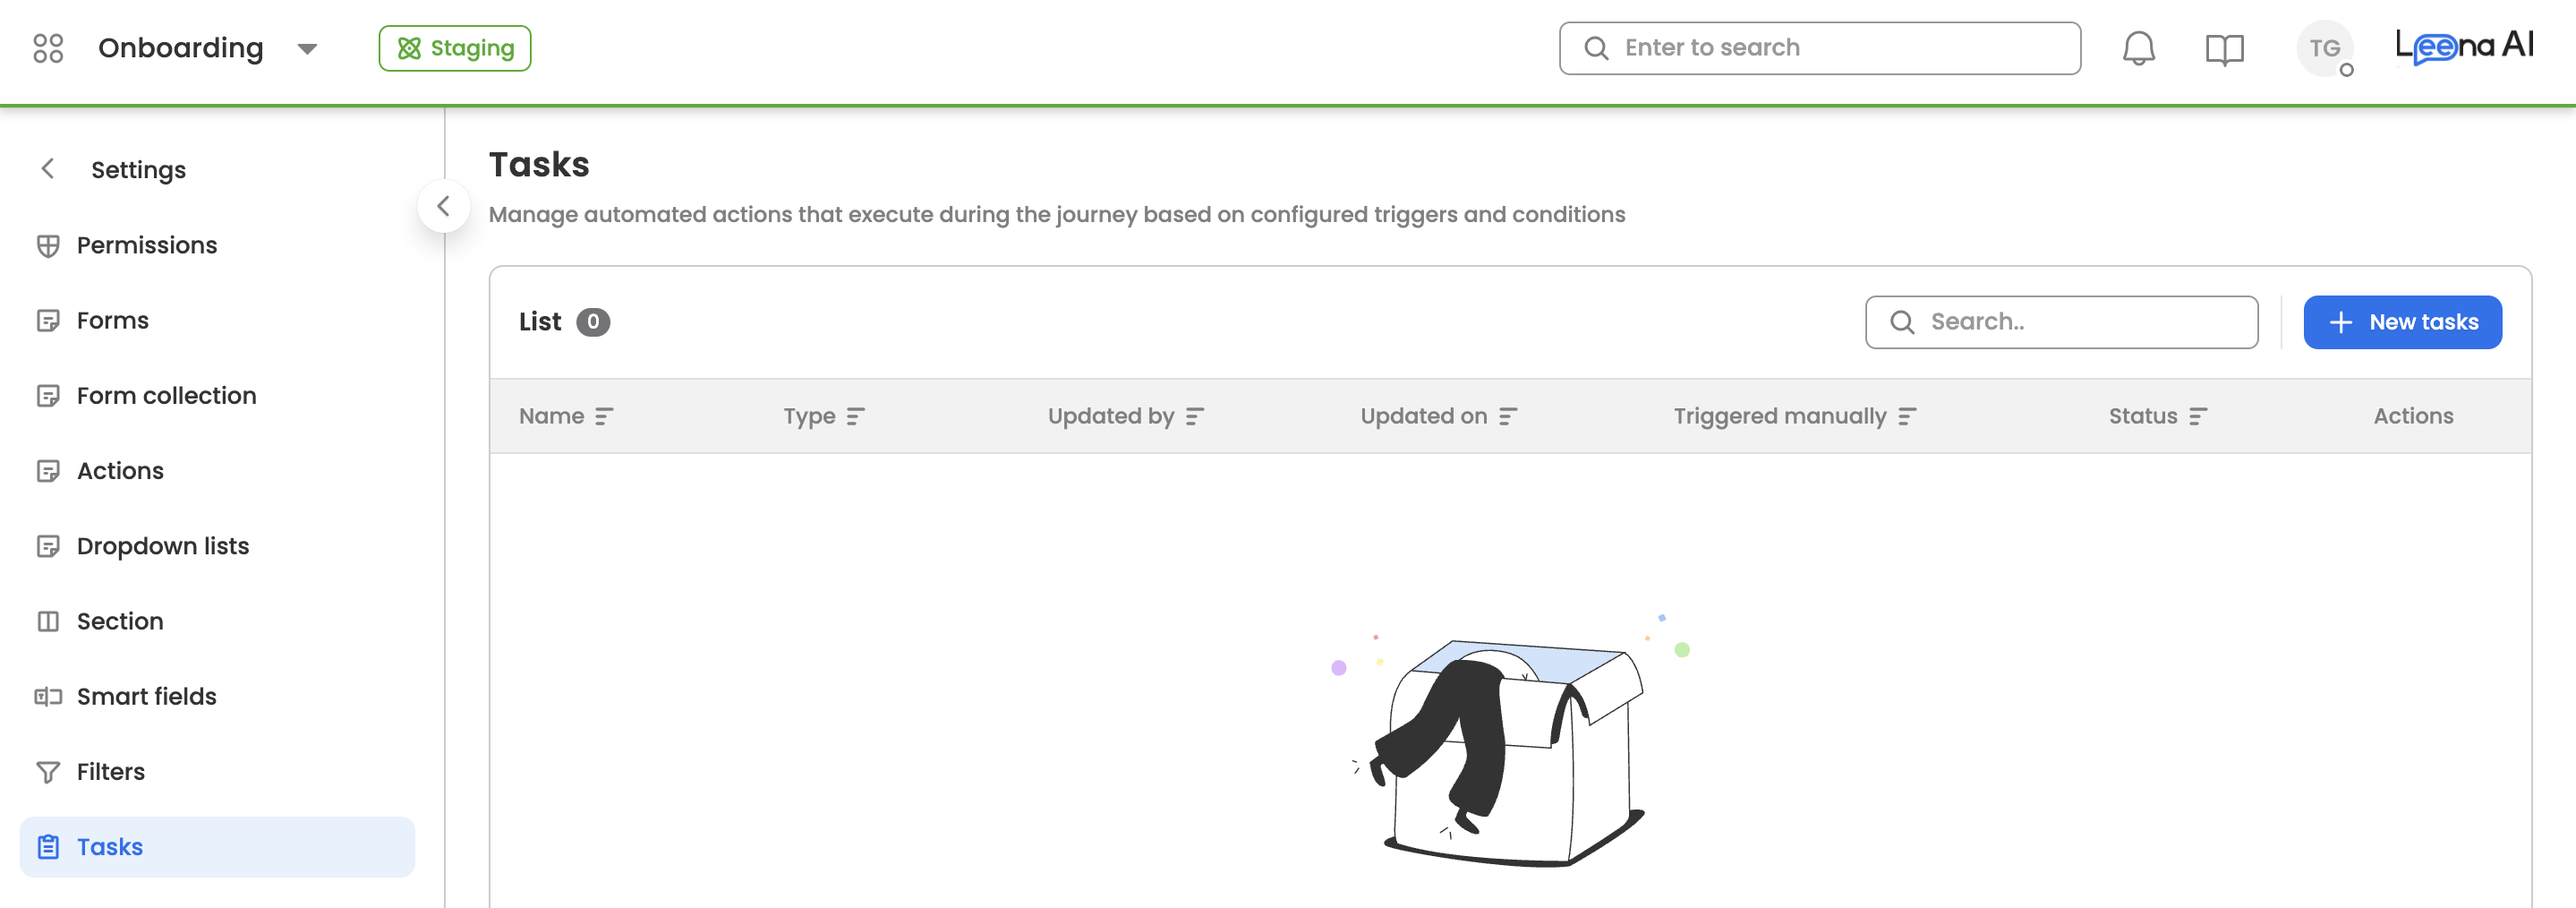
Go to the tasks within the onboarding settings.

-
Click the "New tasks" button located at the top-right corner of the table.

-
You'll be taken to a three-step task creation flow:
- Basic details: Configure the task name, identifier, type, and basic settings.
- Task configuration: Configure the specific settings for the selected task type.
- Execution: Define when and under what conditions the task should execute.
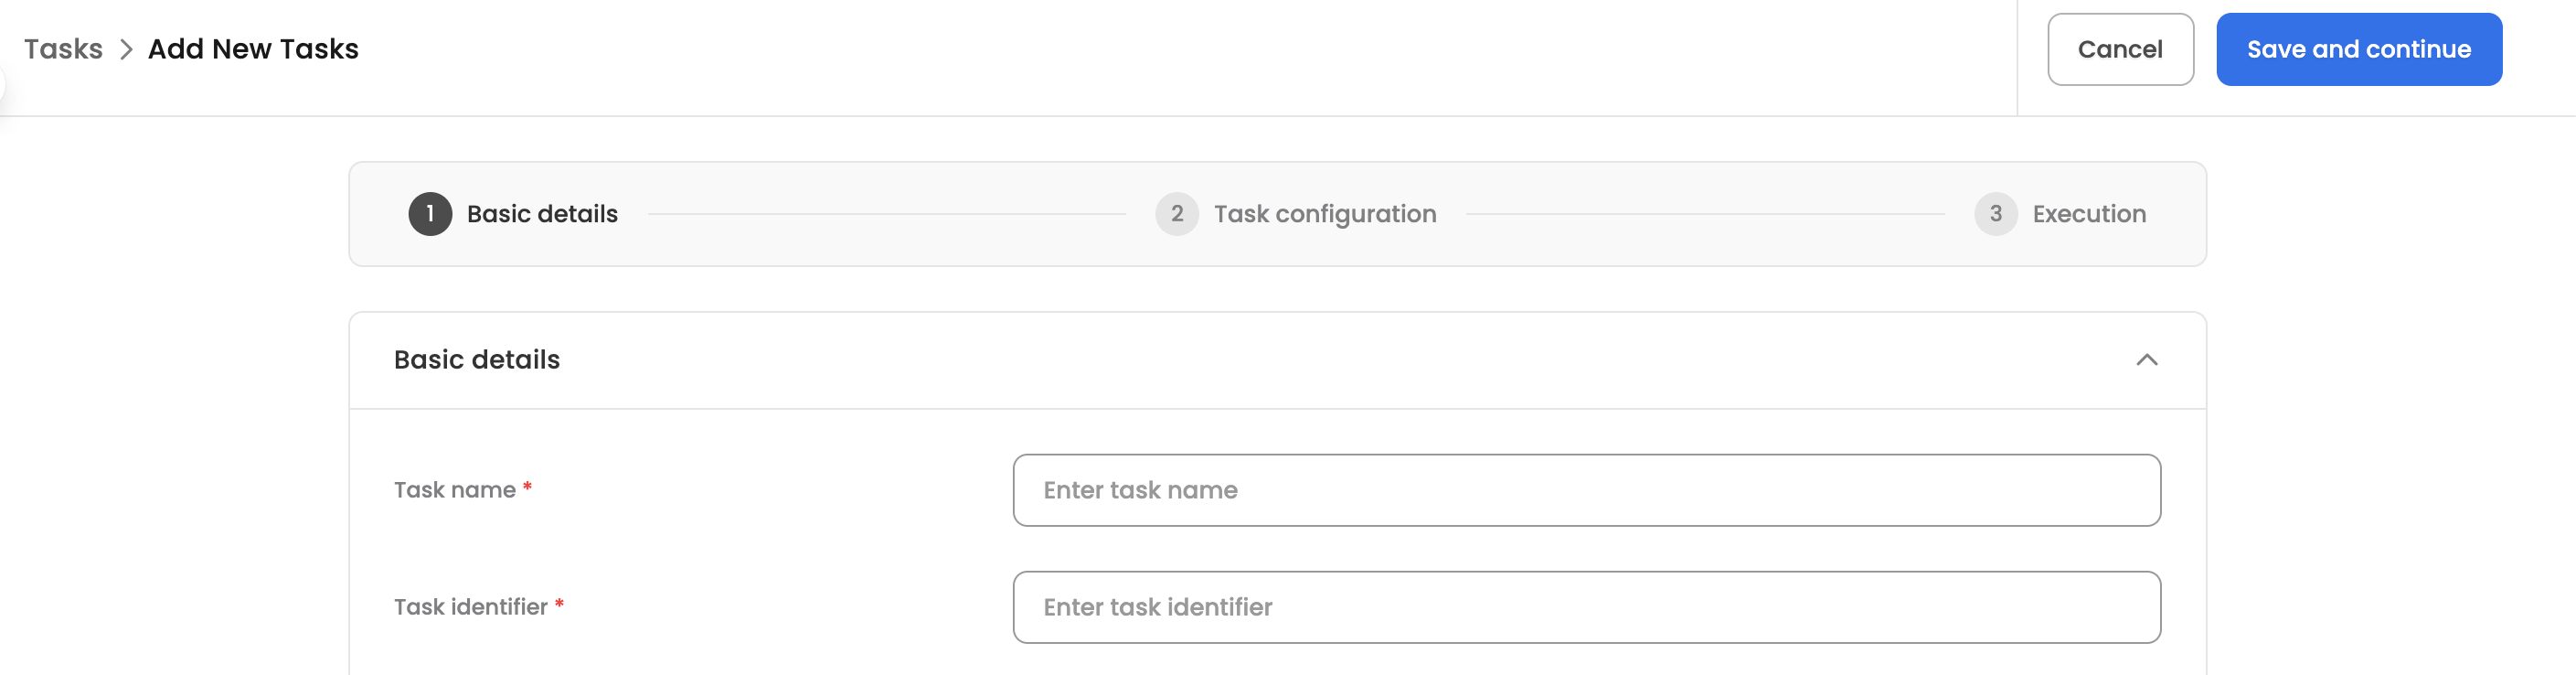
Step 1: Basic details
Configure the following basic details for the task:
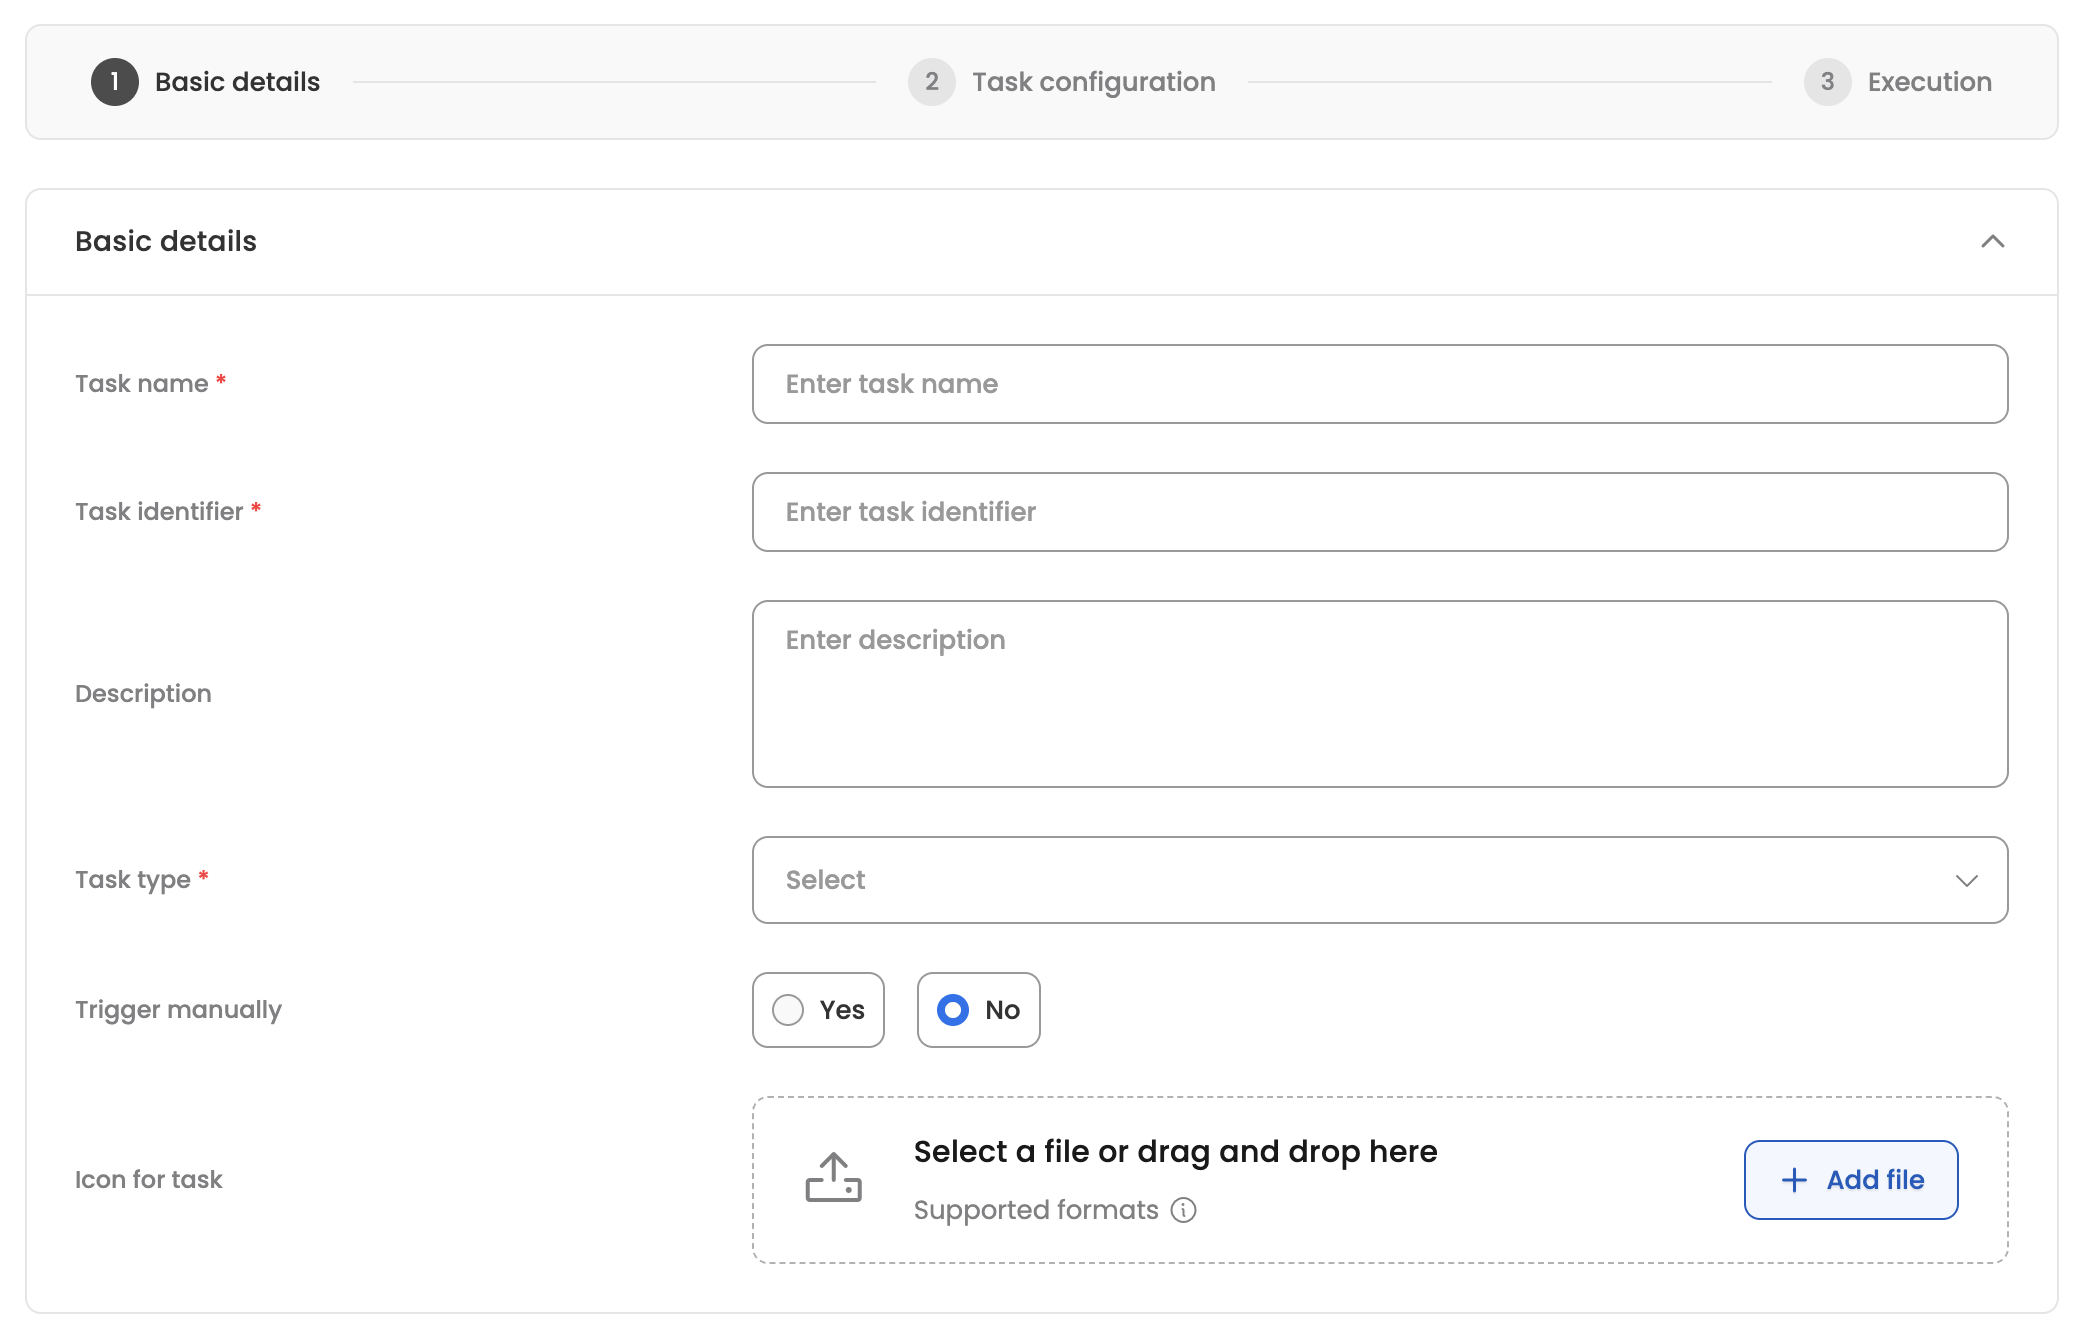
- Task name: Enter a descriptive name for the task (required).
- Task identifier: Enter a unique identifier for the task (required).
- Description: Add an optional description to explain what the task does.
- Task type: Select the type of action this task will perform:
- Webhook: Call an external API endpoint.
- Form: Assign a form for the candidate to complete.
- Workflows: Trigger a workflow in the Workflows Studio.
- Ticket: Automatically create support tickets.
- Signature: Generate a document and send it for signature using Leena Signature.
- Document generation: Automatically generate personalized documents using letter templates.
- Notification: Send automated communications (email or bot notification).
- DocuSign: Initiate document signing through DocuSign integration.
- Trigger manually: Select 'Yes' if the task should only be triggered manually by an agent, or 'No' for automatic execution.
- Icon for task: Upload an optional icon to display for this task.
Step 2: Task configuration
Configure the specific settings based on the selected task type. The configuration options vary depending on the task type:
Webhook
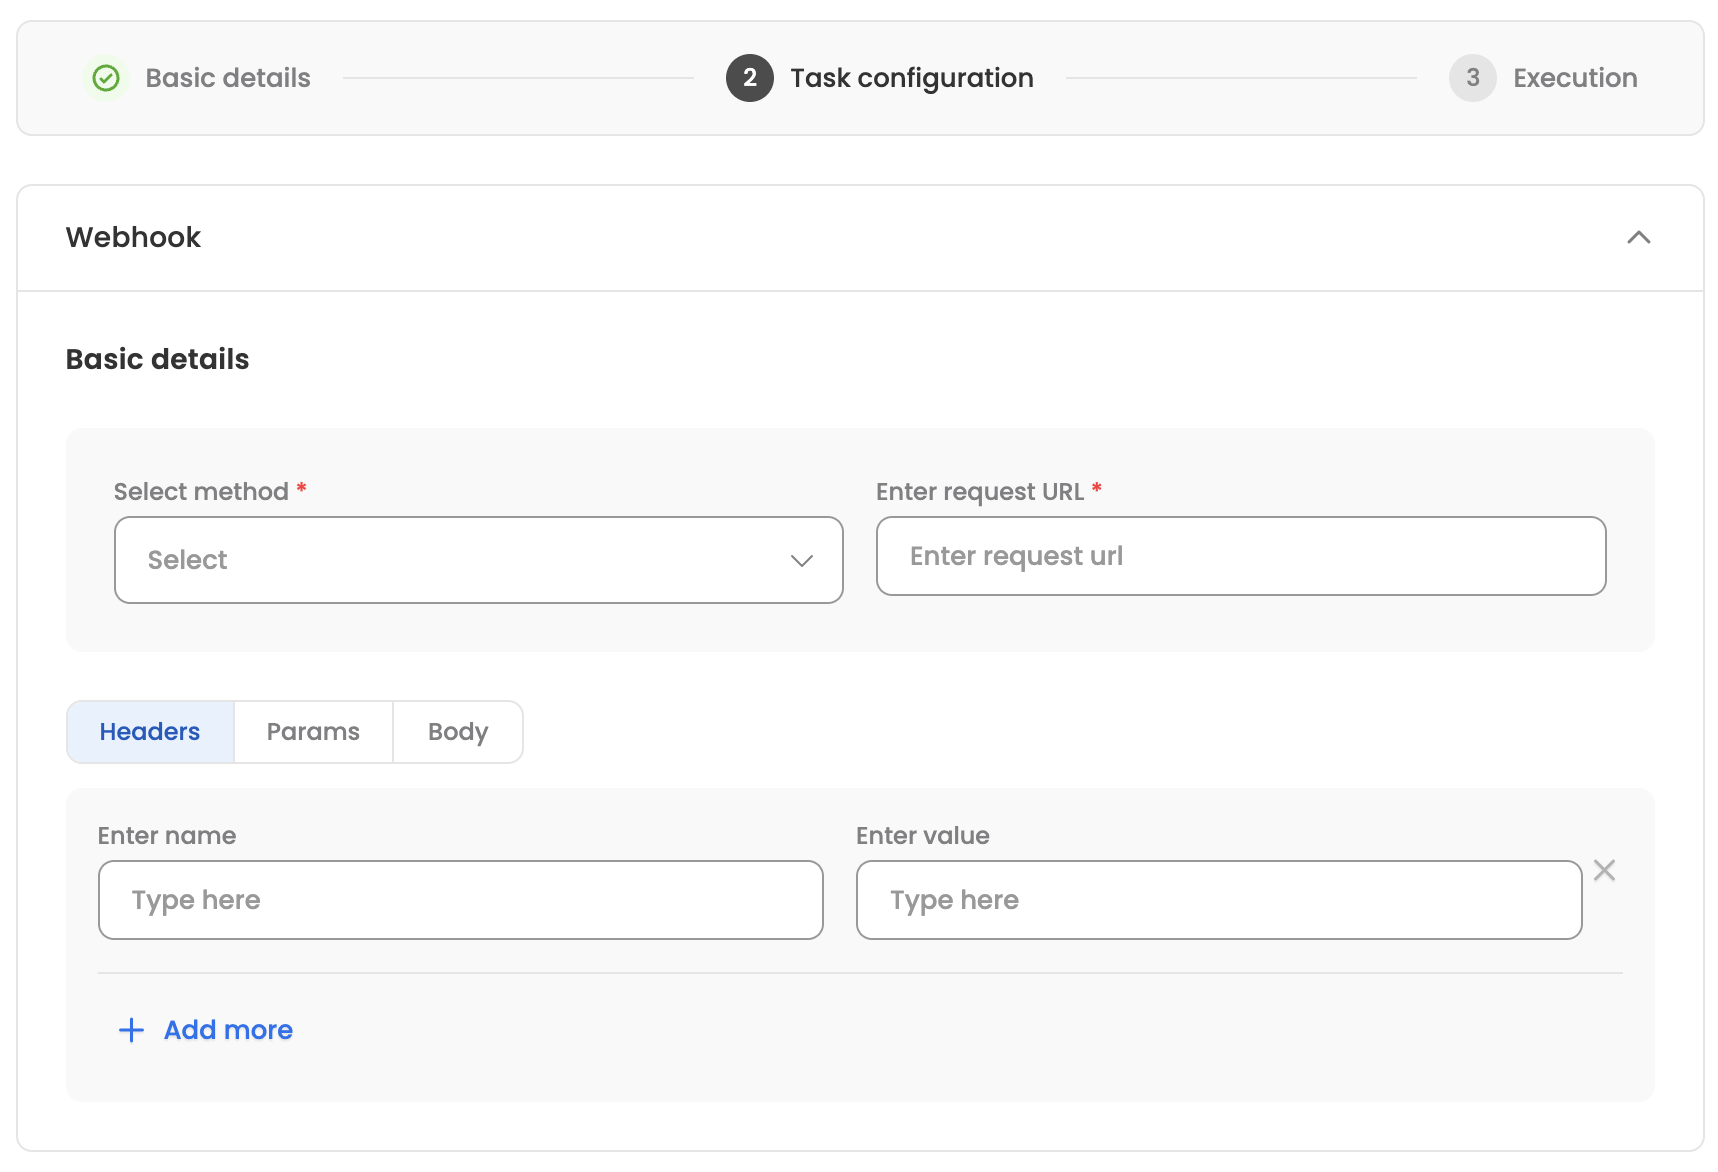
- Select method: Choose the HTTP method (GET, POST, PUT, PATCH, DELETE).
- Enter request URL: Provide the API endpoint URL.
- Headers: Add request headers as key-value pairs (name and value).
- Params: Add URL parameters as key-value pairs (name and value).
- Body: Configure the request body:
- Add body: Select body type (None, JSON, XML, Text, Binary, URL Encoded, Form Data).
- JSON Payload: Enter the JSON payload when JSON is selected.
- XML Payload: Enter the XML payload when XML is selected.
- Plain Text Payload: Enter plain text when Text is selected.
- URL / Base64: Enter URL or base64 data when Binary is selected.
- URL Encoded Payload: Add key-value pairs for URL encoded data.
- Form Data Payload: Add key-value pairs with type (Text/File) for form data.
Form
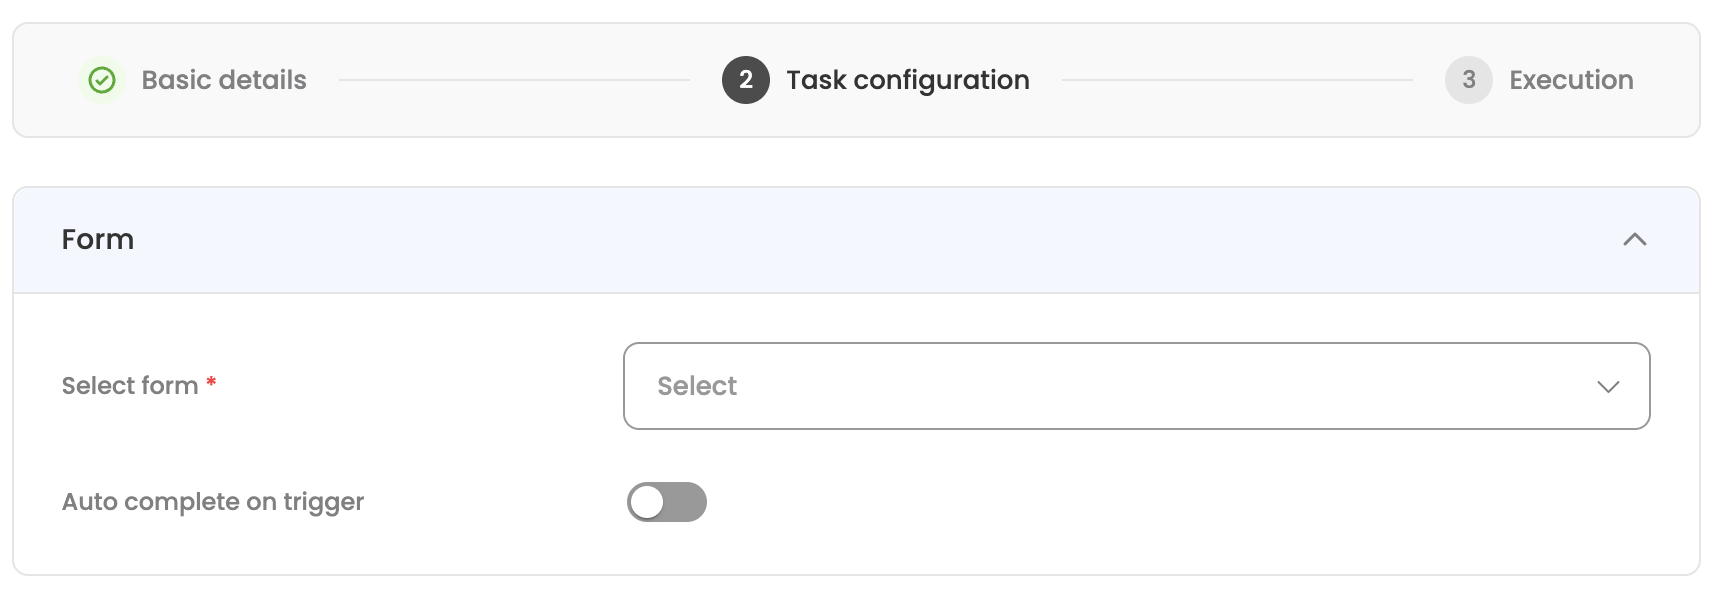
- Select form: Choose the form to assign to the candidate from published forms.
- Auto complete on trigger: Enable to automatically mark the task as complete when triggered.
Workflows

- Select workflow Bot: Choose the workflow bot.
- Select workflow app: Choose the workflow application to trigger (depends on selected bot).
- Withdraw on stopping journey: Enable to withdraw the workflow if the journey is stopped.
- Form Fields: Map form fields required to initiate the workflow:
- Select form field: Choose the workflow form field.
- Field value: Enter the value to map (supports hybrid input with data center variables).
- Fallback Fields: Add fallback field values.
- Default value: Set a default value if the field is empty.
- Revise workflow on section updates:
- Revise workflow: Enable to revise workflow when section data changes.
- Type: Select revision type (Update or Withdraw & Re-submit).
- Section key: Select fields that trigger workflow revision.
Ticket
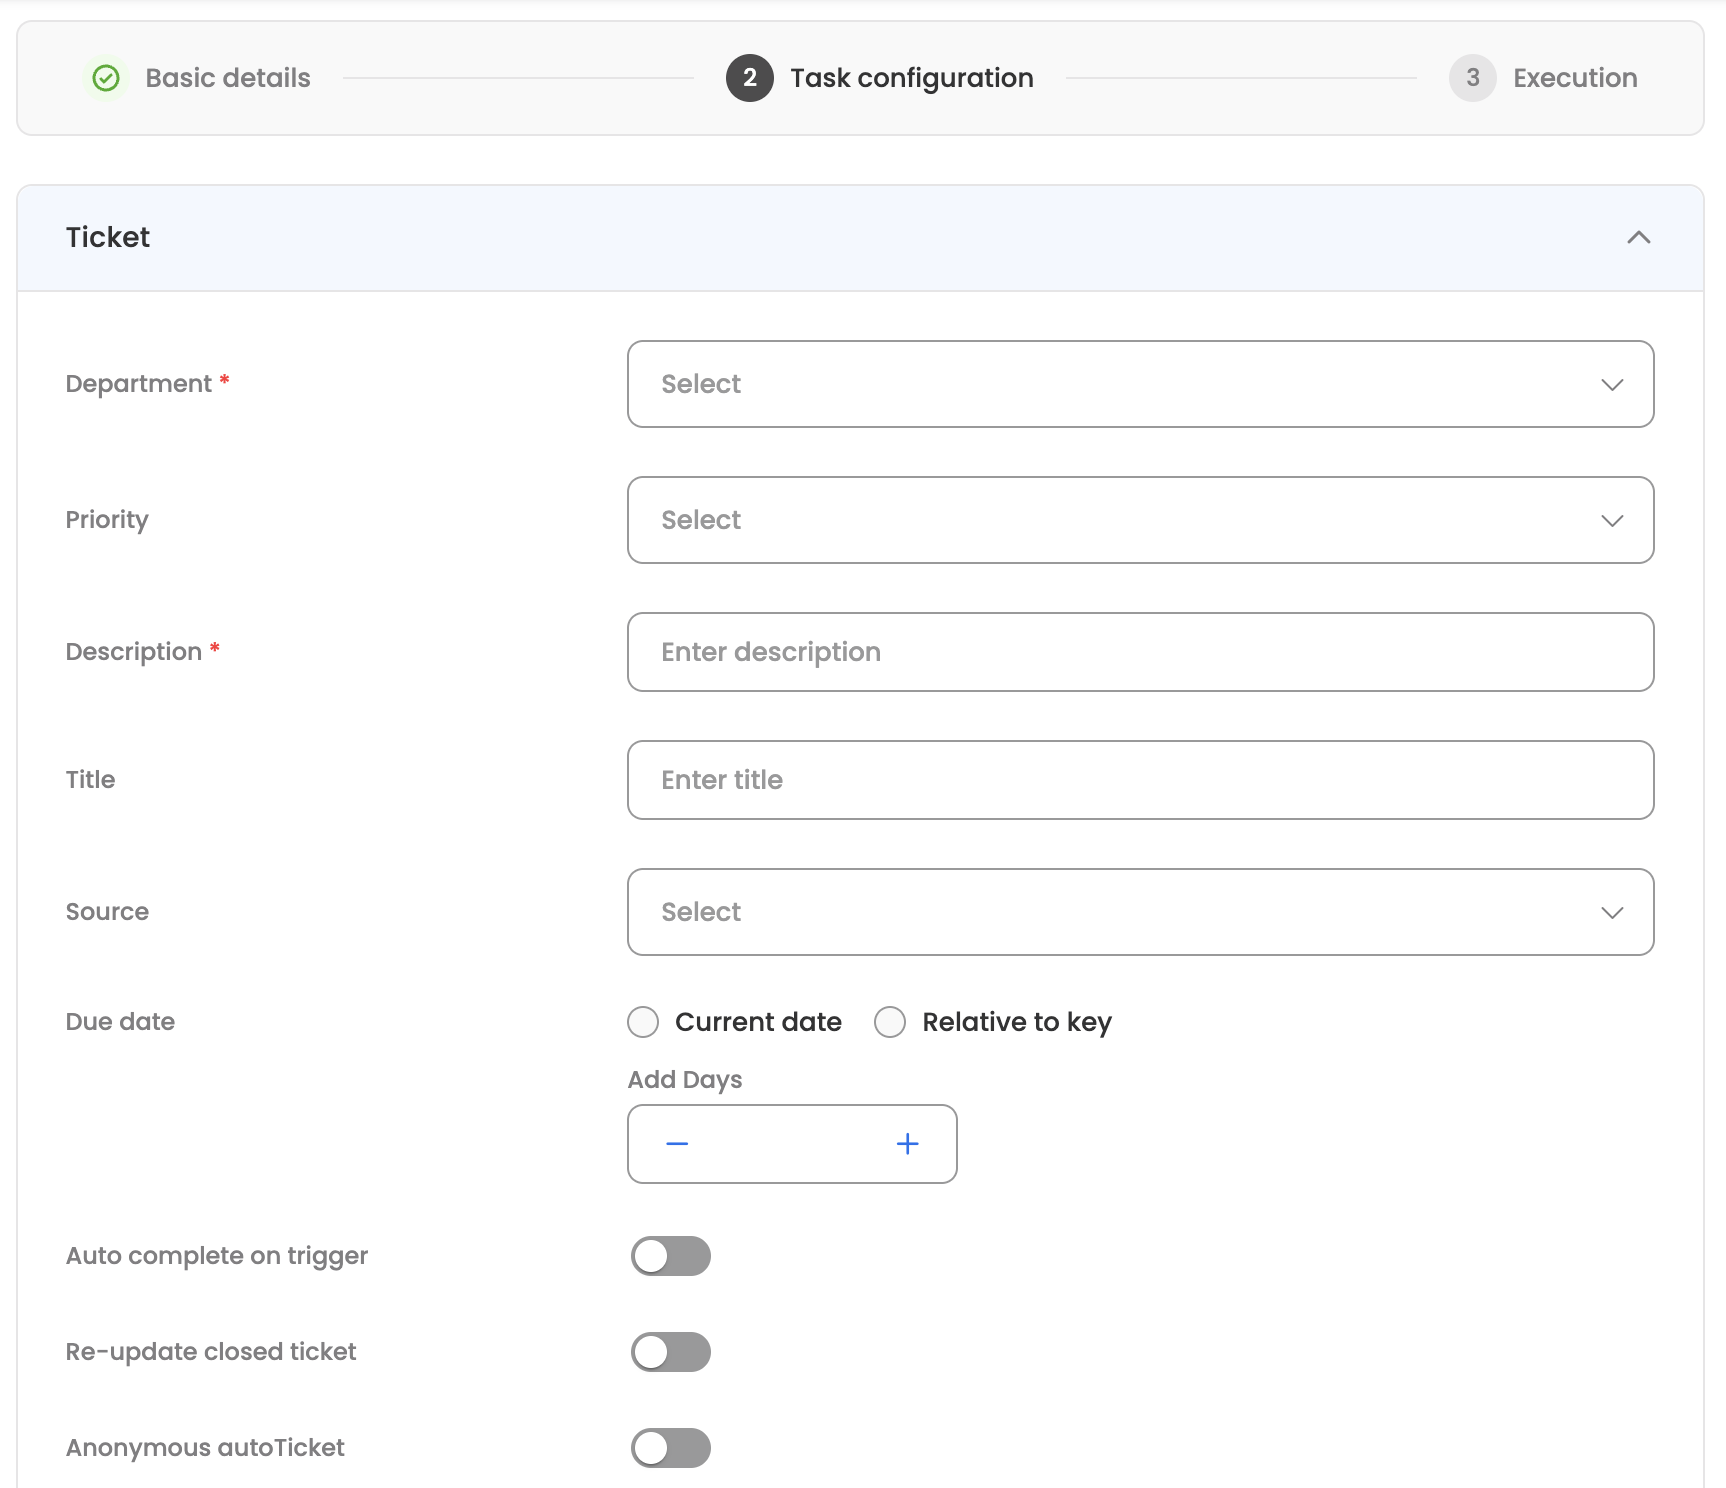
- Department: Select the department for the ticket.
- Category: Select the ticket category (depends on department).
- Sub category: Select the sub-category (depends on category).
- Priority: Set the ticket priority (Low, Normal, High).
- Description: Enter the ticket description (required).
- Title: Enter the ticket title.
- Source: Select the ticket source (Thumbs Down, Default Fallback, Explicit, Maintenance, Bulk Upload, Master, Email, Workflows, Integrations, Live Chat, Dashboard).
- Due date: Configure due date settings:
- Current date / Relative to key: Select whether to use current date or relative to a key.
- Add Days: Number of days to add to the due date.
- Key: Reference key for relative date calculation.
- Auto complete on trigger: Enable to automatically mark the task as complete when triggered.
- Re-update closed ticket: Enable to re-update tickets that have been closed.
- Anonymous autoTicket: Enable to create anonymous tickets (unlink channel user).
- Notify candidate: Enable to notify the candidate when ticket is created.
- Close ticket on stopping journey: Enable to close ticket when journey is stopped.
- State: Select the state to set (Open, Acknowledged, Blocked, Closed).
- Closing Comment: Add a closing comment.
- Form data to extract:
- Form identifier: Select forms to extract data from.
- Data to extract: Map reference keys to ticket keys with optional fallback keys, component type (String/Date), and default values.
- Form document to extract: Select form fields containing documents to attach.
- Section fields to update: Map section fields to ticket keys for updates.
- Auto-update form data on ticket updates: Configure automatic form data updates when ticket is updated.
- Extra fields: Add additional fields as JSON.
Signature
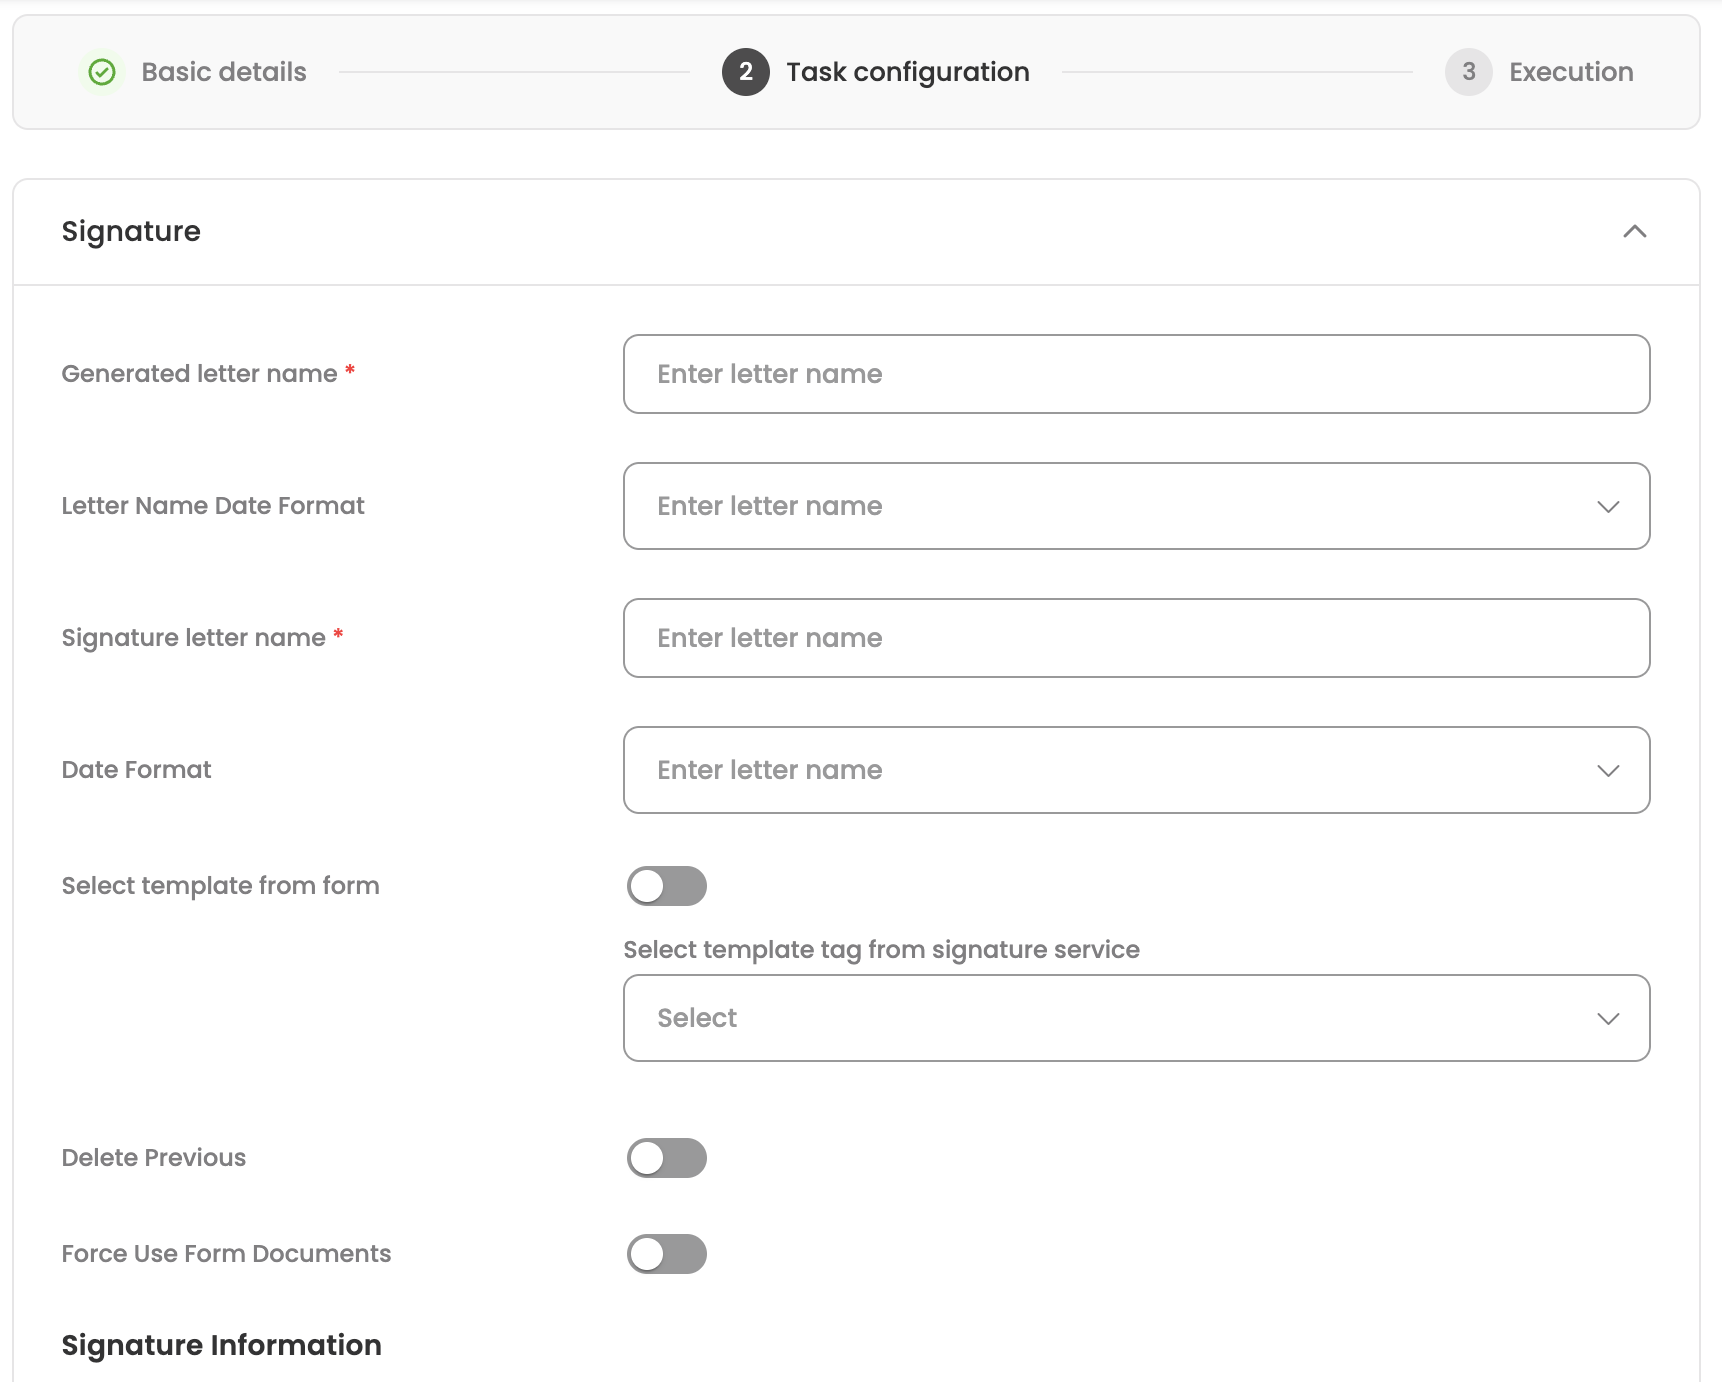
- Generated letter name: Name for the generated letter (required).
- Letter Name Date Format: Select date format for the letter name (DD-MM-YYYY, MM-DD-YYYY, DD-MMM-YYYY).
- Signature letter name: Name for the signed letter (required).
- Date Format: Select date format for the signed letter.
- Select template from form: Toggle to use a document from a form as the template.
- If disabled: Select template tag from signature service: Choose a template from the signature service.
- If enabled: Select form identifier and Select form document to use as template.
- Delete Previous: Enable to delete previous signatures when regenerating.
- Force Use Form Documents: Enable to always use documents from forms.
- Signature Information:
- Function name: JavaScript function name for signature processing.
- Height/Width: Dimensions for the signature image.
- Type: Image type (URL or Base64).
- Image Data: Direct image data.
- Use Default Image: Enable to use default signature image.
- Extension: File extension for the signature image.
- Select form identifier and Select Image field: Source of signature image from forms.
- Coordinates of the signature: Define signature placement (page number, width, height, X, Y coordinates, caption settings).
- Form field to update with signature: Map generated signature to form fields.
- Delete old in multiple generations: Enable to delete old signatures when generating new ones.
- Form data to extract: Configure data extraction from forms for signature processing.
- Import signature image to onboarding form: Map signature images back to onboarding forms.
Document generation
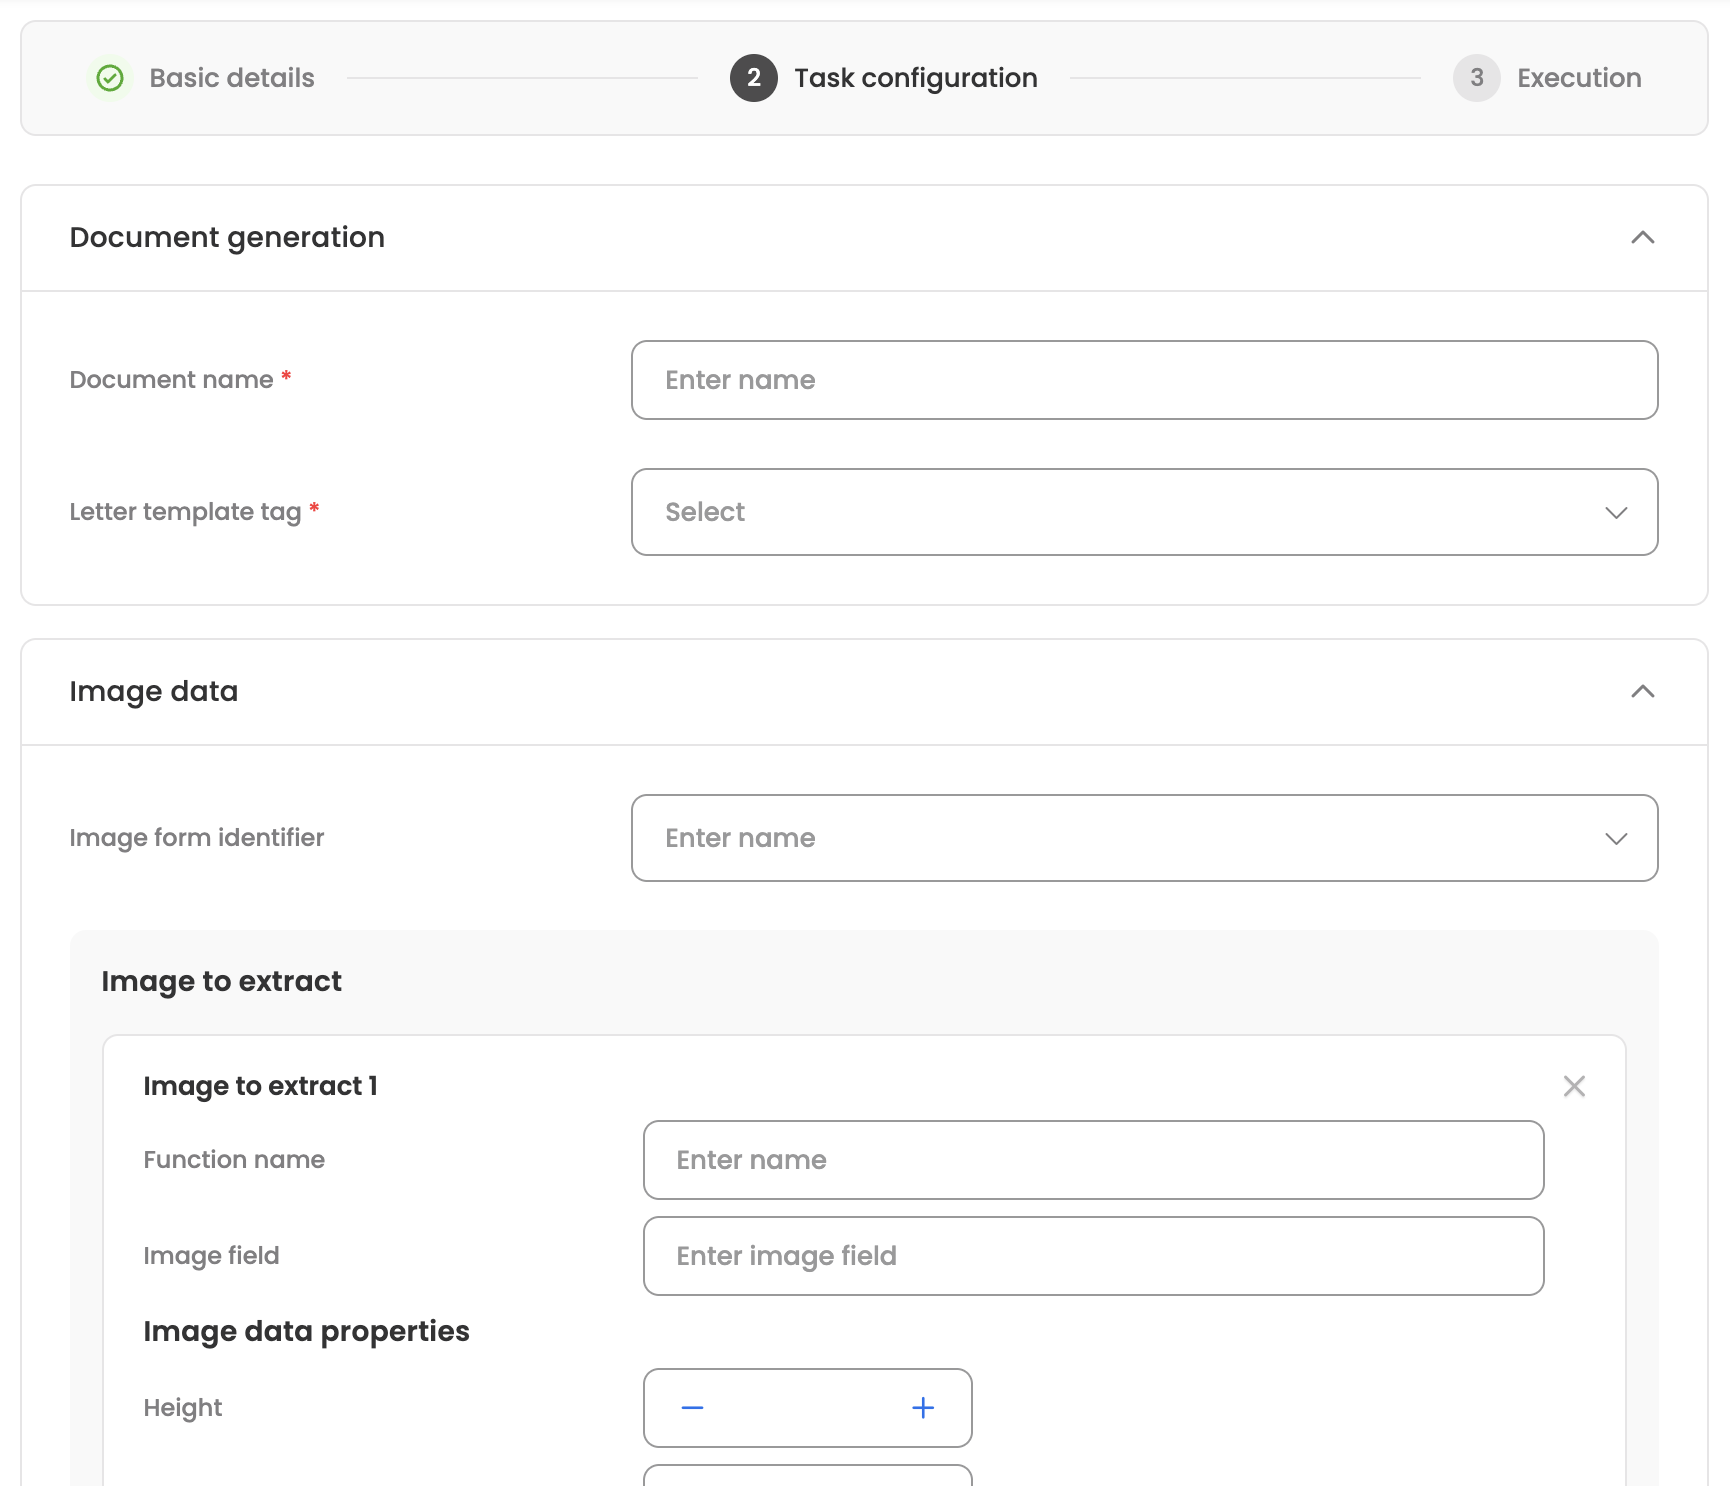
- Document name: Name for the generated document (required).
- Letter template tag: Select the letter template to use (required).
- Image data:
- Image form identifier: Select forms containing images.
- Image to extract: Configure image extraction with function name, image field, and image data properties (height, width, type, extension, image data, and fallback settings).
- Context function:
- Context function to extract data: Select forms for data extraction.
- Function: JavaScript function for data transformation.
- Import Mapping: Map generated document to form fields.
Notification
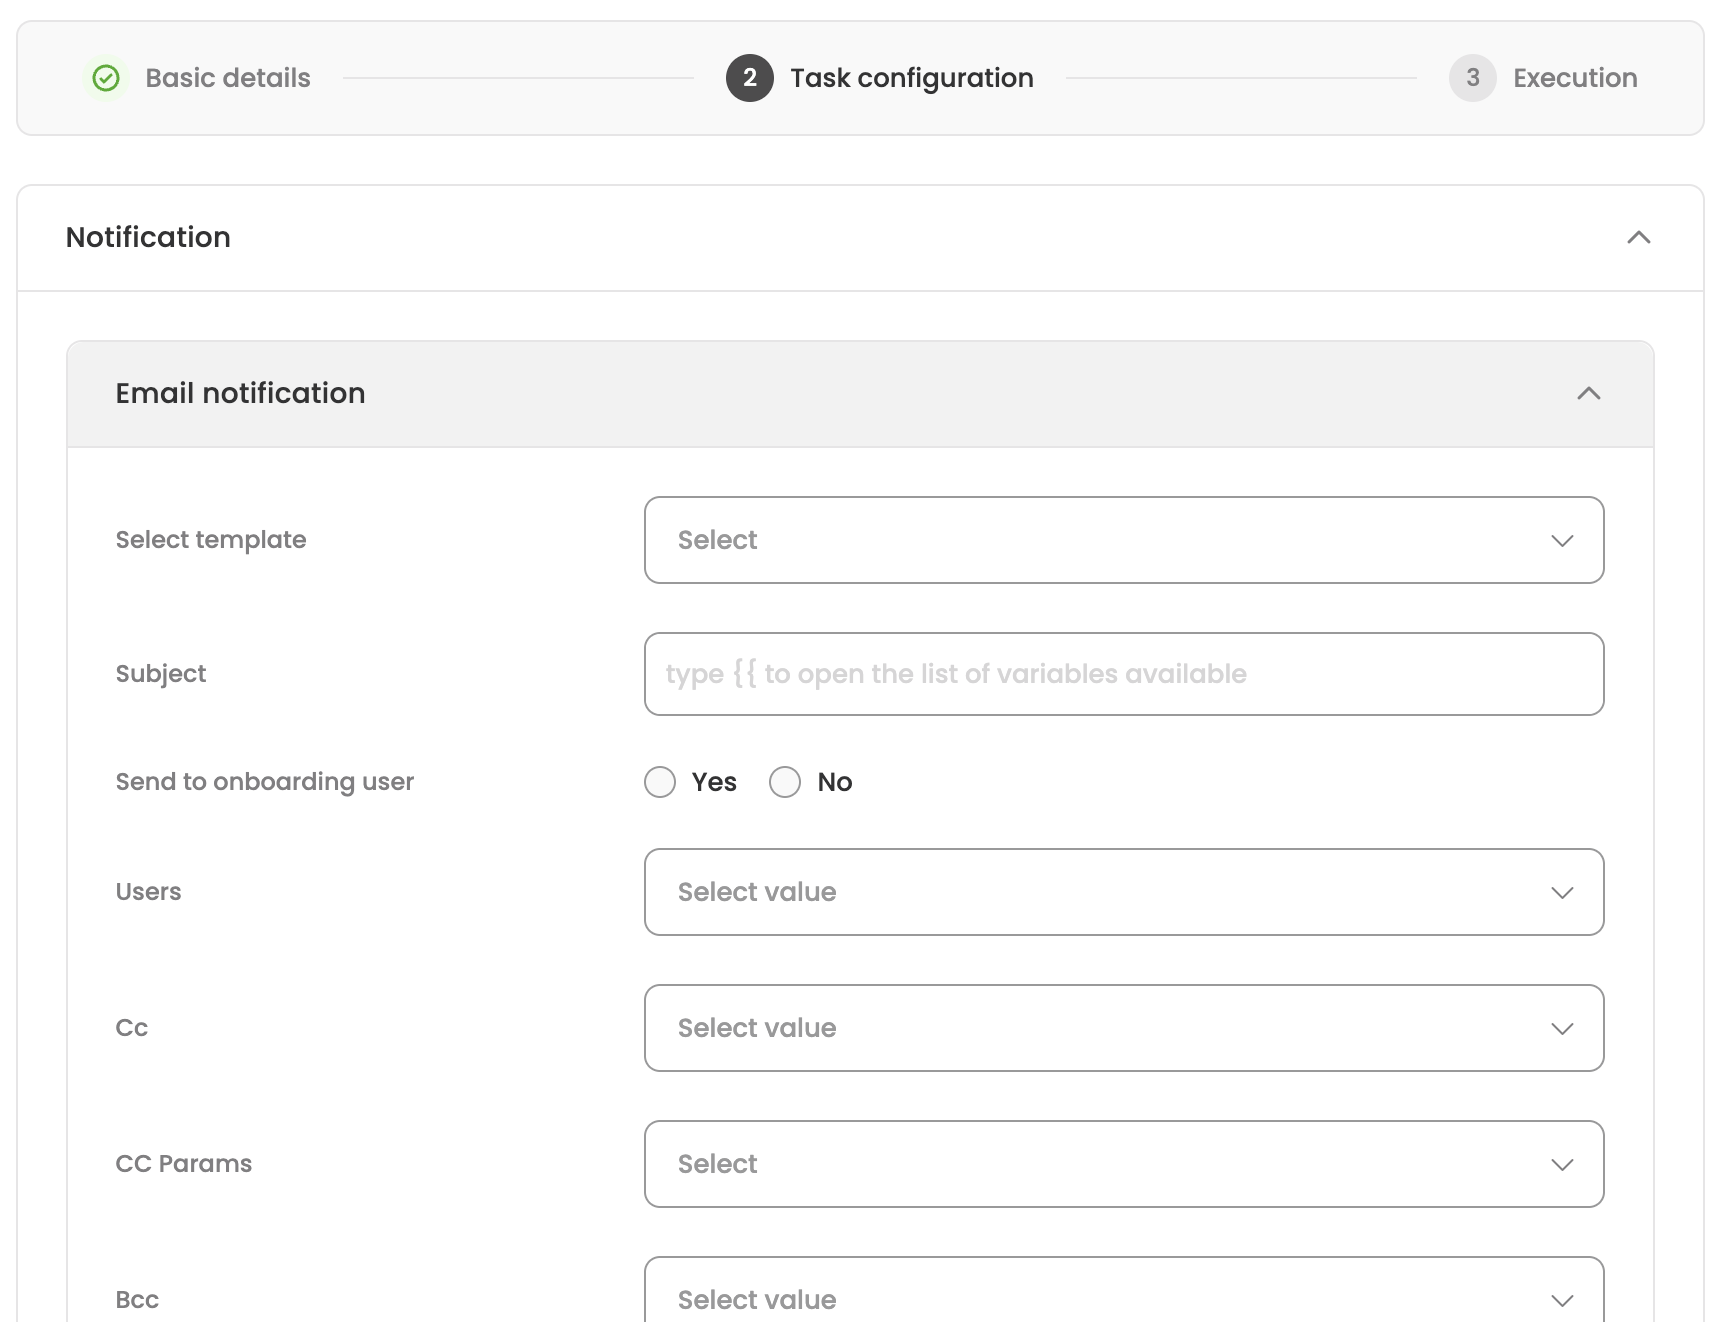
Email notification:
- Select template: Choose an email template.
- Subject: Email subject line (supports hybrid input with data center variables).
- Send to onboarding user: Yes/No to include the onboarding user.
- Users: Select additional users to receive the email.
- Cc: Add CC recipients.
- CC Params: Select section fields for dynamic CC recipients.
- Bcc: Add BCC recipients.
- BCC Params: Select section fields for dynamic BCC recipients.
- Schedule To Relation: Enable to send to related contacts.
- Relation: Select relation fields when enabled.
- Attachments:
- Upload files: Upload static attachments.
- Document to extract: Select form documents to attach.
Bot notification:
- Module ID: Enter the module ID for bot push notification.
DocuSign
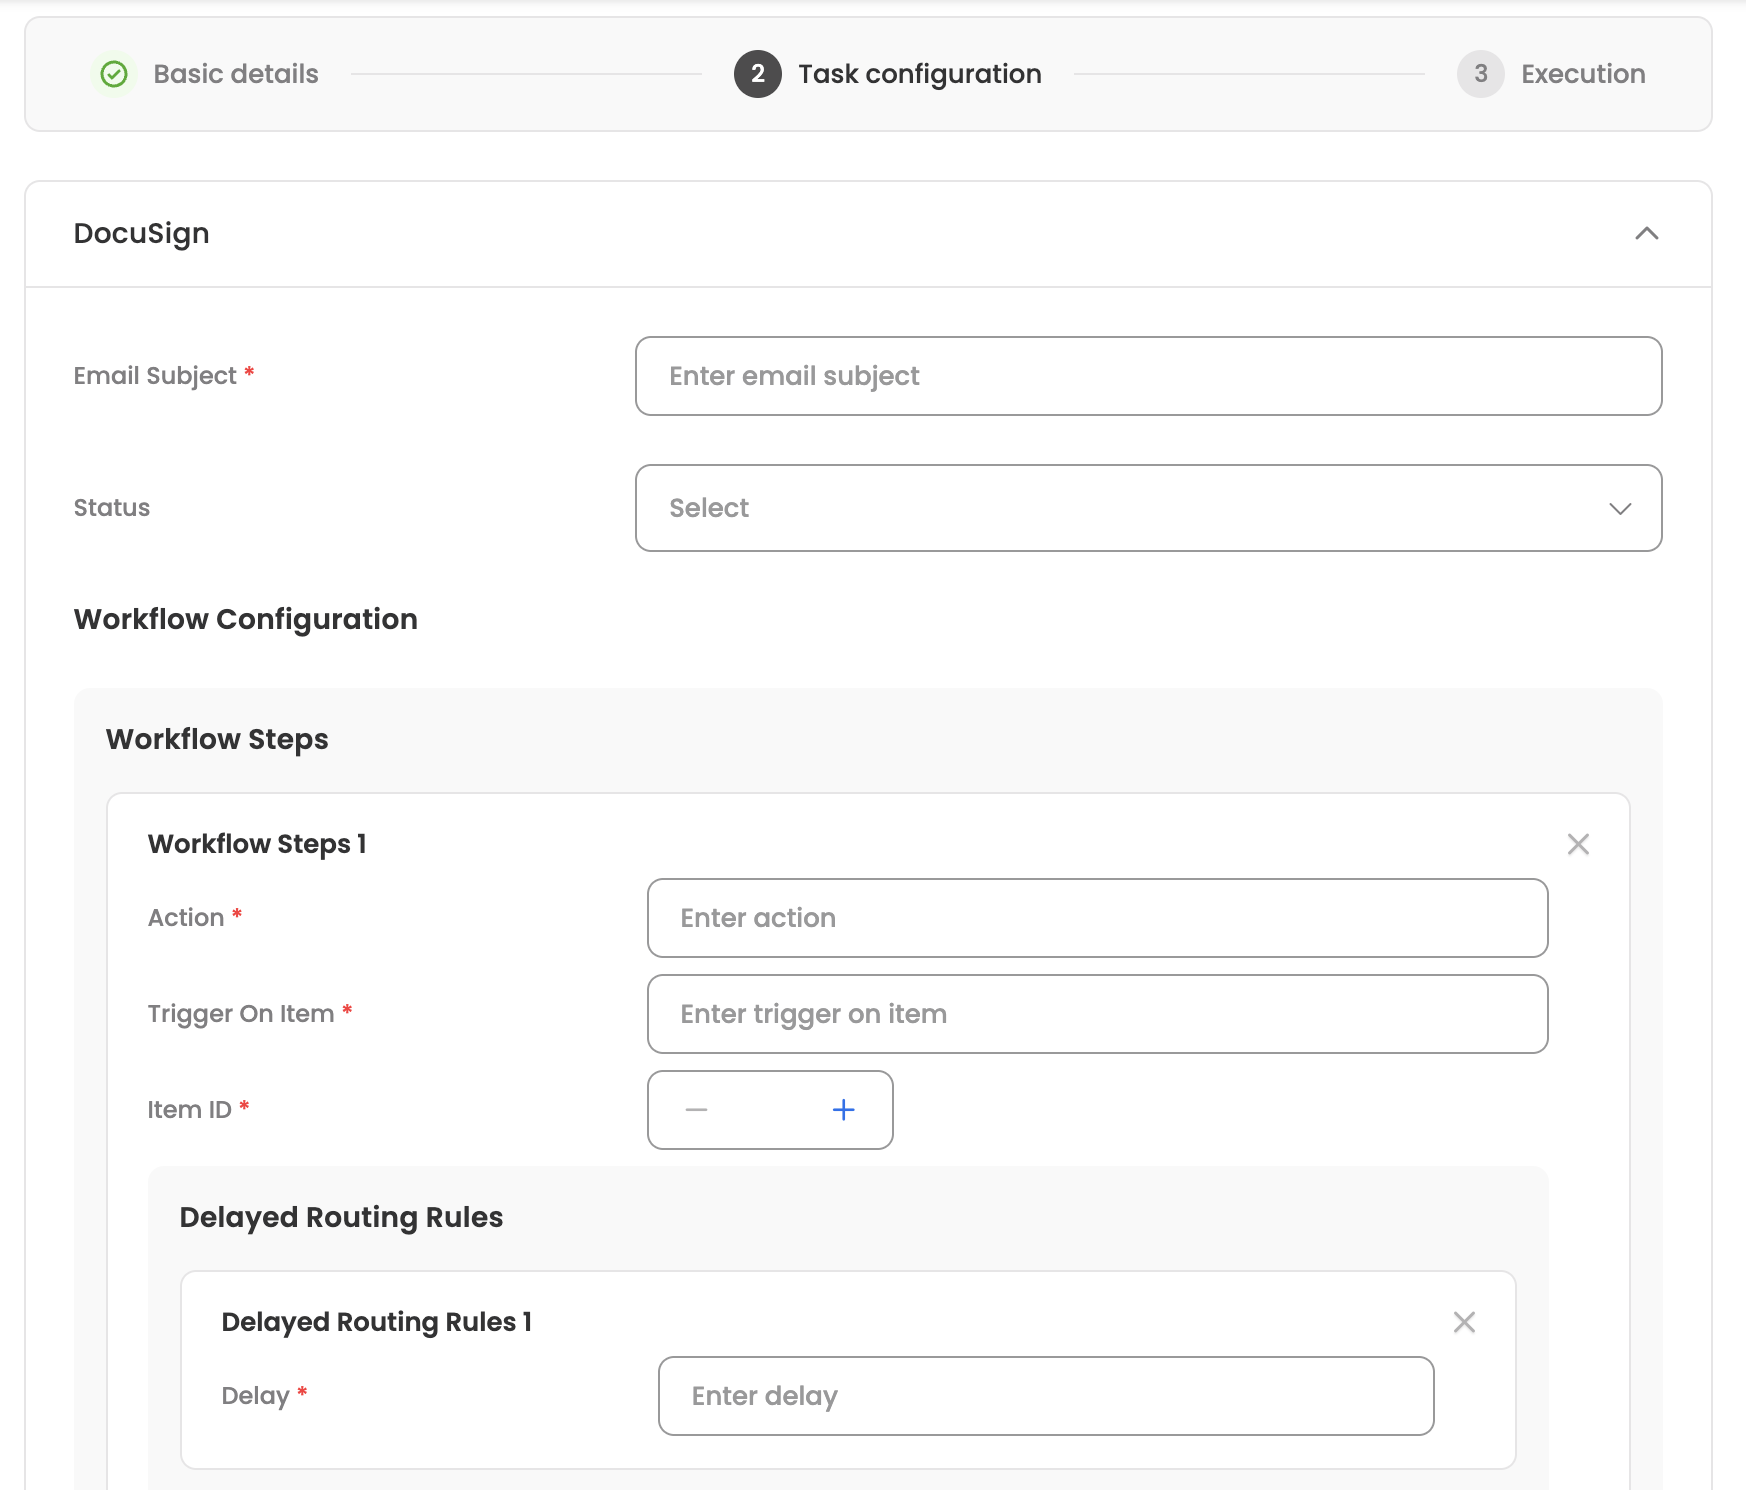
- Email Subject: Subject line for the DocuSign email (required).
- Status: Select envelope status (Sent, Signed, Completed).
- Workflow Configuration:
- Workflow Steps: Define workflow steps with action, trigger on item, item ID, and delayed routing rules.
- Recipients Configuration:
- Signers: Add signers with email, name, recipient ID, routing order, email key, name key, and tabs configuration (sign here tabs, initial here tabs with anchor settings).
- Import Mapping: Map signed documents back to forms with identifier, document keys, document ID, and approval condition.
- Form Documents: Configure source documents with identifier, documents to extract, and document ID mapping.
Step 3: Execution
Configure when and under what conditions the task should execute:
Execution condition
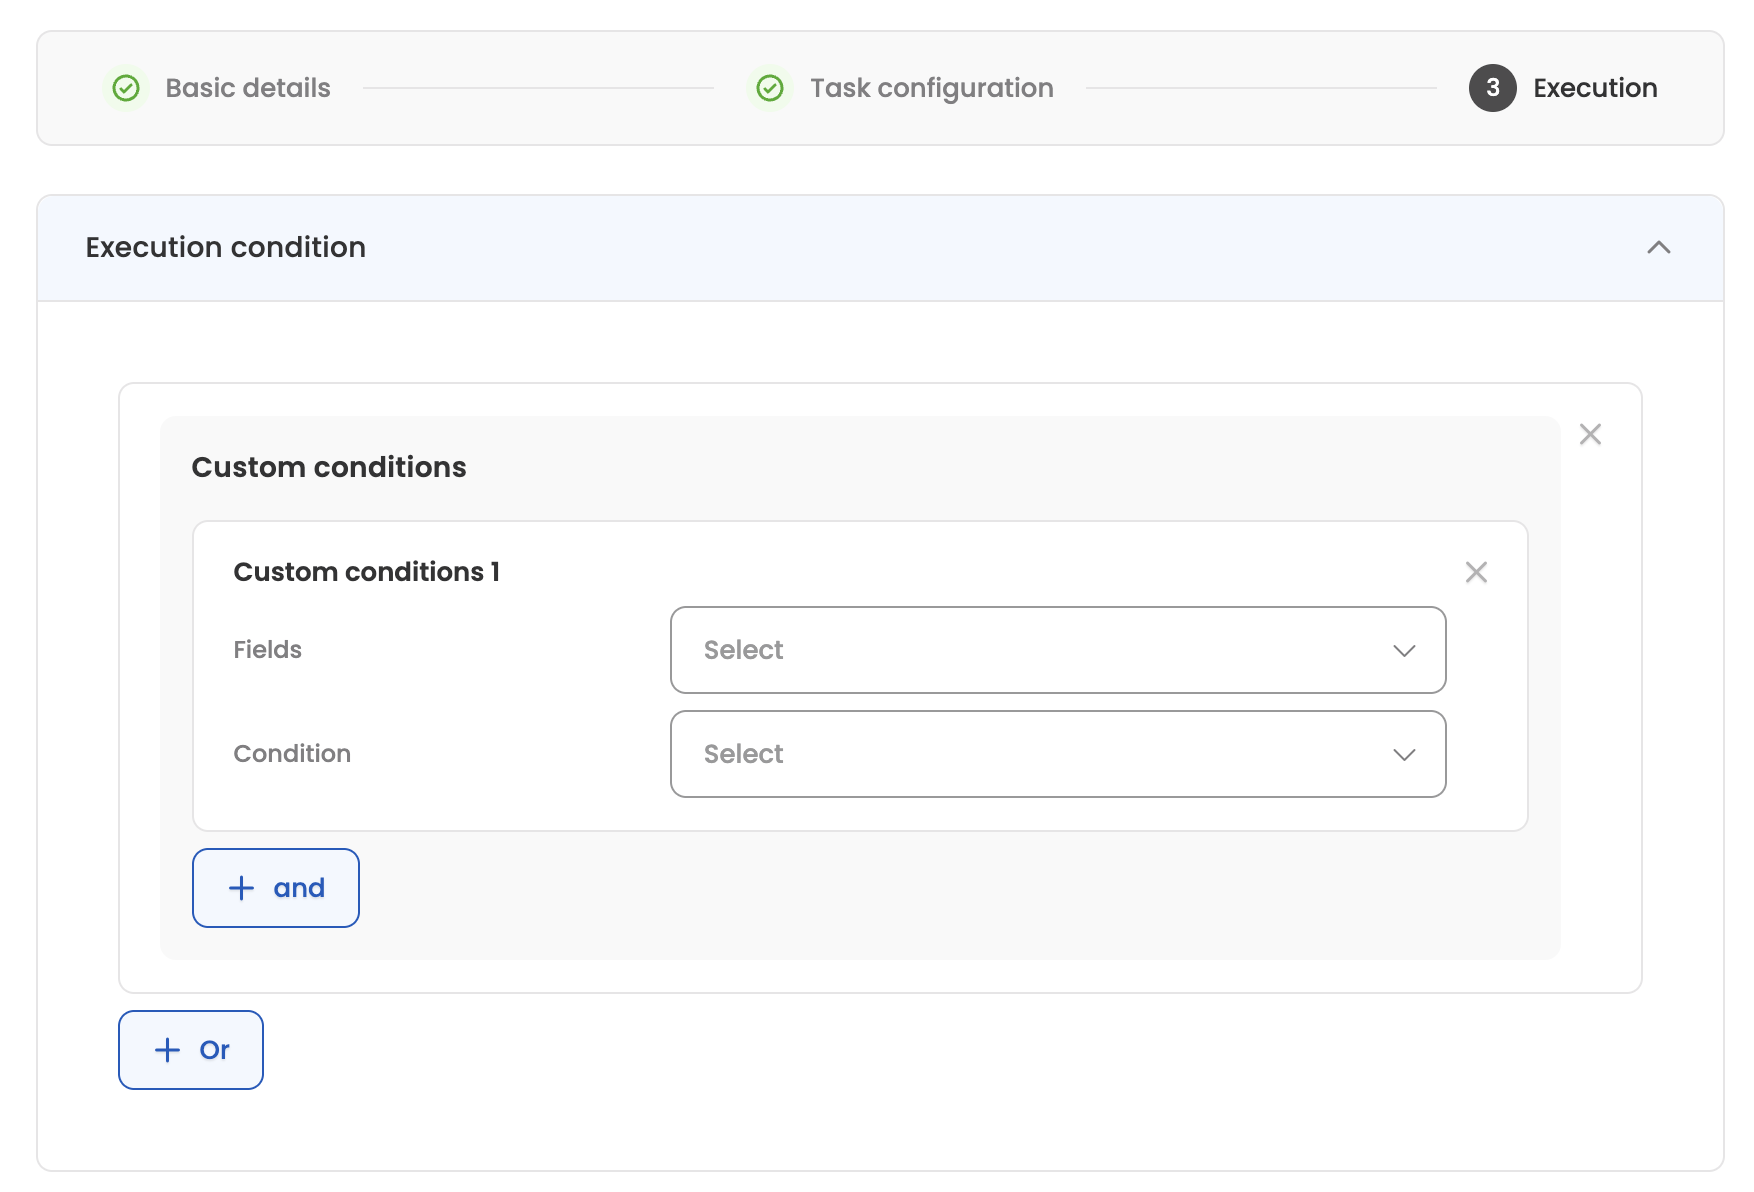
Define conditions that must be met before the task executes. You can create complex conditions using AND/OR logic:
- Fields: Select the candidate field to evaluate.
- Condition: Choose the comparison operator (equals, equalsIgnoreCase, contains, less than, less than or equal, greater than, greater than or equal, in, not in).
- Value: Enter the value to compare against. For 'in' and 'not in' operators, you can add multiple values.
Use "And" to add conditions that must all be true within a group, or "Or" to add alternative condition groups.
Execution on section update
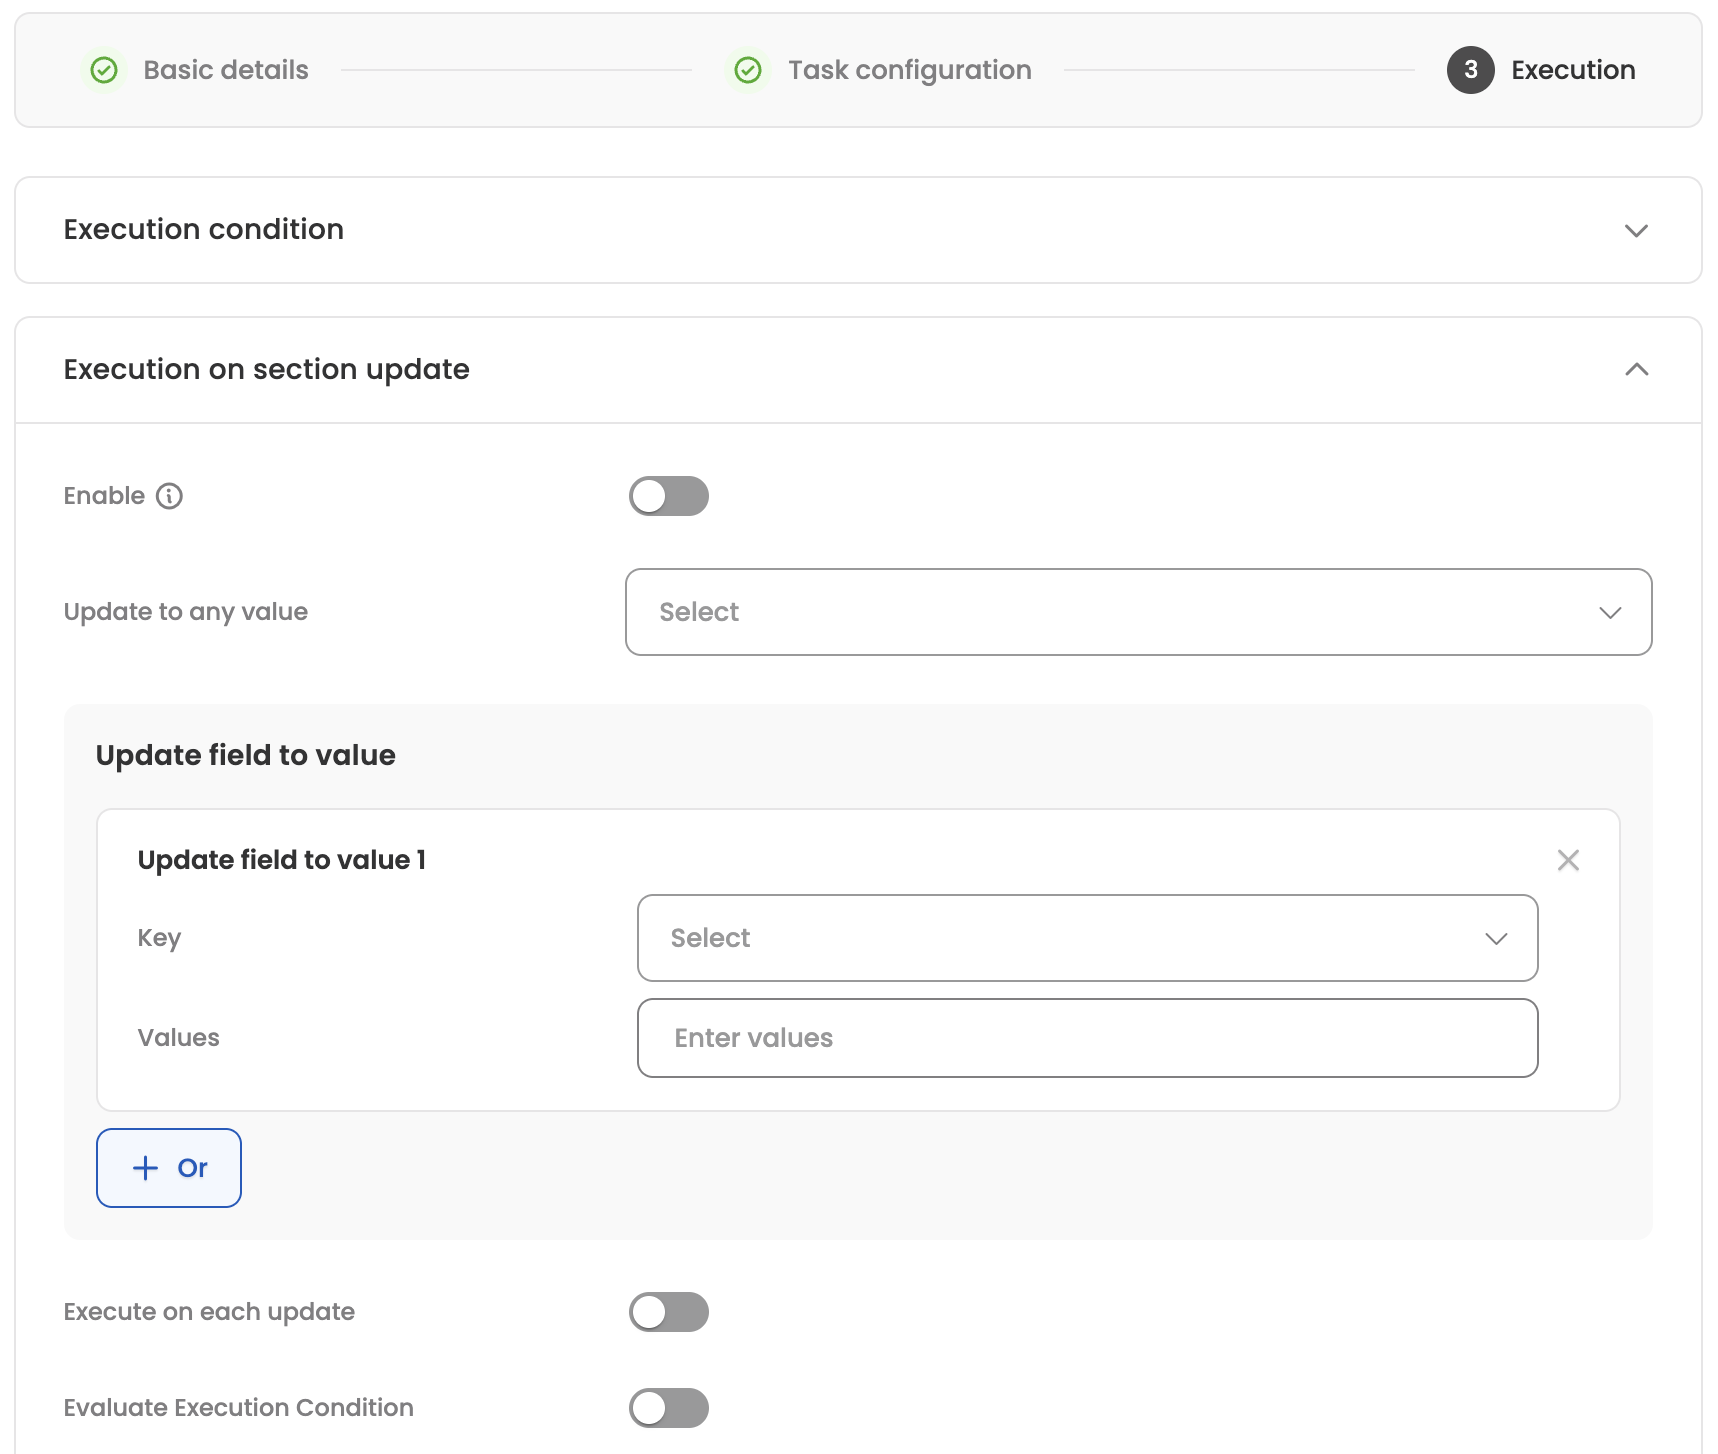
Configure the task to re-execute when specific candidate data changes:
- Enable: Toggle to enable re-execution on updates.
- Update to any value: Select fields that should trigger re-execution when updated to any value.
- Update field to value: Define specific field-value combinations that trigger re-execution (Key and possible Values).
- Execute on each update: Enable to re-execute the task every time the specified fields are updated.
- Evaluate Execution Condition: Enable to re-evaluate the execution condition before re-executing.
Once you're done, save the task and proceed to the settings section.
Managing existing tasks
The configured tasks will be visible in the task settings with the following columns, here are the actions which can be performed for each configured task by clicking the three-dot menu:
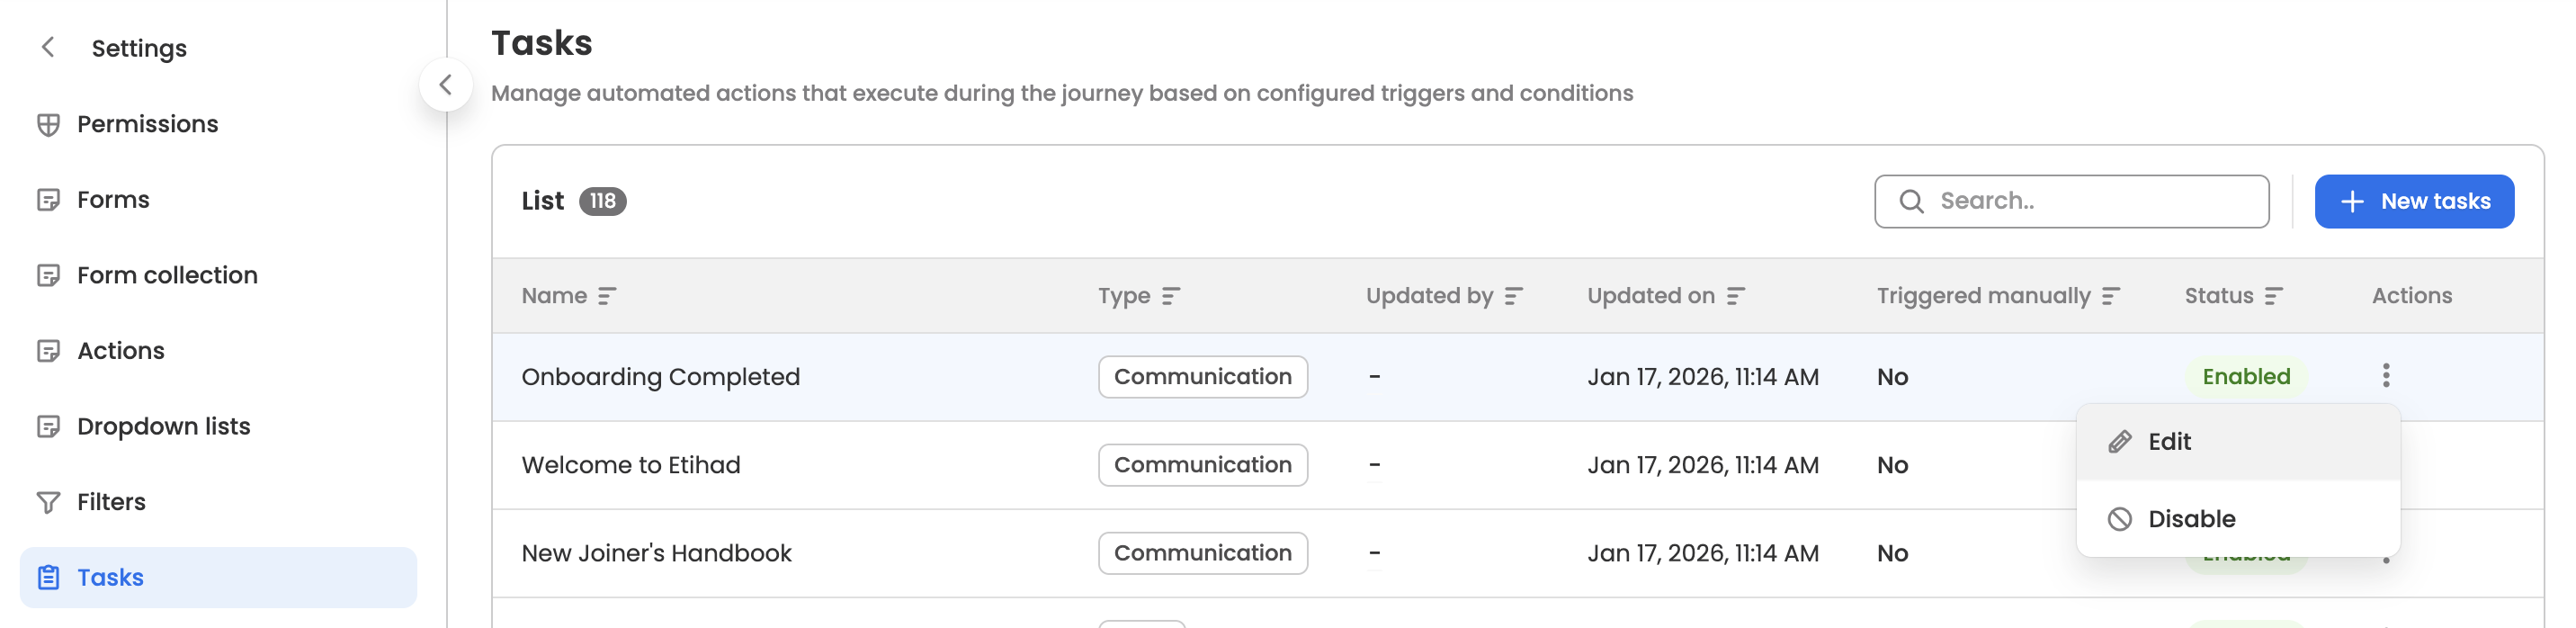
- Edit: Modify the configured task.
- Enable/Disable: Disable the active task to hide it. Similarly, enable the disabled task to make it visible again. This option is only available for tasks that are not in Draft status.