
Setup Email Forwarding
Below are the steps to setup email forwarding for some of the popular email service providers.
Zoho Mail
- Login to your Zoho Mail source account and navigate to Settings
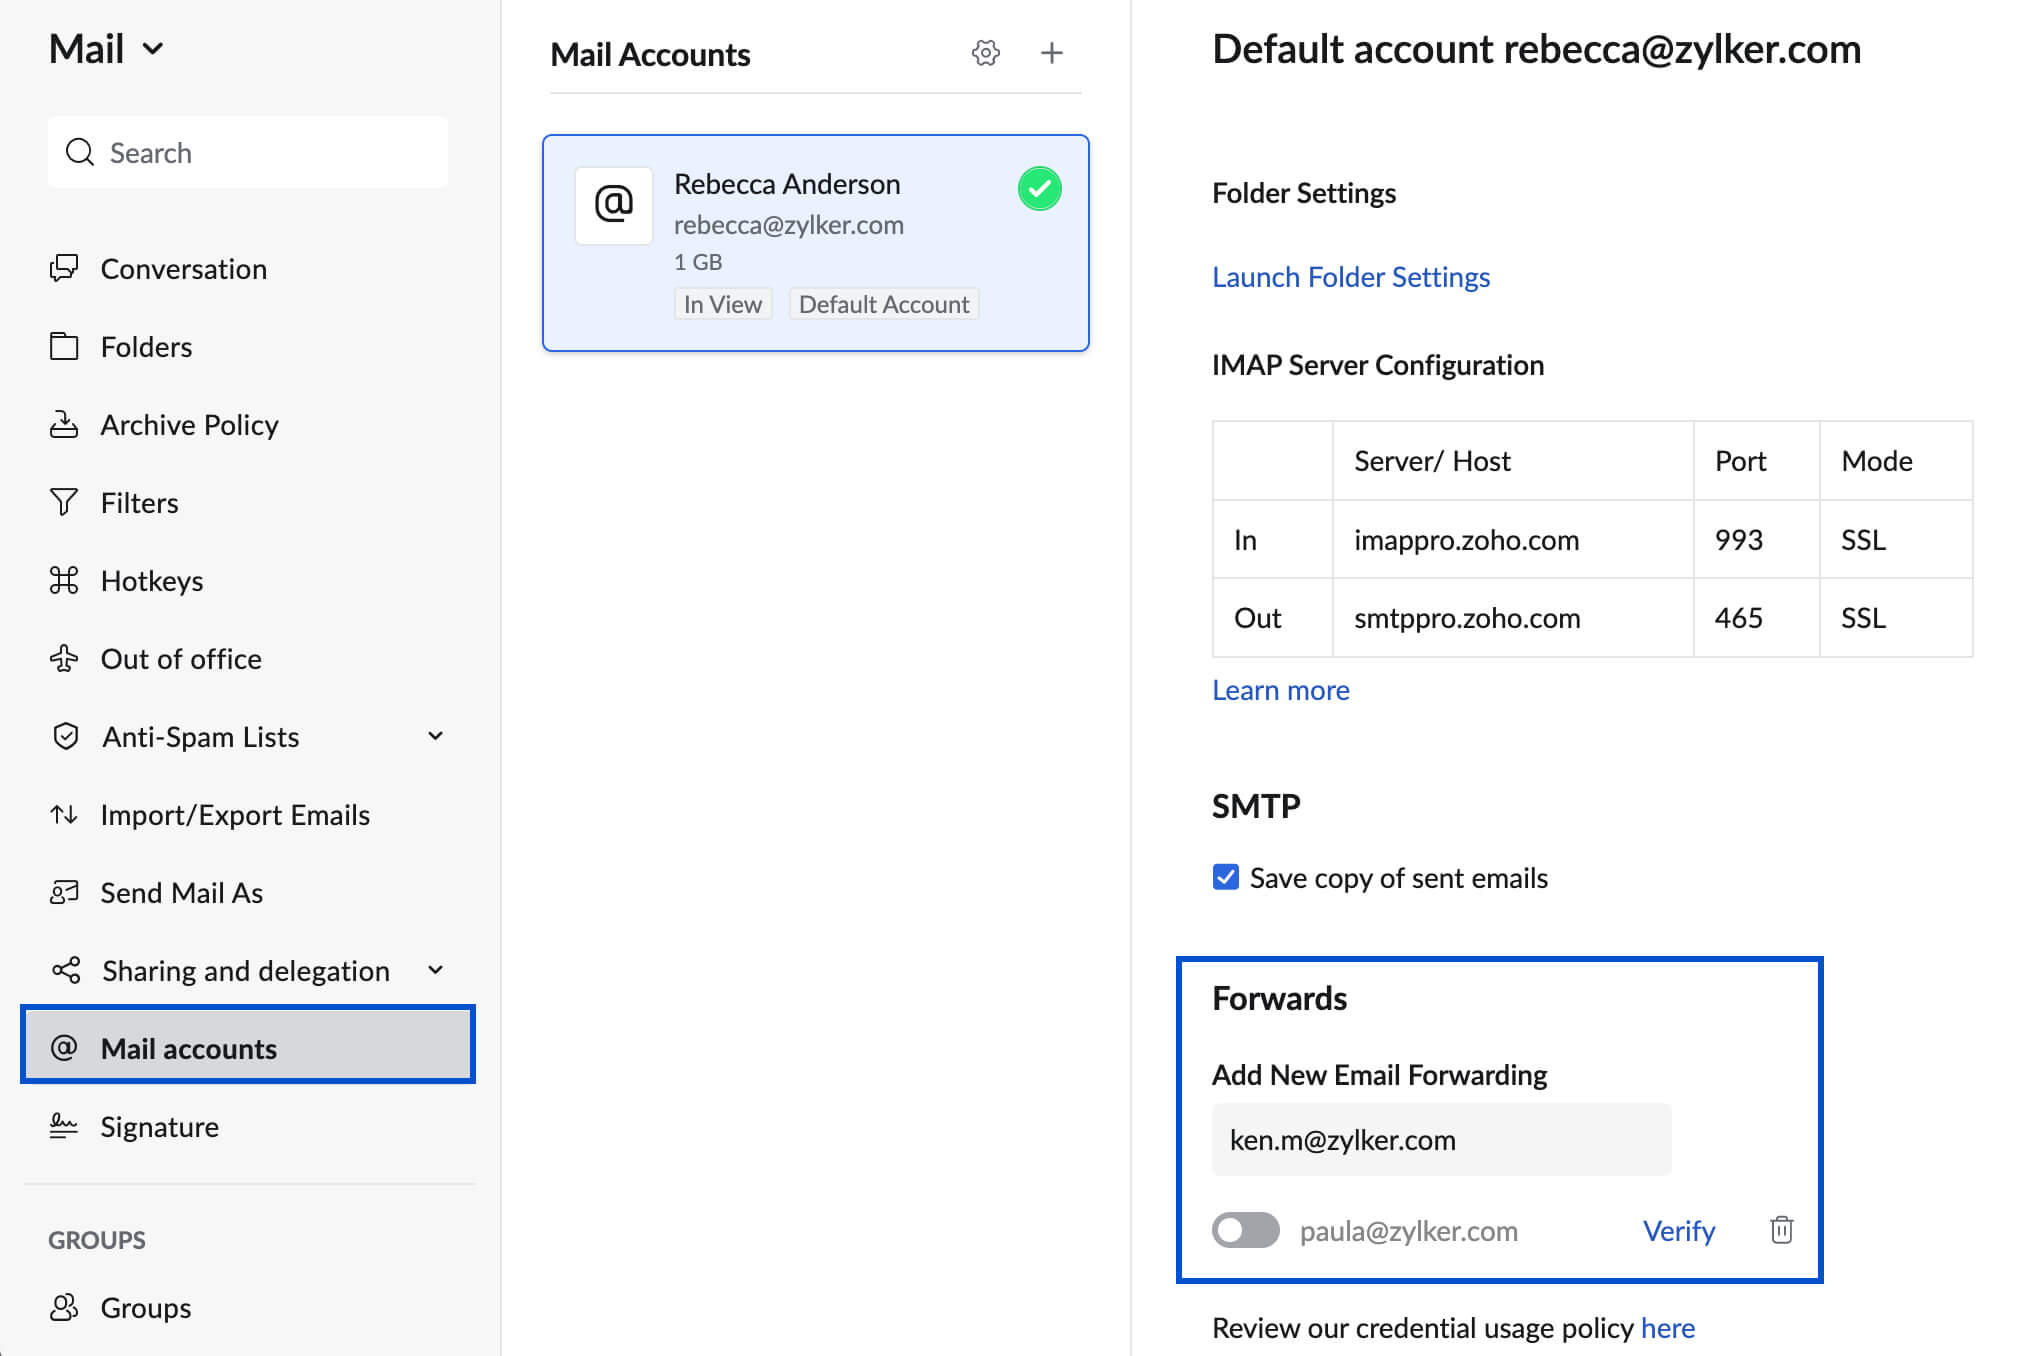
- Go to Mail Accounts. You will find a list of accounts you have configured under your Zoho Mail account.
- Select the address you would like to configure email forwarding.
- Under the Forwards section, specify the email address to which you want to forward a copy of your email.
- A confirmation email will be sent to the added email address. Email forwarding will be enabled only after you verify the account.
- Check the Delete original email copy after forwarding option to delete the original email from Zoho Mail. Leave the option unchecked if you want to retain a copy of the emails in your Zoho Mailbox.
For further details please check here
Outlook
- At the top of the page, select Settings.
- Select Mail > Forwarding.
- Toggle the Enable forwarding switch, enter the forwarding email address, and click Save.
For further details please check here
Gmail
- On your computer, open Gmail using the account you want to forward messages from. You can only forward messages for a single Gmail address, and not an email group or alias.
- In the top right, click Settings -> See all settings.
- Click the Forwarding and POP/IMAP tab.
- In the "Forwarding" section, click Add a forwarding address.
- Enter the email address you want to forward messages to.
- Click Next > Proceed > OK.
- A verification message will be sent to that address. Click the verification link in that message.
- Go back to the settings page for the Gmail account you want to forward messages from, and refresh your browser.
- Click the Forwarding and POP/IMAP tab.
- In the "Forwarding" section, select Forward a copy of incoming mail to.
- Choose what you want to happen with the Gmail copy of your emails. We recommend Keep Gmail's copy in the Inbox.
- At the bottom of the page, click Save Changes.
For further details please check here
Yahoo Mail
- Click Settings -> More Settings
- Click Mailboxes.
- Click the primary mailbox account.
- Under Forwarding, enter the Forwarding Address.
- Click Verify.
- Log in to your forwarding address and follow the instructions sent there.
For further details please check here
ProtonMail
Sign in to mail.proton.me(new window) and go to Settings (the small cog icon at the top right) → All settings → Proton Mail → Auto-reply and forward → Forward emails → Add forwarding rule.
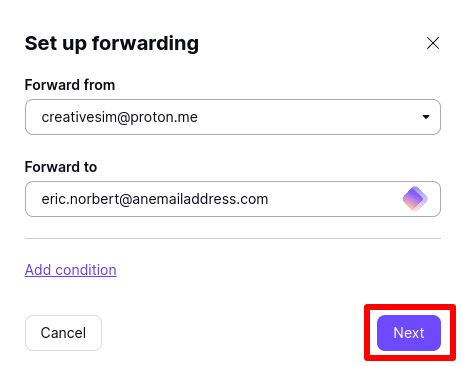
To set up simple email forwarding of all emails from one email address to another, select one of your Proton Mail addresses from the dropdown Forward from menu, and enter a Forward to email address. Click Next when you’re done.
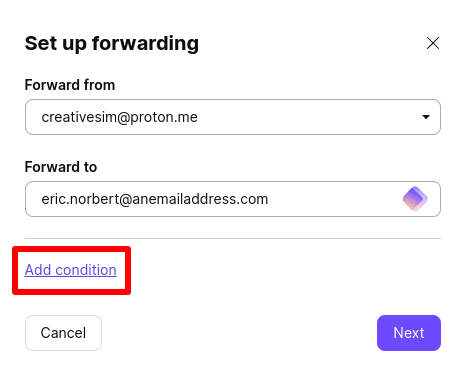
For more granular control over which emails are forwarded, you can specify conditions that must be met before the email is forwarded. To do this, select a Forward from and enter a Forward to email address (as above), then click Add condition.
For further details please check here
Neo Mail
- Click on the Settings/Gear icon
- Select Preferences
- Open the Forwarding tab
- Select the Add option for Forward OUT
- Enter the email address and the respective confirmation pin
- Once entered, simply click on the Start forwarding button
For further details please check here