
Google Chat Setup
Watch the tutorial
Phase 1: Infrastructure & Auth
Goal: Create the secure "home" for the bot.
1. Create Google Cloud Project
-
Go to https://console.cloud.google.com/cloud-resource-manager

-
Click New Project
-
Name:
Leena-AI-Bot(or internal name) -
Organization: You must select your corporate domain (e.g.,
yourcompany.com) in the "Organization" or "Location" field. Do not select "No Organization".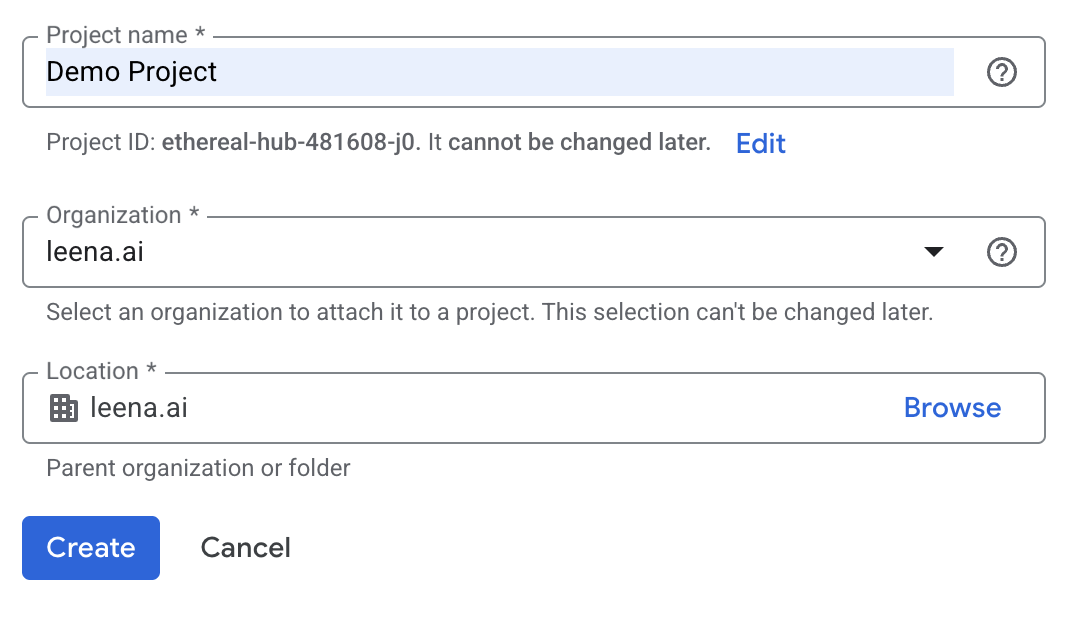
2. Enable APIs
- Select and Open the project you just created on google cloud console
- Navigate to APIs & Services > Library
- Search and Enable Google Chat API
- Search and Enable Google Workspace Marketplace SDK
3. Create Credentials
-
Go to IAM & Admin > Service Accounts
-
Click Create Service Account (Name:
chat-bot-sa)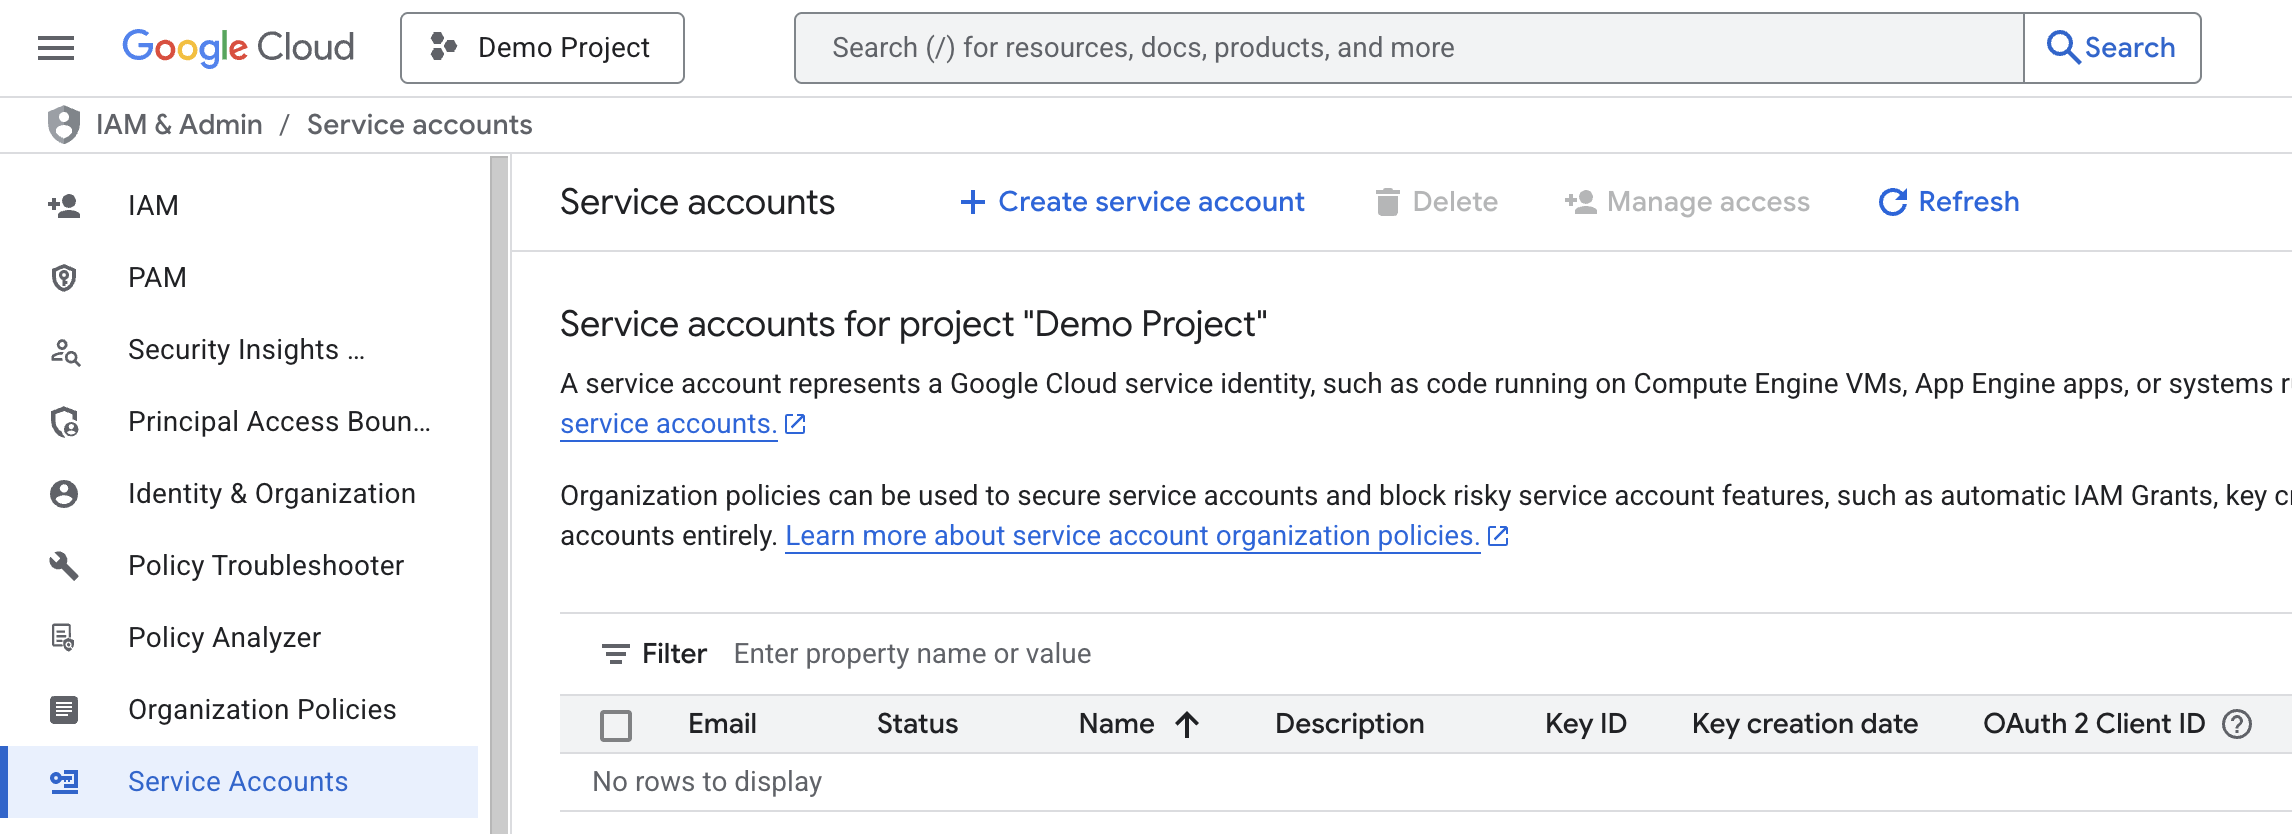
-
Enter a name for the service account

-
Click Done (Skip roles)
-
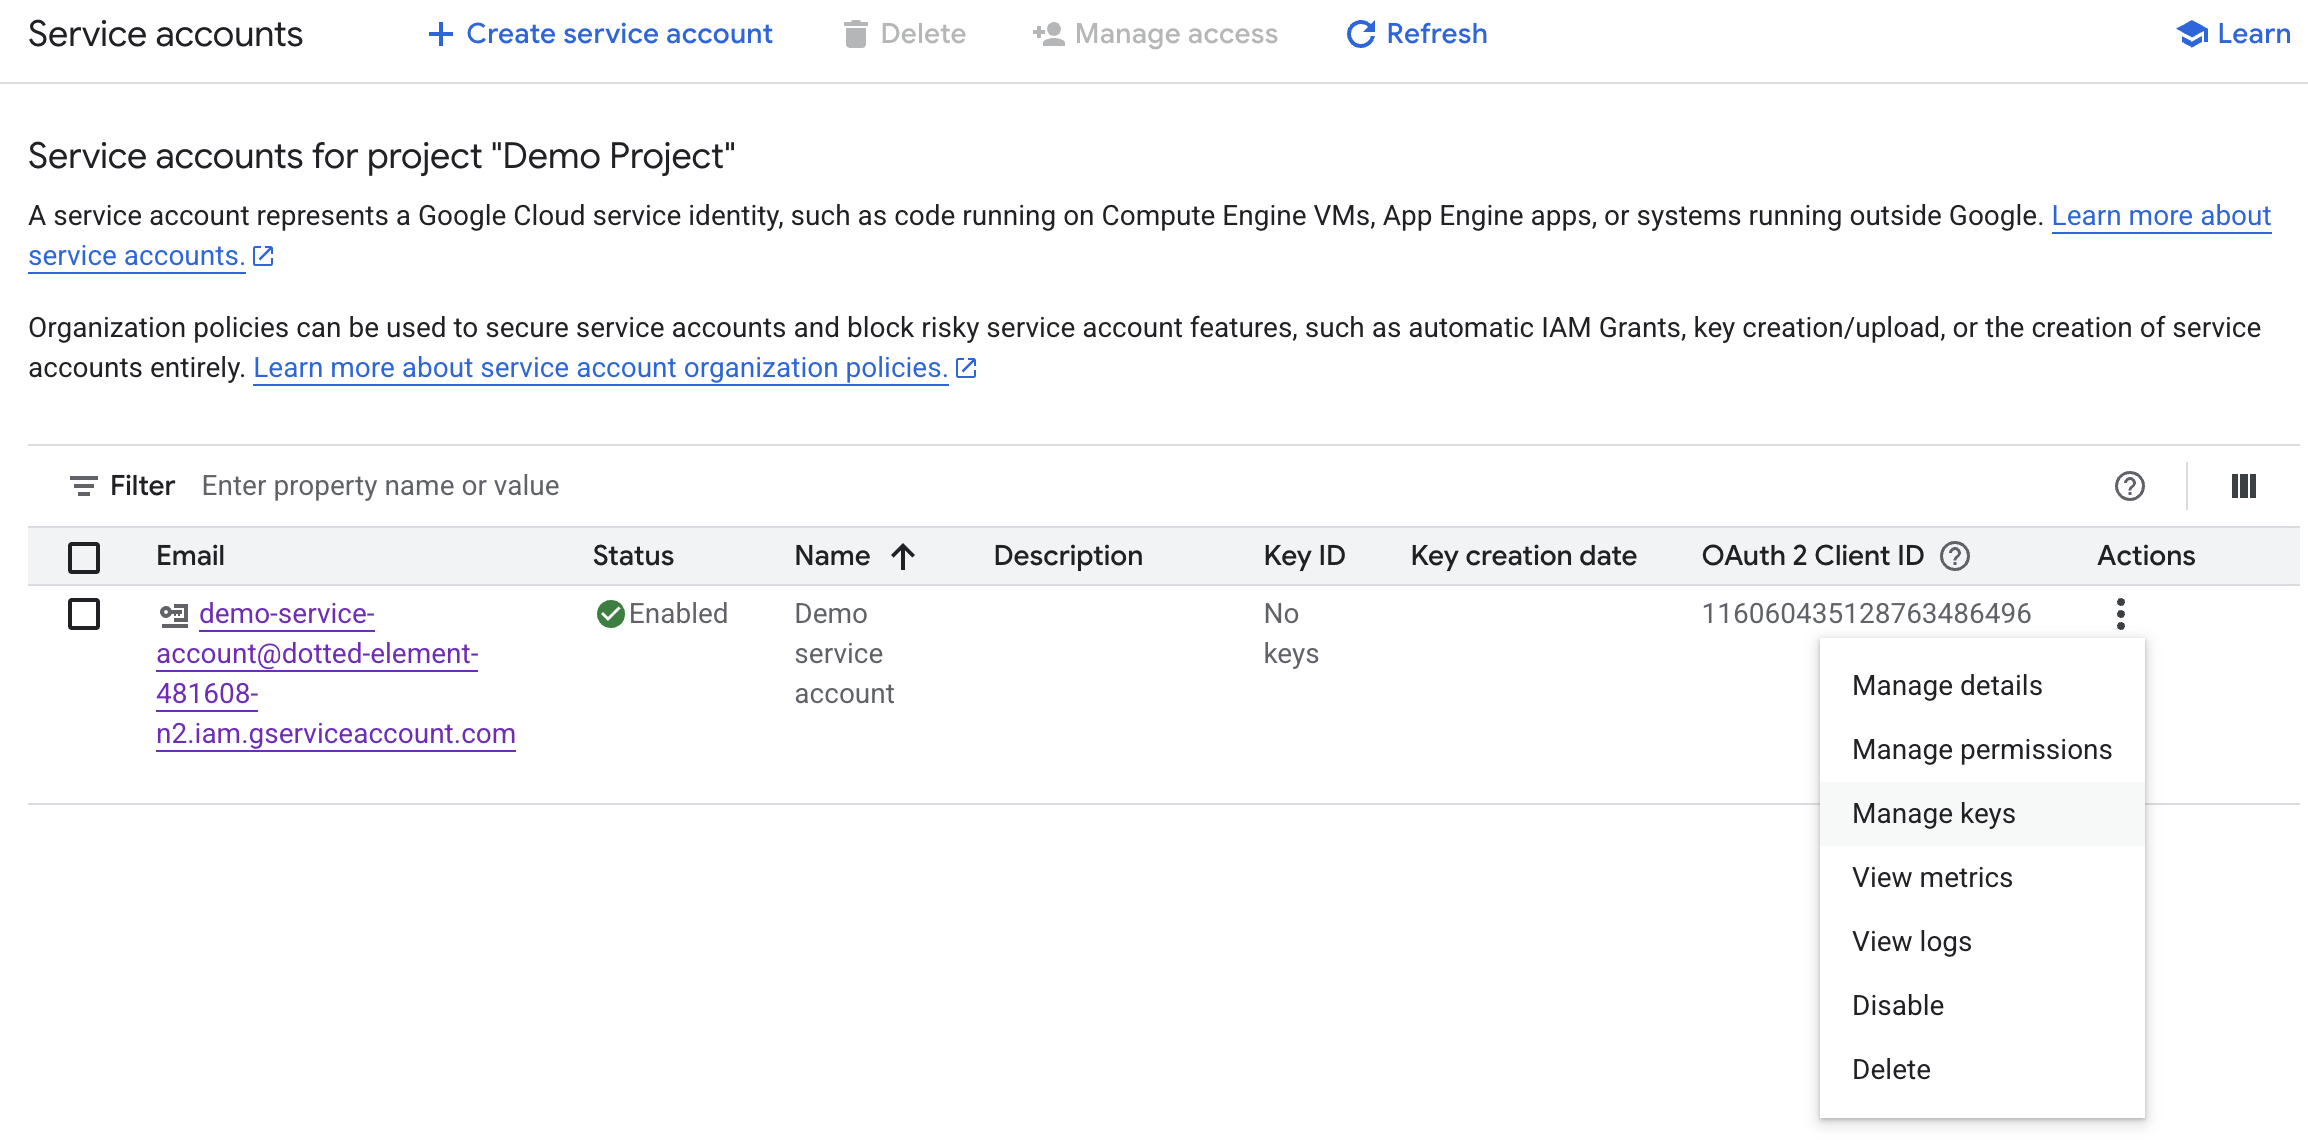
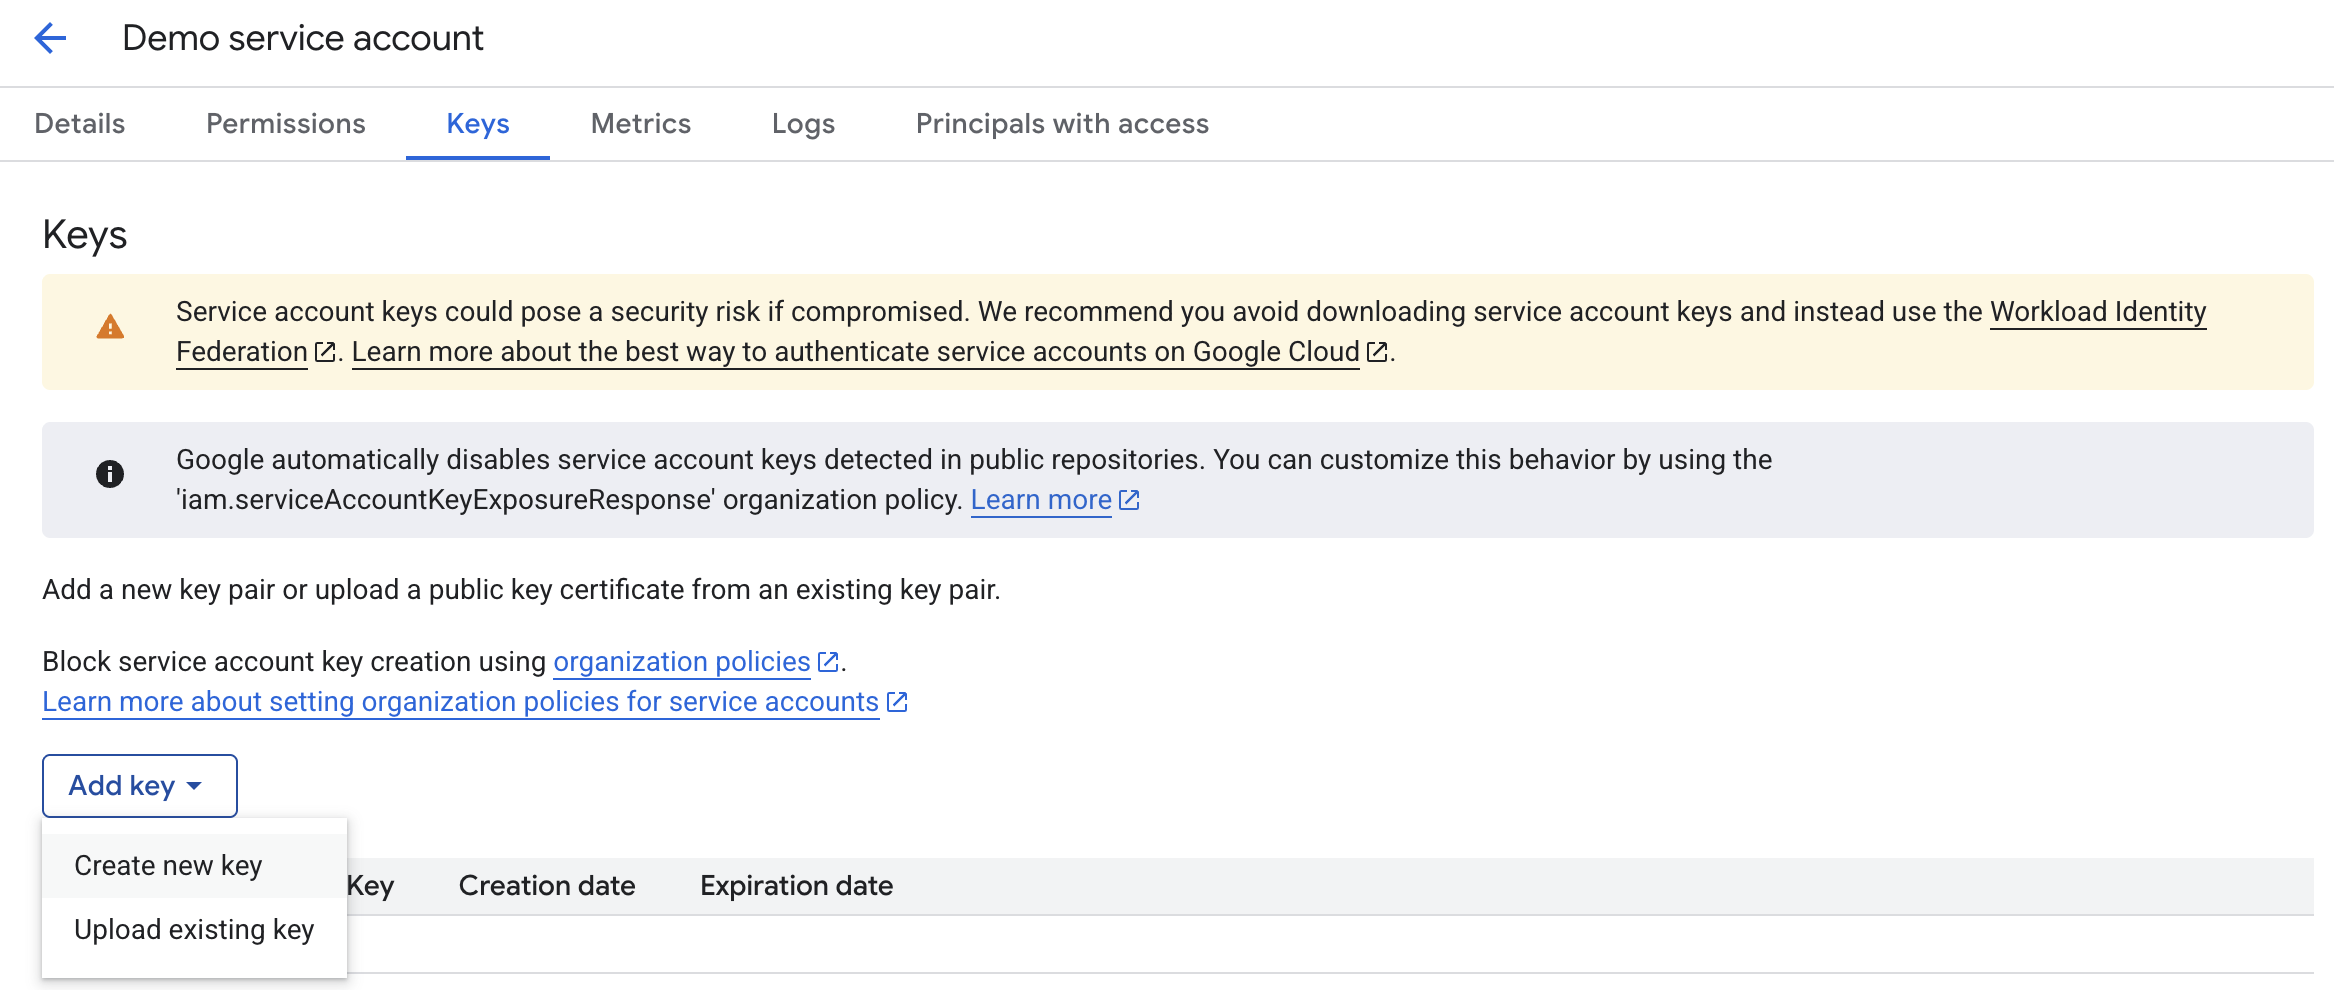
Click the new email Actions> Manage Keys tab > Add Key > Create new key > Select JSON > Create > The JSON key should be downloaded on your system
-
Action: Securely send this
.jsonfile to Leena AI
Phase 2: Leena AI Dashboard Configuration
Goal: Link the brain to the body.
4. Configure Webhook
- Generate the Region-based Webhook Endpoint URL by freezing unique app ID (XXX) on dashboard under Settings -> channels -> Google Chat page
- Load the Client's JSON key into the backend using the dashboard
- Send this URL back to the Client
Phase 3: App Configuration
Goal: Connect the bot and publish it.
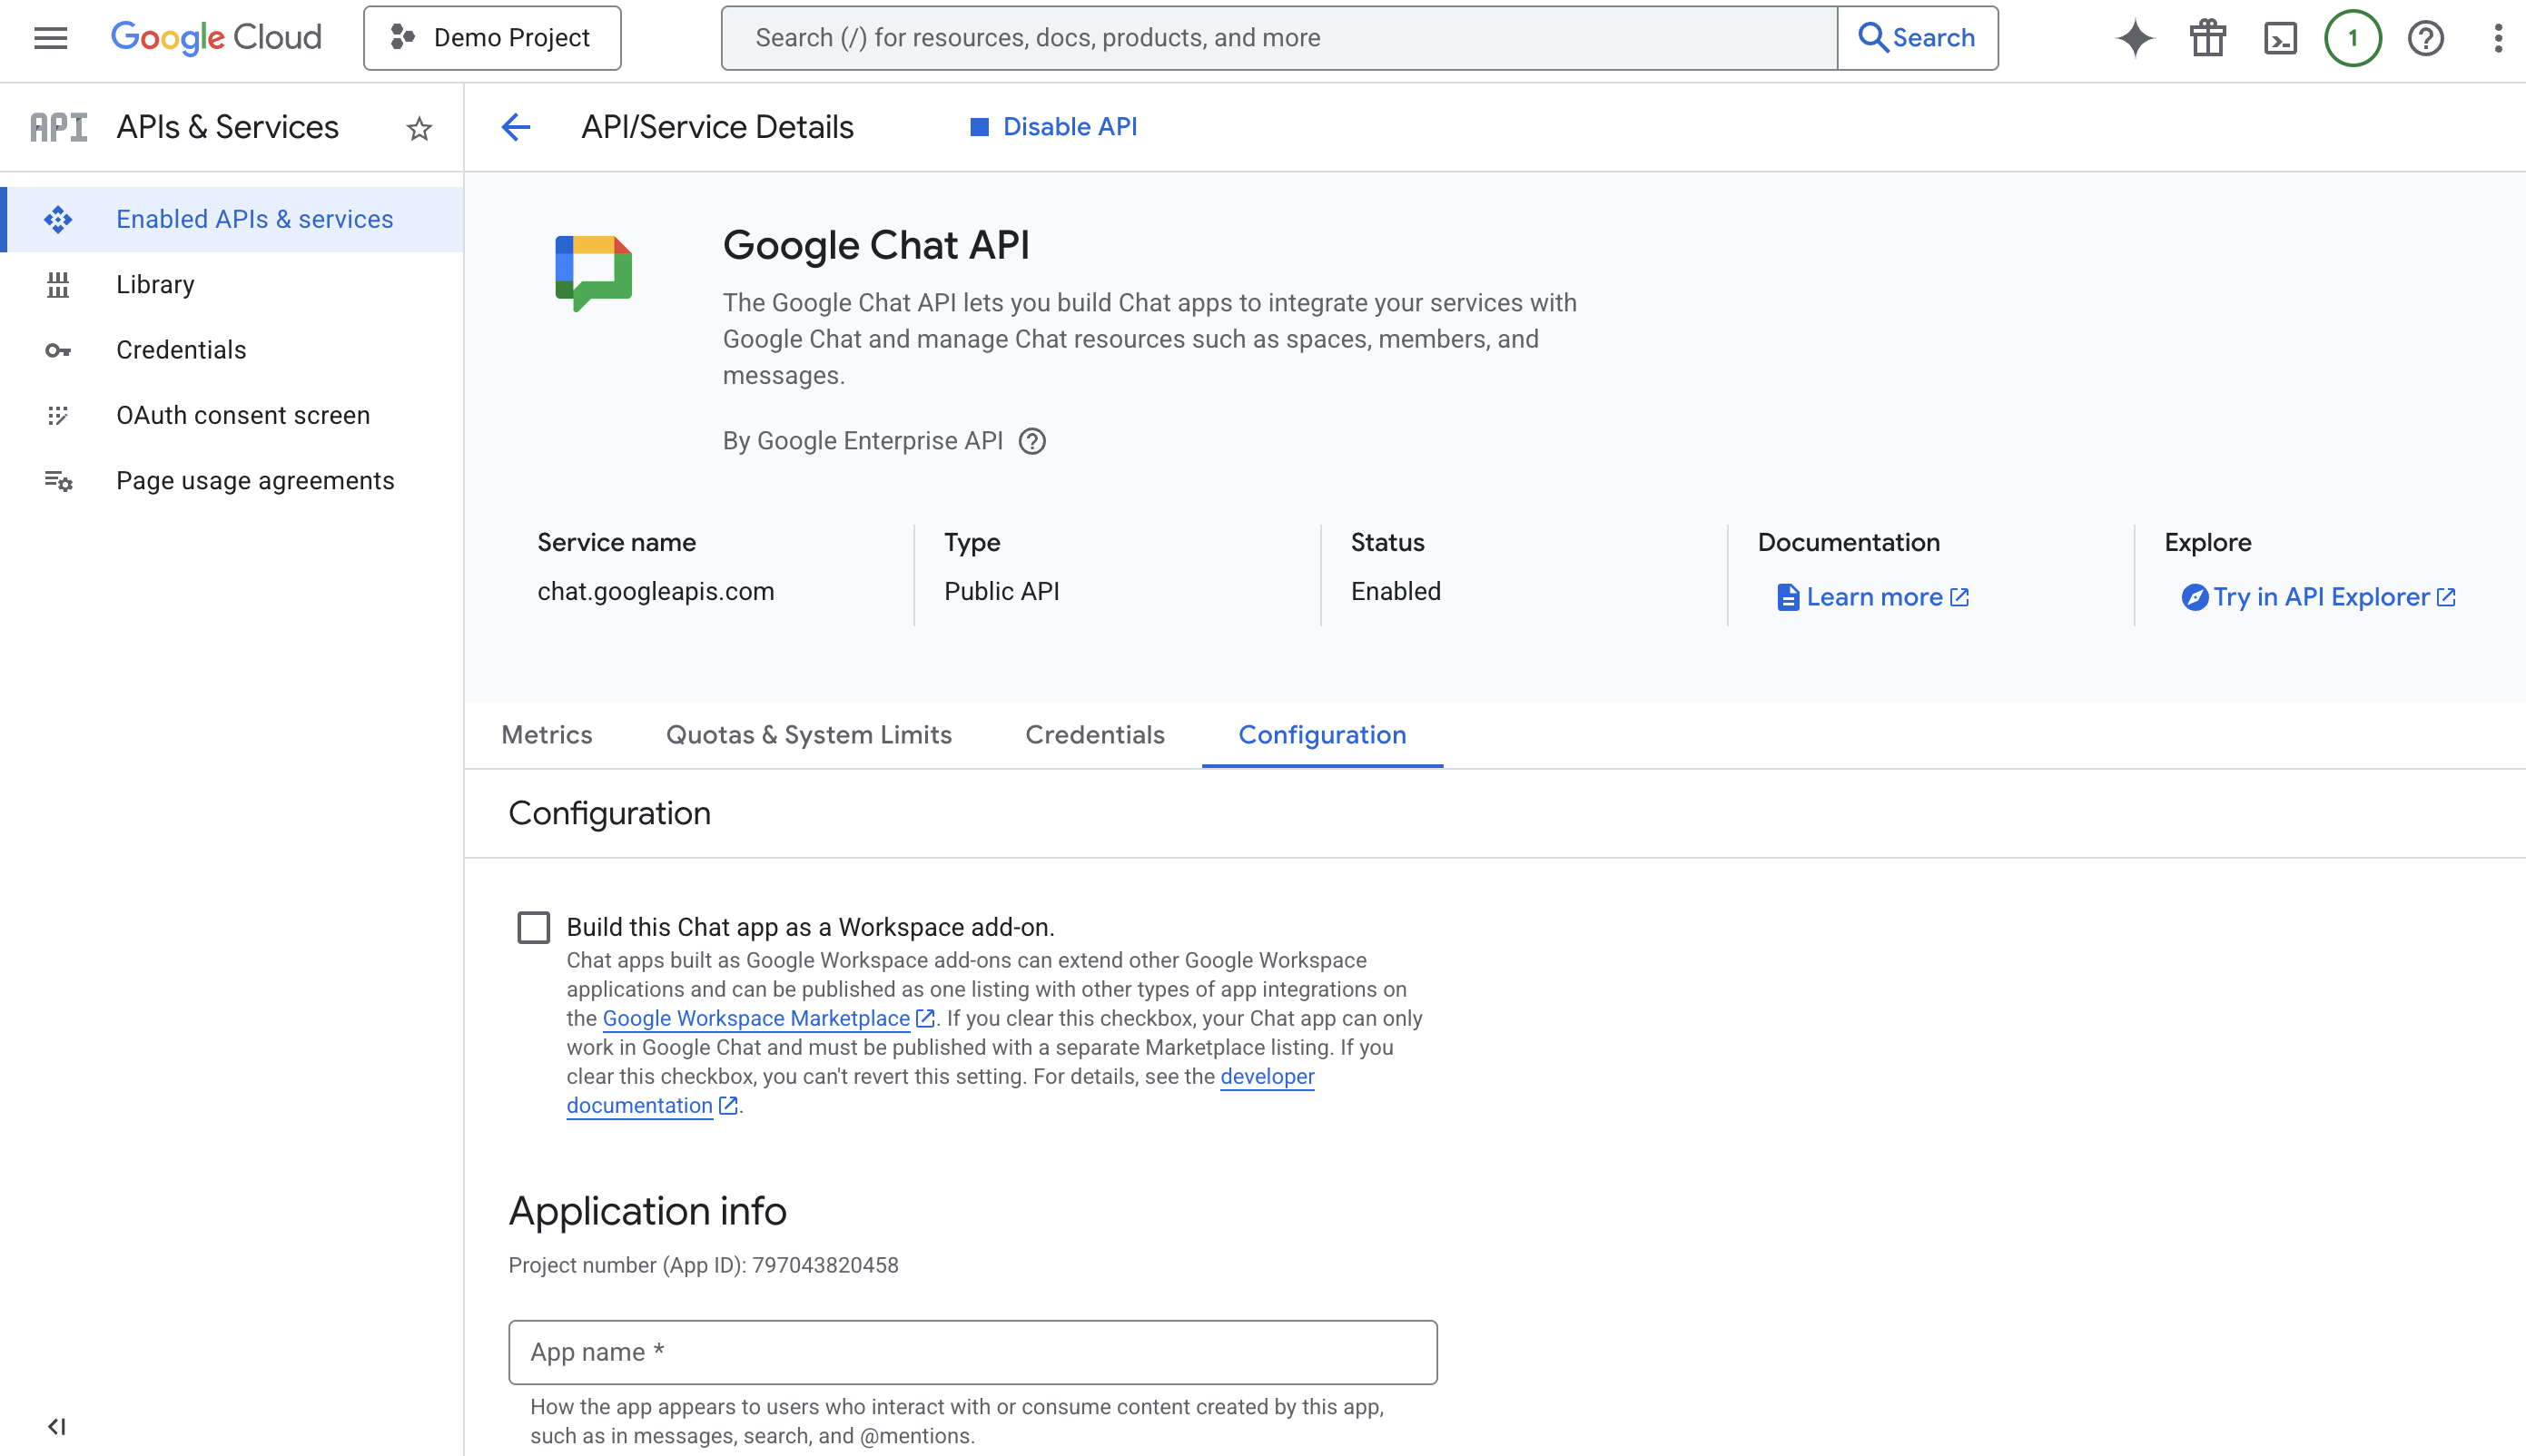
5. Configure Google Chat API
-
Go to APIs & Services > Enabled APIs & Services > Google Chat API > Configuration Tab
-
Disable the checkbox for "Build this Chat app as a Workspace add-on"
-
Provide required Application info
-
Interactive Features: Toggle ON
- Under Functionality, uncheck "Join spaces and group conversations"
-
Connection Settings: Select HTTP Endpoint URL and paste the URL from Step 4.
- Under Authentication Audience, Select "HTTP endpoint URL"
-
Visibility: Uncheck "Make this Chat app available to specific people and groups in ..."
-
Click Save
6. OAuth Consent Screen
- Go to APIs & Services > OAuth Consent Screen
- Click on Get started
- Provide required details
- Use support email as: [email protected]
- Under Audience, select Internal
- Use your admin email for contact information
- Agree to data policy and and create
7. Publish via Marketplace SDK
Go to APIs & Services > Google Workspace Marketplace SDK.
- App Configuration Tab:
- Visibility: Private (My Organization)
- Installation: Check "Individual + Admin Install".
- App Integration: Select "Chat app"
- Under Developer Information, use below details:
- Developer Name: Leena AI
- Developer Website URL: https://leena.ai/
- Developer Email: [email protected]
- Click Save.
- Store Listing Tab:
- Provide required app details
- Under category, select "HR & Legal"
- Upload your required custom Graphic assets: App Icon (32x32, 128x128), Card Banner (220x140), Screenshot (1280x800)
- Under Support links, use below information:
- Terms of service: https://leena.ai/terms-and-conditions
- Privacy policy: https://leena.ai/privacy-policy
- Support URL: https://leena-ai.atlassian.net/servicedesk/customer/portals
- Click Publish
Phase 4: Deployment (Optional)
Goal: Force-install the bot for all individuals
8. Admin Install (The "Push")
- Go to admin.google.com.
- Navigate to Apps > Google Workspace Marketplace apps > Apps list.
- Click Install app > Search for your bot > Click the card.
- Select Admin Install (Not Individual).
- Scope: Select "Everyone" or specific departments (e.g., "HR Team").
- Result: Bot appears in every user's Chat list automatically.