
Reports
Introduction
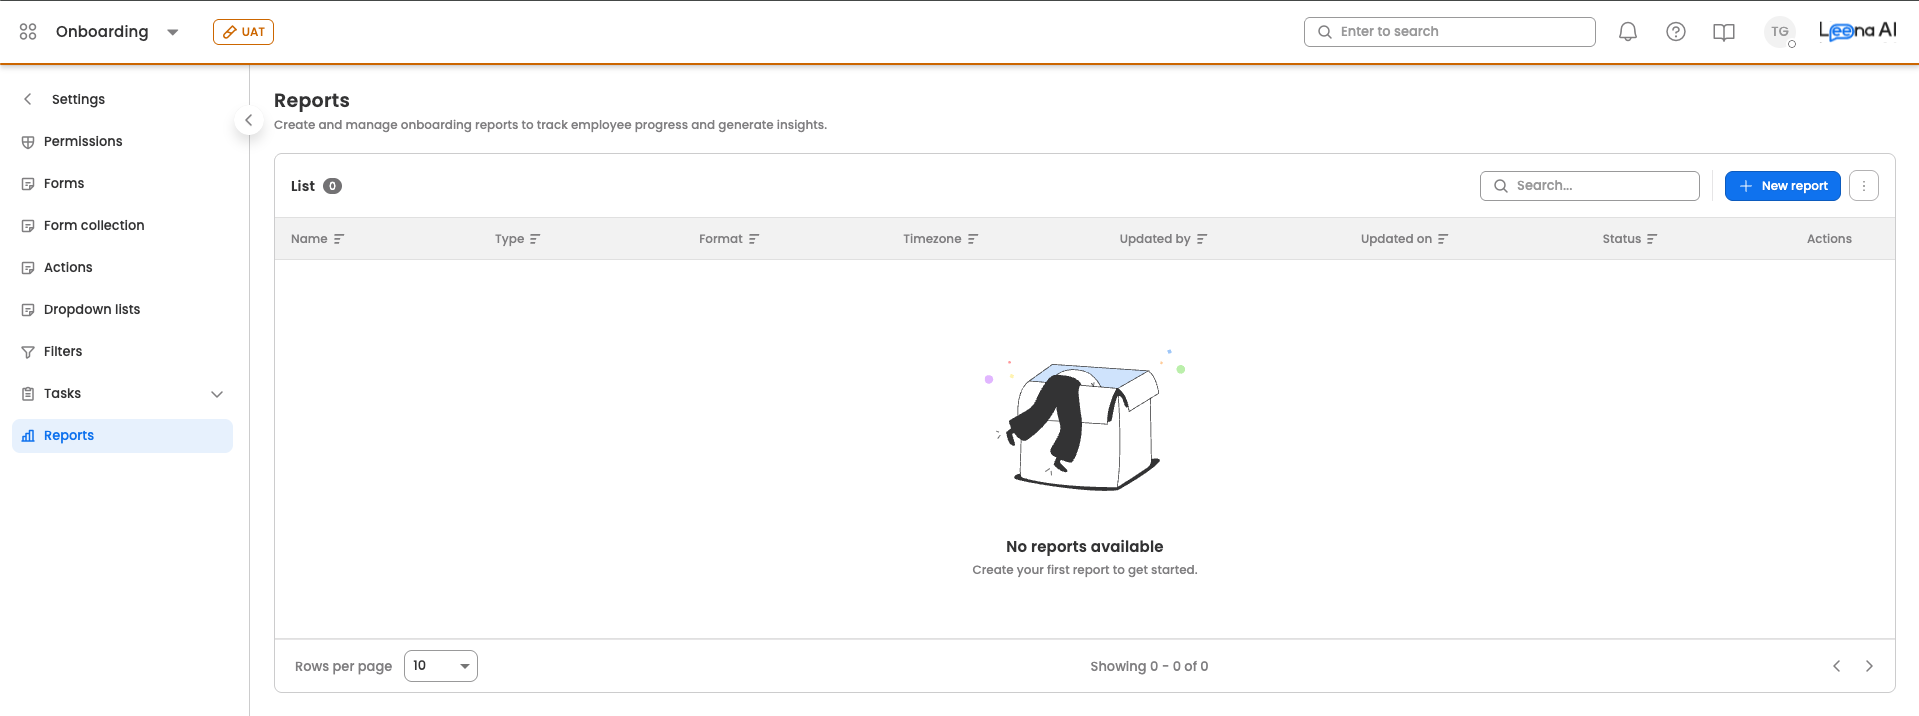
Reports let you generate exports of your onboarding (or offboarding) candidate data as Excel or CSV files. A report can be delivered automatically on a schedule via email, and/or made available as a downloadable option on the dashboard. Depending on the report type, you can build it from selected columns, pull in data from forms, tasks, and actions, scope it to specific candidates, and add dashboard filters.
Add a new report
Here's how to add a new report:
-
Go to Reports within the onboarding settings.
-
Click the create report button located at the top-right corner of the table.
-
You'll be taken to a three-step report creation wizard:
- Basic details: Configure the report name, format, dashboard visibility, and scheduling.
- Report details: Choose the report type and define its contents.
- Filters: Add the filters shown alongside the report.
Use Save and continue to move to the next step. On the final step, the button reads Create (or Save changes when editing an existing report).
Step 1: Basic details
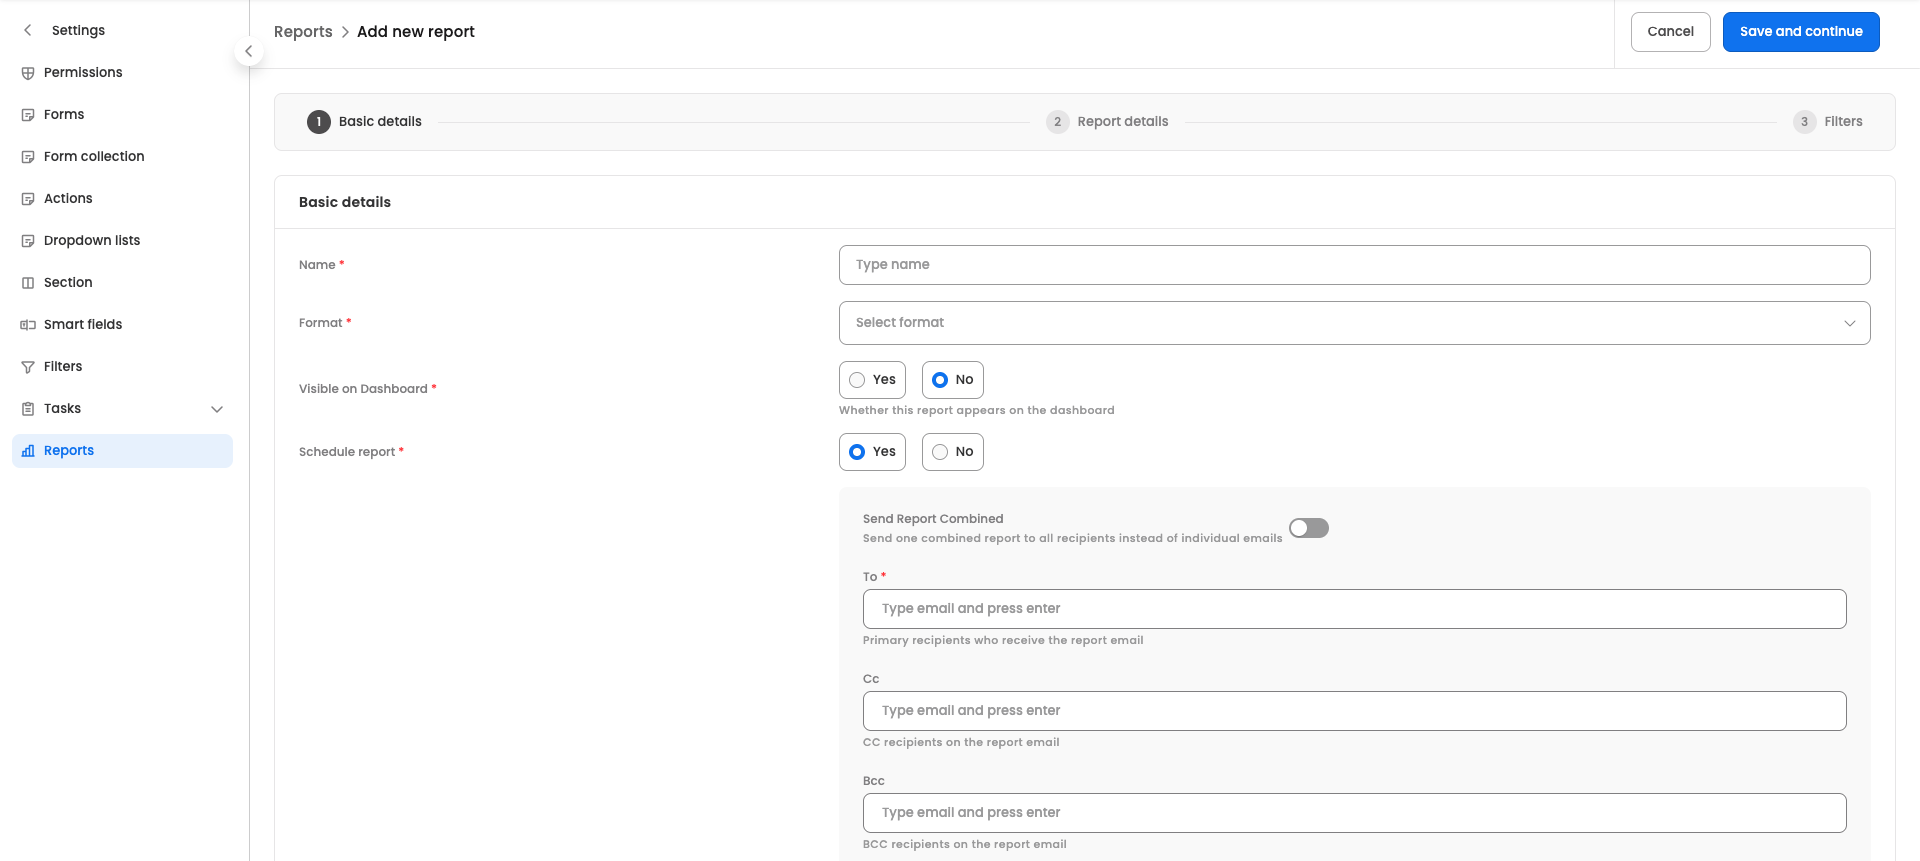
- Name: Enter a name for the report (required).
- Format: Select the file format — CSV or Excel (required).
- Visible on Dashboard: Choose Yes or No. Controls whether this report appears on the dashboard.
- Schedule report: Choose Yes or No. Selecting Yes reveals the scheduling section below.
When Schedule report is set to Yes, configure the following:
- Send Report Combined: Toggle on to send one combined report to all recipients instead of individual emails.
- To: Add the primary recipients who receive the report email (required). Type an email and press enter to add it.
- Cc: Add CC recipients on the report email.
- Bcc: Add BCC recipients on the report email.
- Subject: Enter the email subject line for the report (required).
- Template: Select the email template used to send this report (required).
- Timezone: Select the timezone used for interpreting the cron schedule (required; defaults to IST).
- Cron pattern: Define the cron expression that determines when the report runs automatically (required).
Step 2: Report details
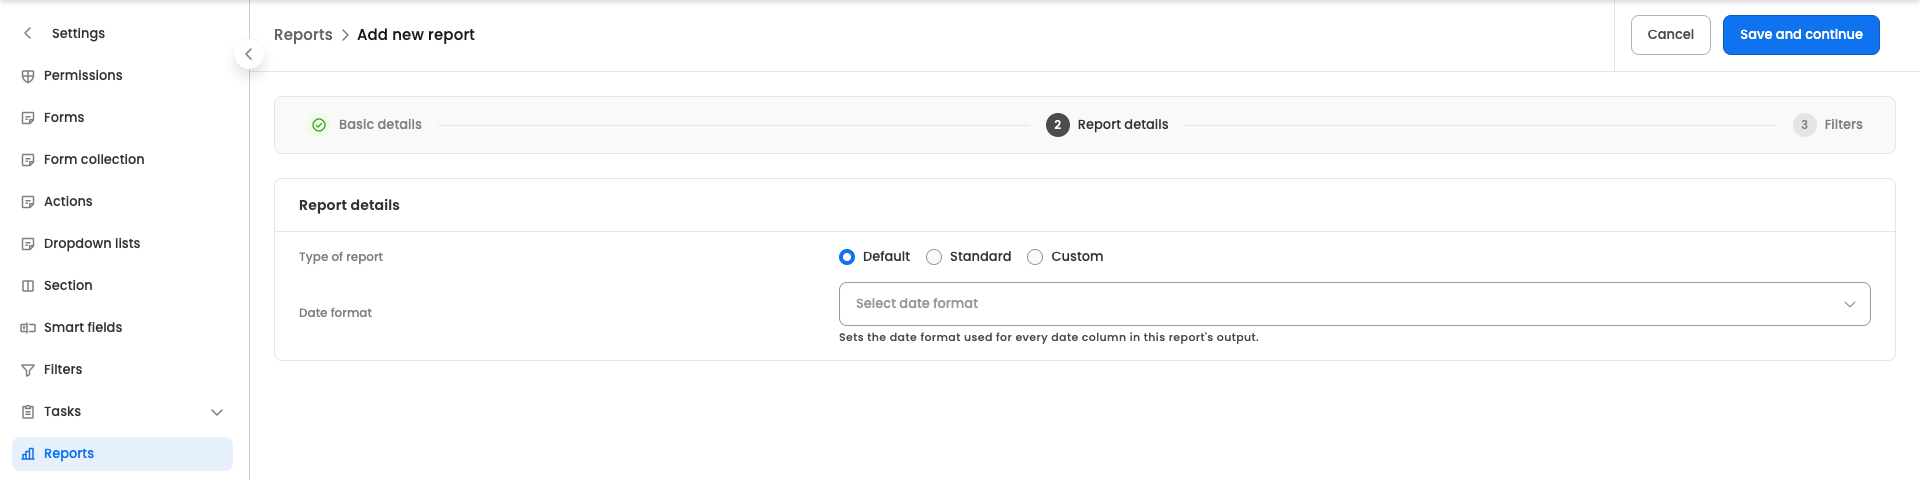
- Type of report: Select the report type. The fields shown below depend on this selection:
- Default
- Standard
- Custom
Default
Date format: Select the date format used for every date column in the report's output. Options: MMM-DD-YYYY, DD-MM-YYYY, MM-DD-YYYY, DD-MMM-YYYY, YYYY-MM-DD.
Standard
A standard report is built from columns you define plus an optional candidate filter.

-
Column selection: Click Add column to add a column to the report. Each column has:
- Name: The display name of the column.
- Column: The underlying field key.
Added columns appear in a list and can be reordered (drag), edited, or removed.
-
Candidate selection: Build conditions to scope the report to specific candidates (see Candidate selection below).
Custom
A custom report lets you pull data from forms, tasks, and actions, and transform it with a function.
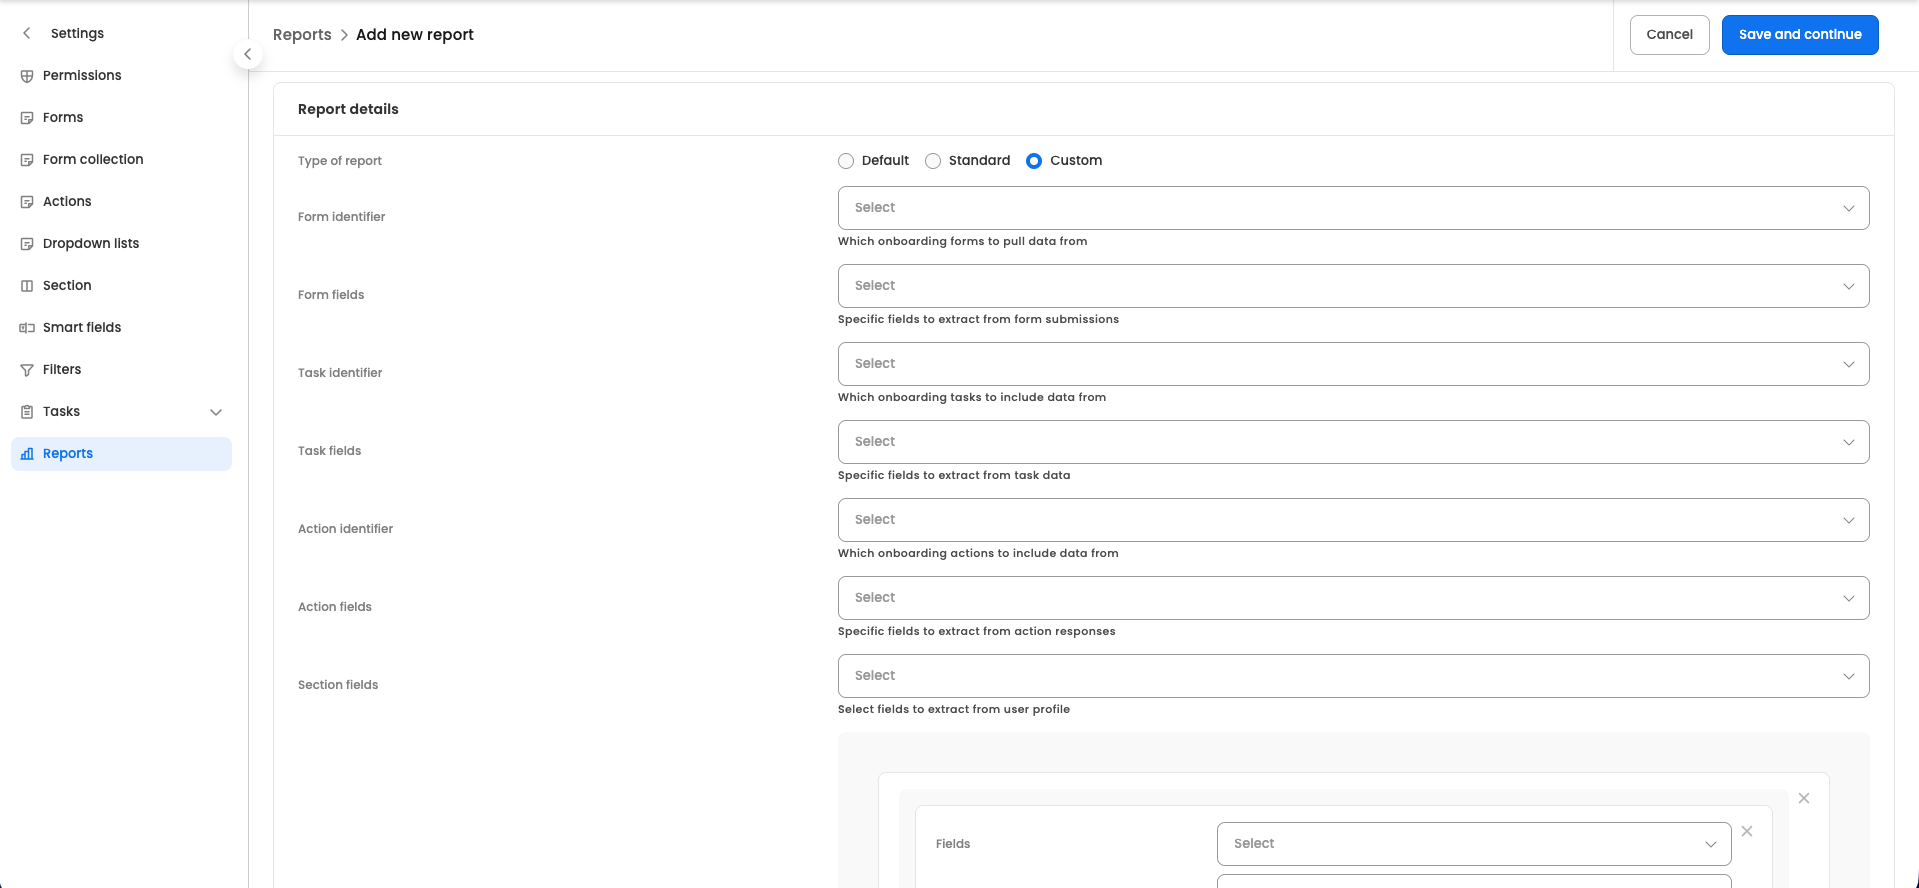
- Form identifier: Select which onboarding forms to pull data from.
- Form fields: Select the specific fields to extract from form submissions.
- Task identifier: Select which onboarding tasks to include data from.
- Task fields: Select the specific fields to extract from task data.
- Action identifier: Select which onboarding actions to include data from.
- Action fields: Select the specific fields to extract from action responses.
- Section fields: Select the fields to extract from the user profile.
- Candidate selection: Build conditions to scope the report to specific candidates (see Candidate selection below).
- Function: Provide a JavaScript function to transform the data before it is written to the report (required for custom reports).
Candidate selection

Define which candidates the report includes using AND/OR logic. Use Or to add alternative condition groups, and and to add conditions that must all be true within a group. Each condition row has:
- Fields: Select the candidate field to evaluate.
- Condition: Select the operator (for example, equals, not equals, greater than, less than, in, not in, and the days-difference operators).
- Value: Enter the value to compare against. For in/not in, you can add multiple values.
Step 3: Filters
Add the filters that appear alongside the report. Click Add filters to open the filter dialog and configure:
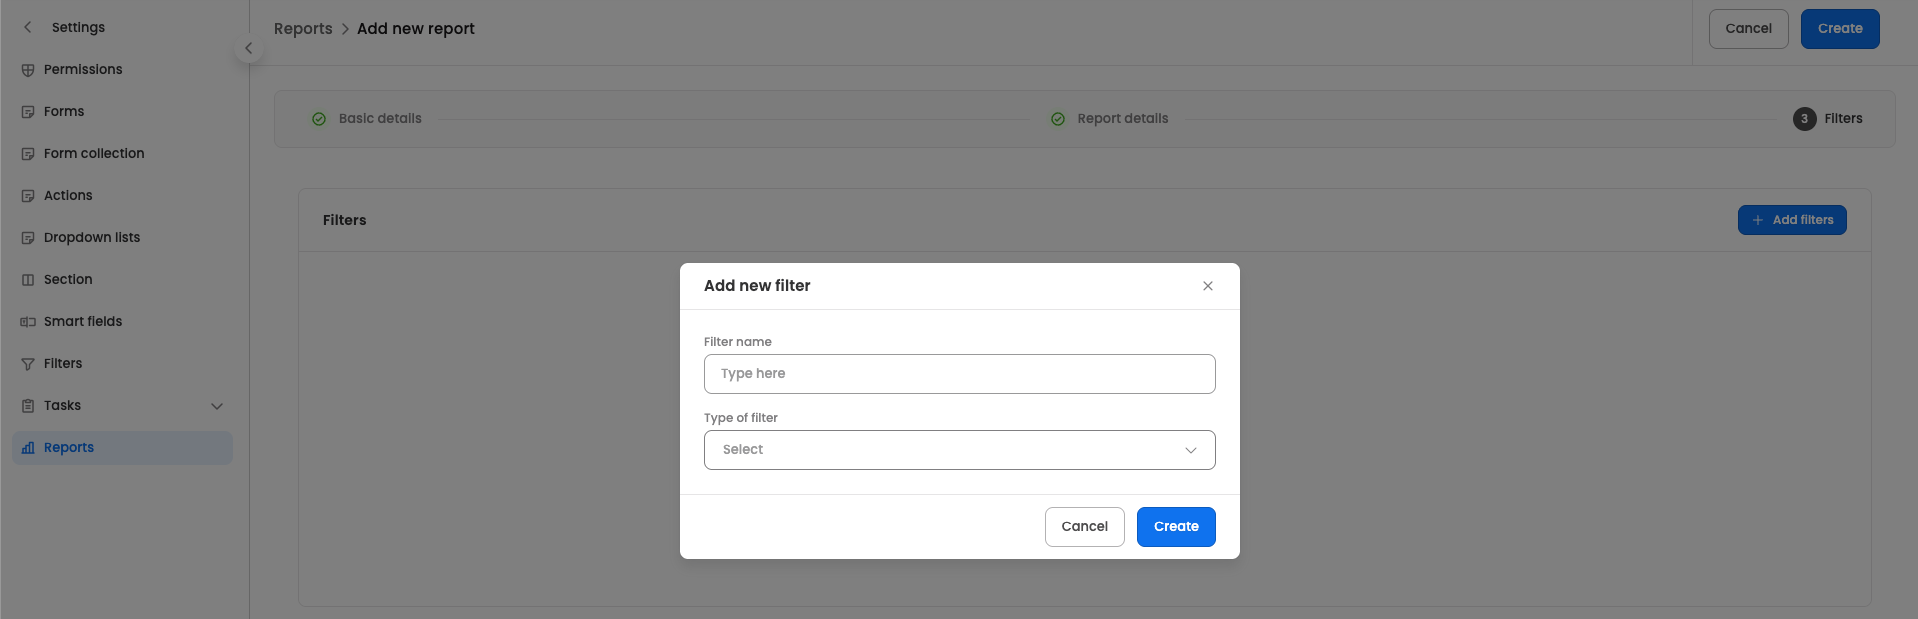
-
Filter name: Enter a name for the filter (required).
-
Type of filter: Select the filter type:
- Dropdown
- Date range
- Form status
- Action status
- Onboarding status (shown as Offboarding status in offboarding settings)
Depending on the type selected, additional fields appear:
- Section key: For Dropdown and Date range filters, select the section field the filter applies to.
- Data source: For dropdown filters, choose where the filter options come from — Dropdown list, Webhook, or Past data.
- Select dropdown list: When the data source is Dropdown list, choose the dropdown list to use.
- Webhook URL: When the data source is Webhook, enter the webhook URL.
- Select form status: For Form status filters, choose the status — Not submitted, In review, or Submitted.
- Select action status: For Action status filters, choose the status — Not executed, In Progress, Success, or Failure.
Added filters appear in a list and can be reordered (drag), edited, or removed.
Once you're done, click Create (or Save changes) to save the report.
Managing existing reports
The configured reports are visible in the Reports table with the following columns: Name, Type, Format, Timezone, Updated by, Updated on, and Status.
A report's Status can be one of:
- Enabled: The report is active.
- Enabled (with Draft): The report is active, but has unpublished draft changes.
- Disabled: The report is inactive.
- Draft: The report is still being set up and is not yet active.
Here are the actions available for each report from the three-dot menu:
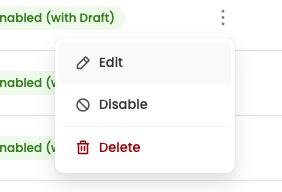
- Edit: Modify the configured report.
- Enable/Disable: Disable an active report, or enable a disabled report.
- Delete: Permanently remove the report.
To change the order in which reports appear, use Reorder reports from the table's header menu.
Updated about 2 months ago