
Email Notification
Overview
The Email Notification module in Helpdesk allows users to manage both the appearance and distribution of email communications.
It includes two key features:
- Custom Branding – Controls the visual design of email notifications
- Email Preferences – Controls which roles receive specific notifications
Navigation Path
To access Email Notification settings:
Helpdesk Settings → Email Notification
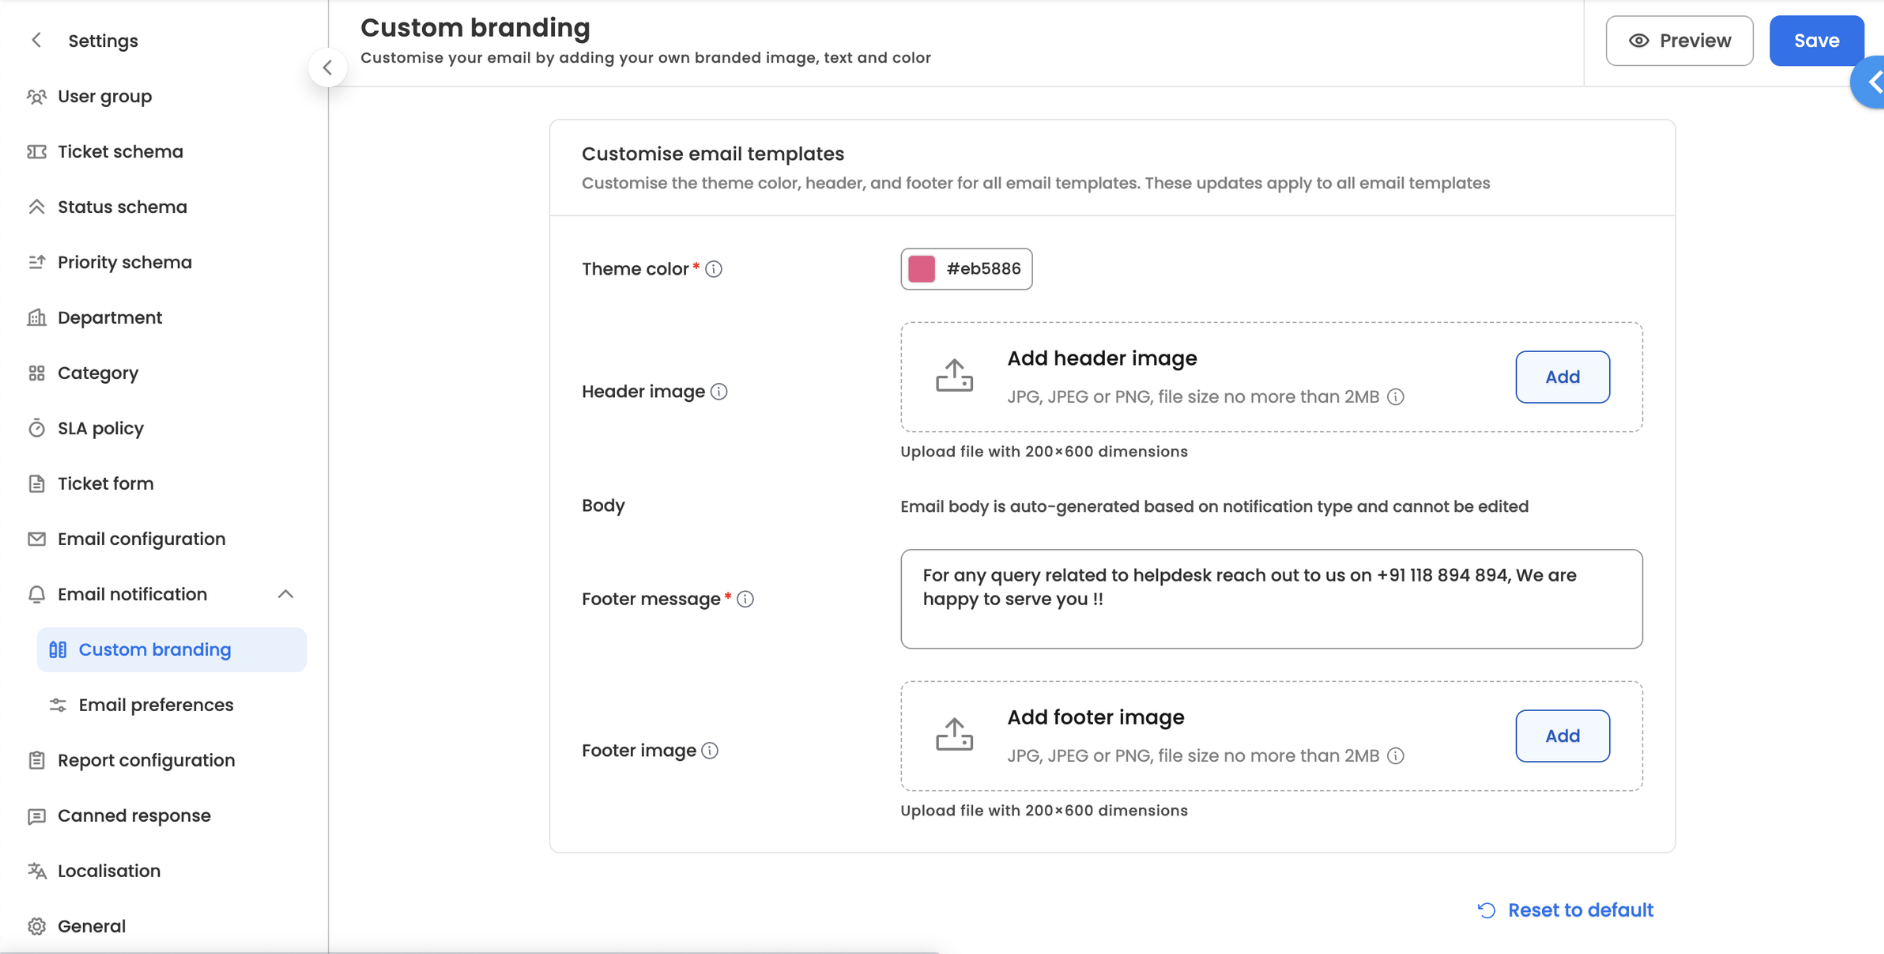
Feature 1: Custom Branding
Overview
The Custom Branding feature enables users to personalize the look and feel of all outgoing email notifications, ensuring alignment with organizational branding.
Configuration Options
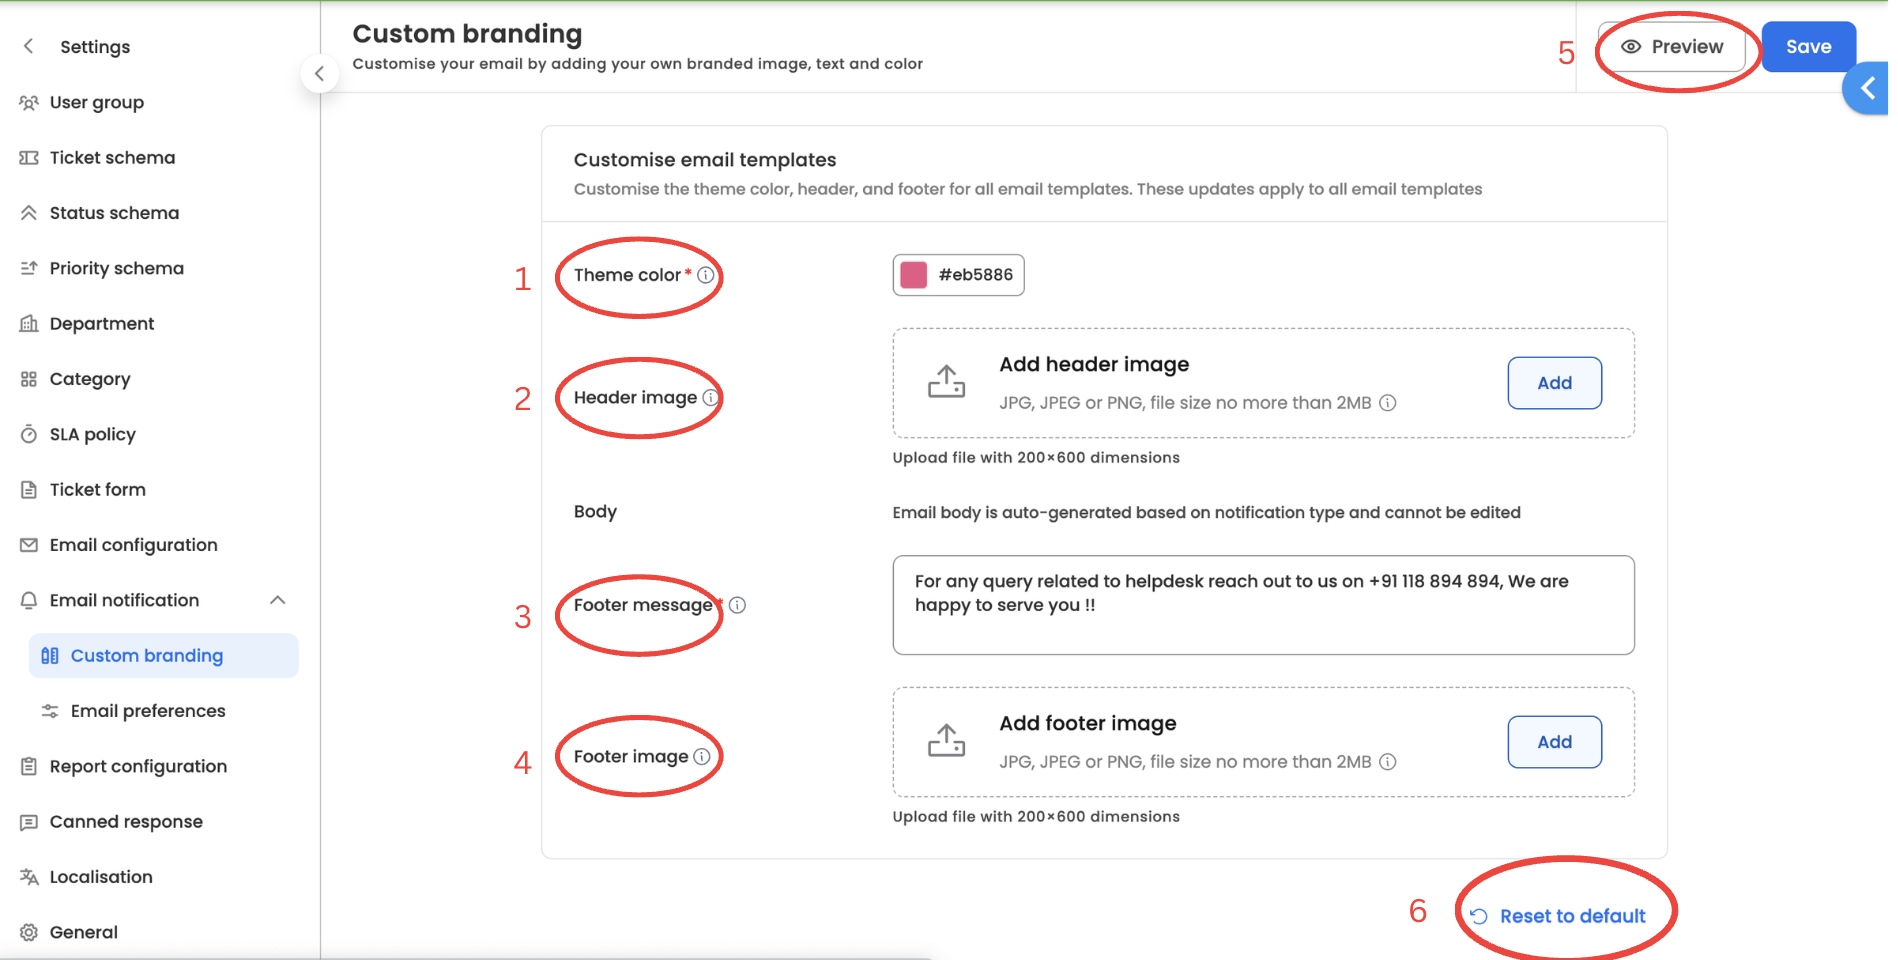
1)Theme Color
- Select a primary color for email notifications
- This color is applied across key elements of the email layout
2)Header Image
- Upload or select an image for the top section of emails
- Typically used for logos or brand banners
3)Footer Message
- Add a custom message displayed in the email footer
- Common use cases include company information, support details, or legal disclaimers
4)Footer Image
- Upload or select an image for the bottom section of emails
- Can be used for branding or additional visuals
5)Preview
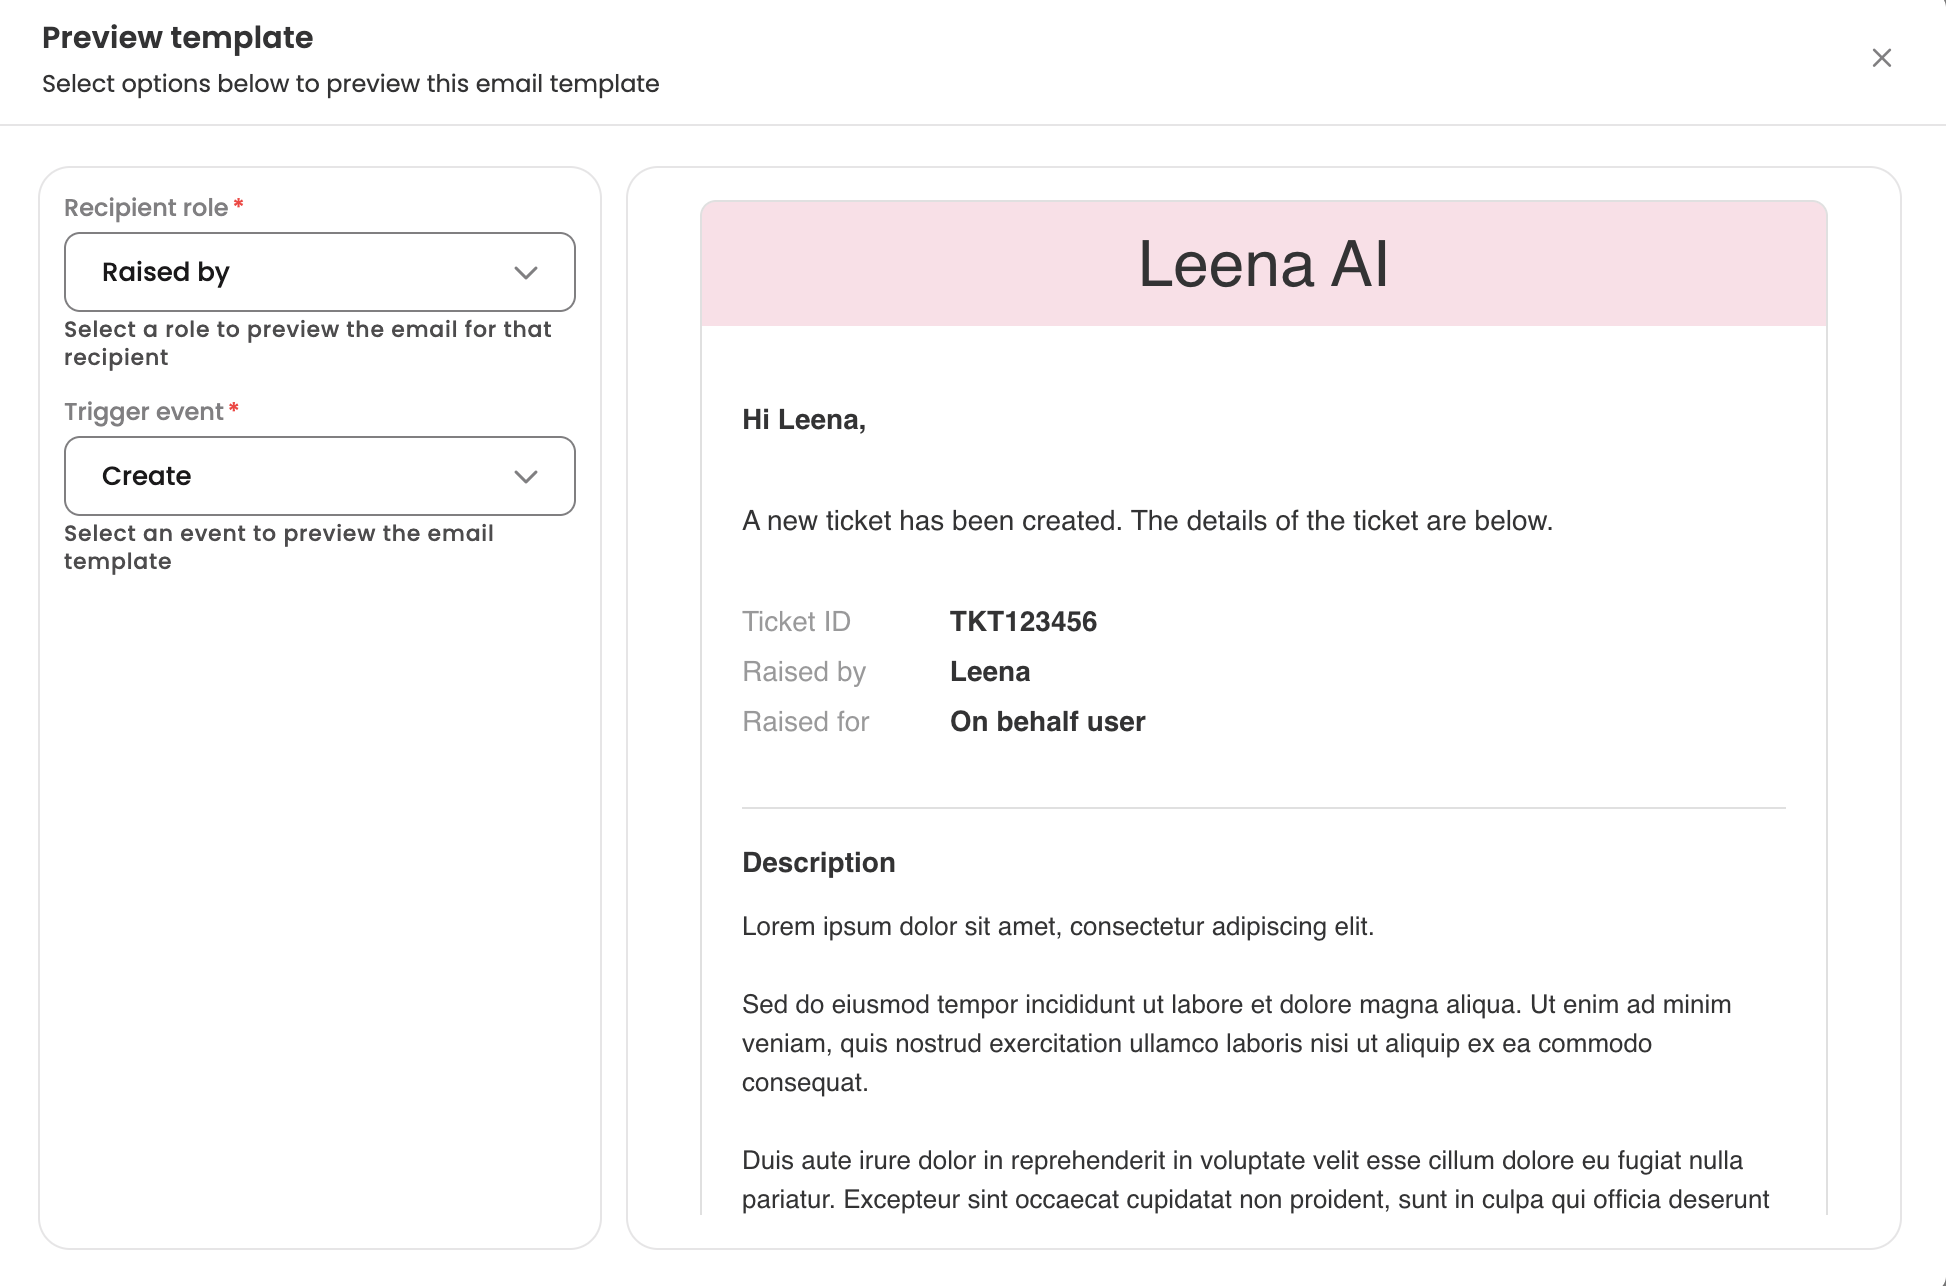
- Click on Preview to see how the email notification will appear with the customized branding
6)Reset to Default
- Reverts all branding configurations to system defaults
- Useful in case of incorrect changes or when restoring the original setup
Key Notes
- Changes apply to all outgoing email notifications
- Ensure images meet recommended size and format guidelines
Feature 2: Email Preferences
Overview
The Email Preferences feature allows users to define which roles receive specific email notifications during the ticket lifecycle.
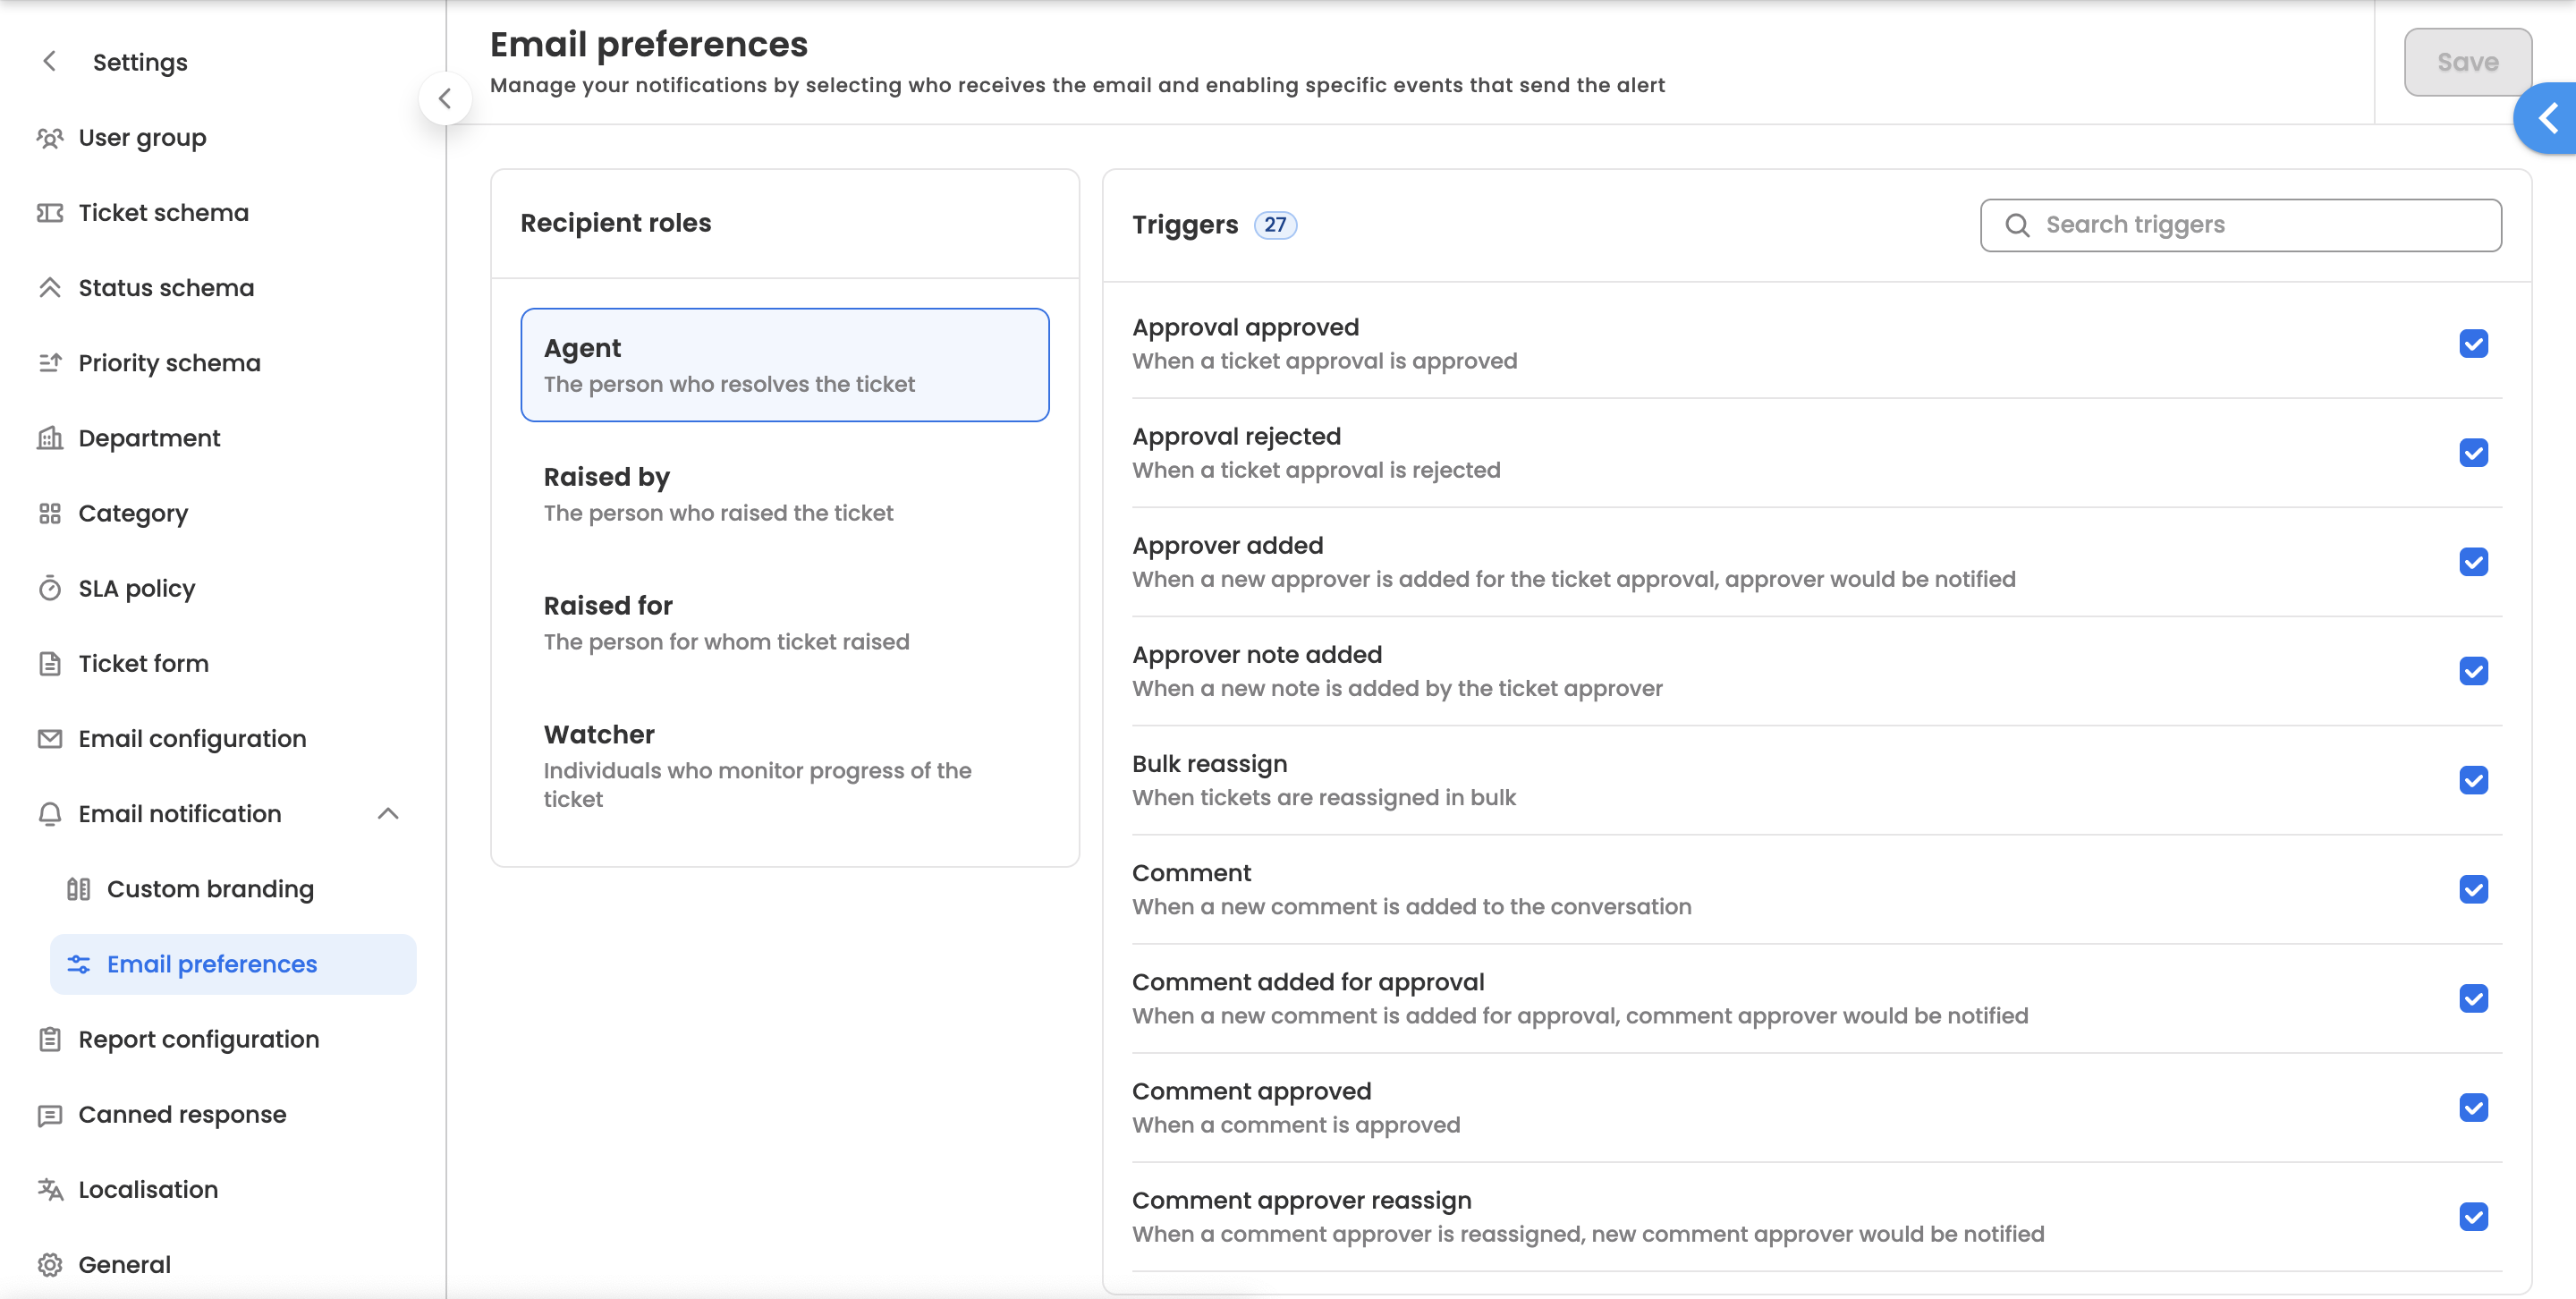
Supported Roles
Notifications can be configured for the following roles:
- Agent – The support agent assigned to the ticket
- Raised By – The user who created the ticket
- Raised For – The user on whose behalf the ticket is created
- Watcher – Users added to monitor ticket activity
Configuration Method
The configuration follows a role-based selection flow:
Step 1: Select Role (Left Panel)
Choose a role from the list:
- Agent
- Raised By
- Raised For
- Watcher
Step 2: Configure Notifications (Right Panel)
- Once a role is selected, all available notification types are displayed on the right
- Each notification type has a corresponding checkbox
- Enable or disable notifications based on requirement
Step 3: Save Changes
- Click Save after making changes
- Changes will be applied to the selected role
Example
To configure notifications for the Agent role:
- Select Agent from the left panel
- Review the list of notification types on the right
- Enable or disable relevant checkboxes
- Click Save