
Clone, Restore & Test nodes
While building a workflow, three utilities help you work faster and more safely on individual nodes:
- Clone — duplicate a configured node so you don't have to rebuild it.
- Restore — roll a node back to its last published configuration.
- Test — run an Action node's integration call to check it works before you publish.
All three act on a single node in the workflow canvas, and (like all editing) they apply to the draft version of the workflow.
Duplicate a node
Cloning makes a copy of an existing node, keeping its configuration, so you can reuse a step instead of building it again.
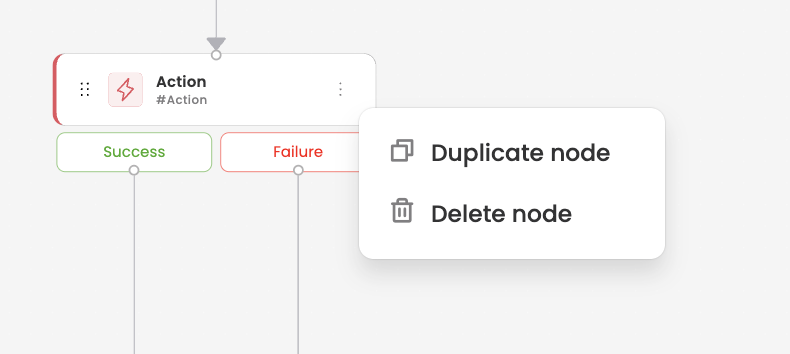
- In the workflow canvas, open the node's menu and choose to copy / clone it.
- The Duplicate Node dialog opens, pre-filled with a name like
Clone-<original name>. Adjust the name if you like and confirm with Clone. - A copy is placed on the canvas (offset from the original) with the same configuration. Connect it into your flow with edges as needed.
Good to know
- The clone isn't automatically wired into the flow — you add the connections yourself.
- Trigger and End nodes can't be cloned.
Restore a node
Restore reverts a single node's configuration to the way it was in the last published version of the workflow — handy if you've changed a node in the draft and want to undo back to the known-good config without affecting the rest of your draft.
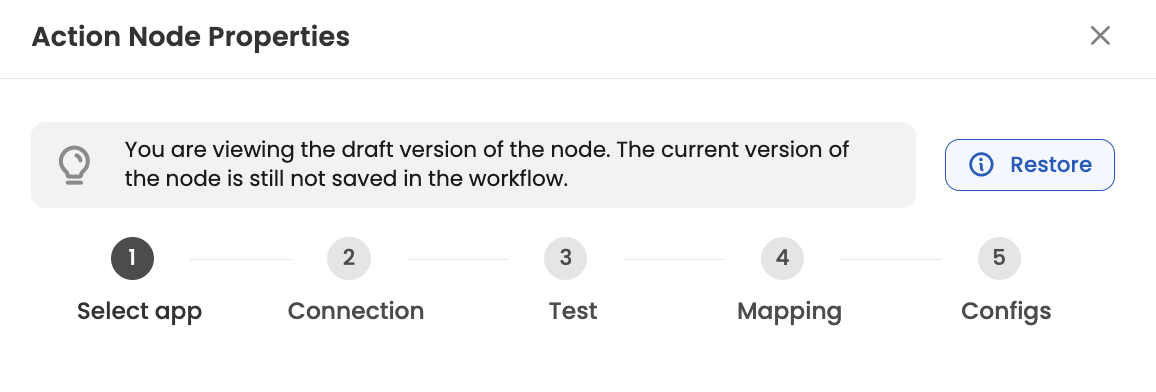
When a node has changes compared to the published version, its configuration panel shows a Restore option:
"Restoring changes will restore your node to the last published version of the workflow. If your node is new, restoring to the previous version will delete the node."
- Open the node's configuration panel.
- Click Restore.
- The node's settings revert to the last published version.
Things to know
- Restore needs the workflow to have a published version to restore from.
- If the node is new (it doesn't exist in the published version), restoring deletes it.
- This is node-level — to roll back an entire workflow to an earlier version, use version restore instead (see App versions). To push a change across multiple older versions, see Update old version.
Test a node
Testing lets you run a node's logic on demand and see the result, so you can confirm it's configured correctly before publishing the workflow. A Test button appears in the node's configuration for the node types that support it.
- Open the node's configuration.
- Provide any required sample inputs/parameters.
- Click Test — the node runs and returns its result, so you can verify it behaves as expected.
Testing is available on the nodes where a live check is most useful:
- Action node — runs the configured integration call through the connector and returns the response, so you can validate the connection, inputs, and response mapping.
- Function node — runs your custom code (with sample inputs) and returns the output, so you can check the logic before it goes live.
- Mapper node — runs your mapping on sample input (via the Test mapper node tab) and shows the transformed output, so you can confirm the fields map as intended.
Related "test" affordancesOutside the canvas you'll also find a Test / Test hook option when configuring a dynamic dropdown (async hook) in a form. It works the same way — run the configuration on the spot and confirm the result before publishing.